Panoramic Video Rooms
You can use the ARENA to setup a 360° panoramic streaming video room, or several rooms with a video camera like the 360° Ricoh Theta Z1 or Theta X.
General Performance Requirements
To ensure the upload of the 360 video stream isn’t diminished before other users get a chance to download it, each 360 camera should have:
- Updated camera firmware: Many of the above cameras have updates which prevent them from overheating and shutting down in the middle of your live video stream. Contact the camera manufacturer website for updates.
- A fast computer. This is a little hard to measure, but slower computers will diminish the video upload. We’ve had good results with the MacBook Pro M1 chip. Our Intel x86 MacBook Pros have struggled to have enough memory in the browser for the Javascript code to marshall high frame rates of 2K 360 video streams. Other Windows/Linux machines may work. Laptops are recommended for flexibility.
- A wired network connection of at least 1 Gbps since we need to make sure our upload of the 360 video stream has as much bandwidth as possible and without the variable instability of wireless connections. Wifi connections will limit your resolution down to about 50 Mbps.
- Wired computer power: Don’t rely on the laptop battery, 3D web and 360 cameras will consume power quickly.
- Wired camera power: Don’t rely on the laptop/Mac-Mini power as they will suspend power when idle. Add a Powered USB Hub to keep the camera battery charged.
- Optimally a 2K output stream from the camera so detail renders well, higher outputs like 4K may work, but it’s untested.
- Google Chrome or Microsoft Edge. Firefox and other browsers have trouble ingesting the 2:1 video ratio required. Check the
A/V Setupscreen when entering the scene for strange visual artifacts. - ARENA Web Core version 1.11 or higher.
- Shutdown and close any unnecessary applications and browser tabs.
- Do not stream more than one camera per computer.
Setup World Single Panoramic Room
Setup a scene where the 360 video stream encompasses the entire world, and while other users can move in it, the “walls” of the video are 5000 meters away, so even if users move, the videosphere walls appear to stay in place. This 5000 meter radius is the default for a videosphere object.
- In Build, add a
videosphereobject. - Add the
jitsi-videoattribute to thevideosphereobject. - Add a displayName for the
jitsi-videoattribute. The JSON should look like this:{ "object_id": "my-videosphere-object", "persist": true, "type": "object", "action": "update", "data": { "object_type": "videosphere", "position": { "x": 0, "y": 0, "z": 0 }, "rotation": { "x": 0, "y": 0, "z": 0, "w": 1 }, "radius": 500, "jitsi-video": { "displayName": "360 cam" } } } - Remove the ground and sky effects from your scene, your world scale
videospherereplaces them. - To do this, add a
scene-optionsobject if you don’t already have one and remove the environment presets by adding attributes that override the default theme, sky, and ground:{ "object_id": "scene-options", "persist": true, "type": "scene-options", "action": "update", "data": { "env-presets": { "active": true, "preset": "none", "ground": "none", "skyType": "none" }, "scene-options": { ... } } } - Follow Connect the 360 camera to the ARENA. at the end of this page.
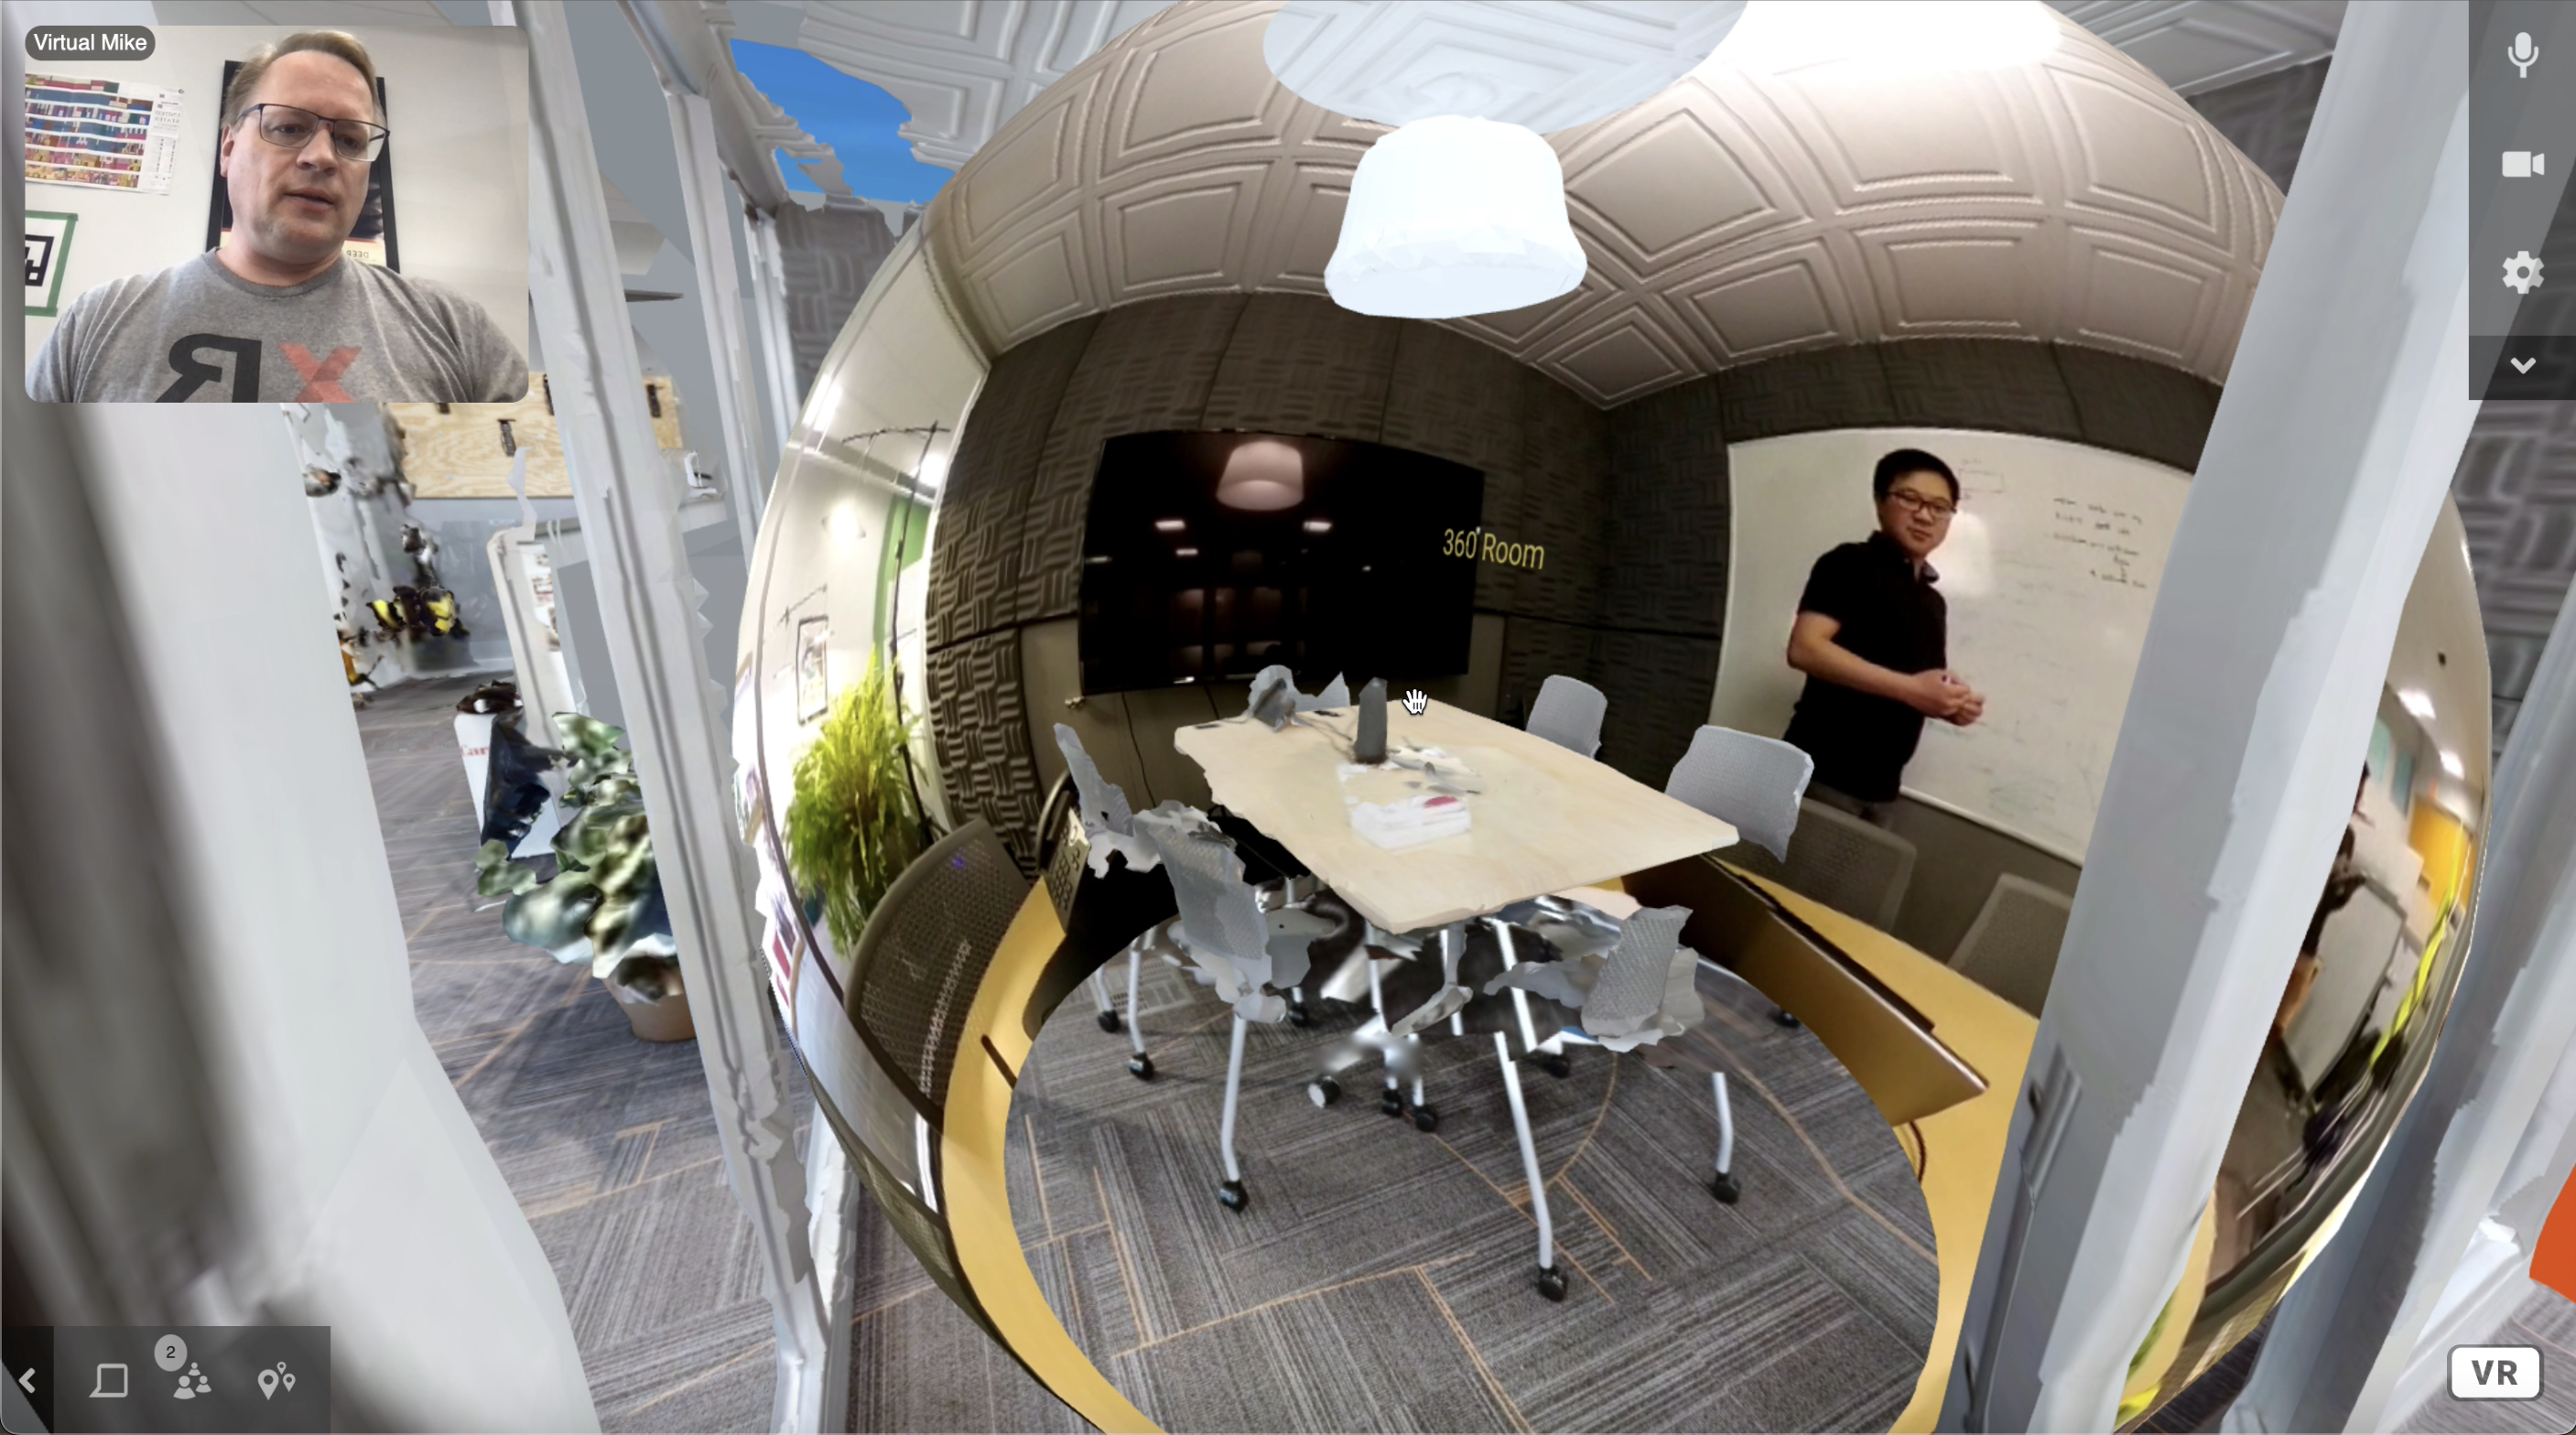
Setup Digital Twin Single Panoramic Room
Match a videosphere to a space in a scanned model of a space or room. Users may feel like they are joining you live and can enter and leave a “streaming” room.
- Camera position is important. You may want to mount the camera lens in the exact center of the room, on a table or tripod or both.
- Assumption: you already have a scanned room/space converted to GLB and loaded into the ARENA.
- In Build, add a
videosphereobject similar toSetup World Single Panoramic Roombut with some crucial differences. -
Add a displayName for the
jitsi-videoattribute, but also you are going to scale down thisvideosphereto the size and position of your room to match your scanned model.- Our conference room is a small 5x7 meters and 3 meters high, not a perfect cube, so we’ll position it at the center of the scanned room model at position x=2.7, z=-3.6, which matches the position of the camera in reality.
- We’ll set the height of the sphere at position y=2, which matches the real position of the the camera lens in the room at 2 meters.
- At the position we’ve mounted the camera we are 90 degrees off the model, so we can set rotation of the sphere at y=-90.
- We want the outside edge of the sphere wall to just graze the shortest longitudinal axis of the room to not miss any of the movement of the people in the room, so we will set the radius at 2.5 meters since we are in the center between the shortest wall of 5 meters.
{ "object_id": "360-conference-room4", "persist": true, "type": "object", "action": "update", "data": { "object_type": "videosphere", "position": { "x": 2.7, "y": 2, "z": -3.6 }, "rotation": { "x": 0, "y": -0.70711, "z": 0, "w": 0.70711 }, "radius": 2.5, "jitsi-video": { "displayName": "Conference Room 4" } } } - Leave the ground and sky effects from your scene intact, you will need them for context.
- Follow Connect the 360 camera to the ARENA. and the end of this page.
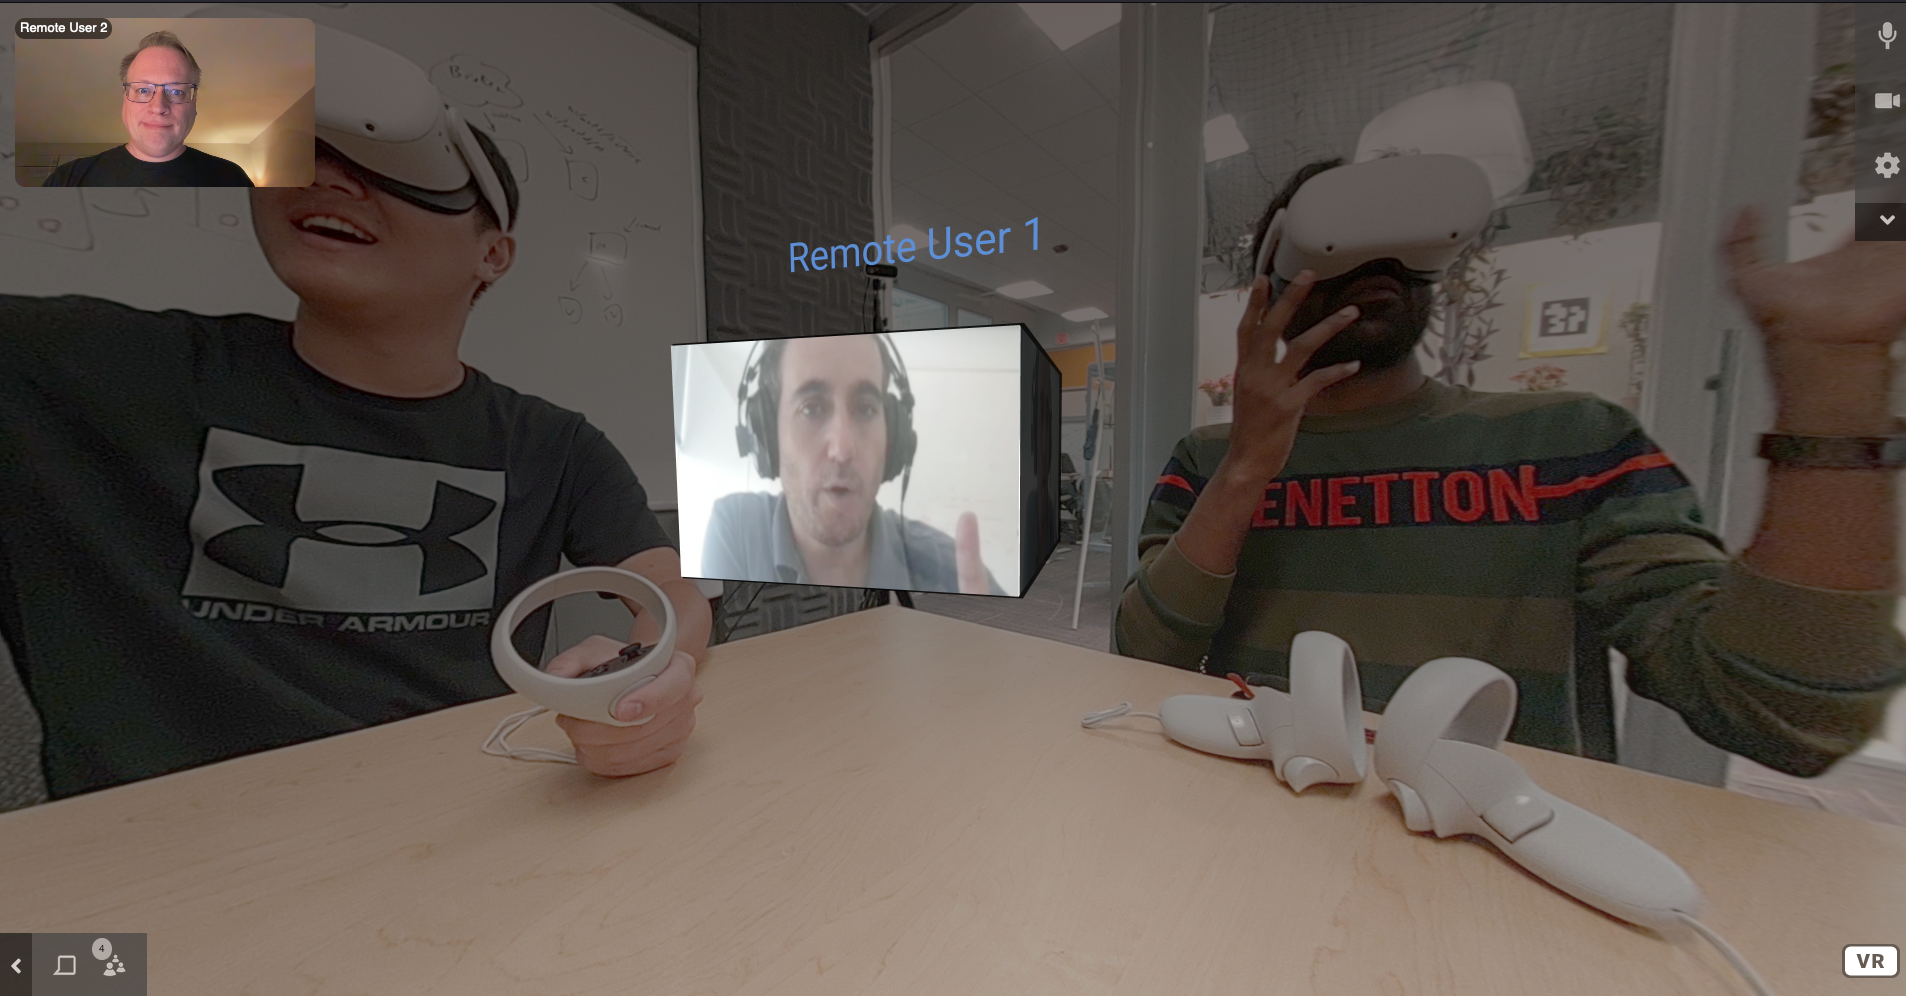
- Optional: We recommend extending the laptop’s view of the virtual 3D ARENA using a wall mounted or freestanding monitor. In this way, physical people next to the 360 camera can view the virtual camera views of remote participants.
Setup Digital Twin Multiple Panoramic Rooms
Repeat the instructions for Setup Digital Twin Single Panoramic Room, just make sure you give each camera a different Display Name and make sure each videosphere object has that unique Display Name in it’s jitsi-video attribute.
Connect 360 Camera to ARENA
- Connect the 360 camera to the computer and start the camera’s “live stream”.
- Open the scene in Chrome/Edge and select the 360 camera on the
A/V Setupdialog and you should see a 2:1 radio preview of the video stream. - Make sure your
Display Nameon theA/V Setupdialog is the same as thedisplayNameof thejitsi-videoattribute above. Enter Scene, and the 3D sphere in the scene will appear white, then black if you wait.- Click the camera button in the upper right corner of the browser and you should see a preview again, as well as the video displayed on the “walls” of the 3D sphere.
- Click the microphone button if you want.
Create a Virtual Mirror
To complete the effect for your physical participants, you can use a monitor or TV, preferably against a wall, to reflect visiting virtual participants back to the physical participants. To do this, we will reverse-mirror your ARENA browser view from your laptop to the wall monitor. Reverse-mirroring can be done in several ways, and in this example we will use OBS Studio. This only works for the Setup World Single Panoramic Room configuration.
- You should have a 360 camera connected to your laptop and the ARENA website open in a browser to the scene you constructed in the above steps.
- Connect your wall monitor to your laptop, and configure it to be an extended desktop, not mirrored.
- Browser: Use the WASD-keys or arrow-keys to position your ARENA browser view outside the videosphere, exactly where your wall monitor appears on the edge of the videosphere; your ARENA view should now be looking into the center of the sphere now.
- Browser: Expand your ARENA browser window to fullscreen on your laptop desktop.
- OBS: On the
Sourcestab, add a new Source, selectingScreen Capture; you will see an infinite mirror effect. - OBS: Move the OBS window from your laptop desktop to the extended desktop on the wall monitor; the infinite mirror effect should end.
- OBS: Perhaps rename this Source from the default name
Screen Captureto something likeReverse Mirrorif you want to reuse it later. - OBS: Select your desktop view until it has a red outline, then
Edit > Transform > Flip Horizontal. OPTIONAL, skip this step if you don’t want the full mirror-effect. - OBS: Expand your OBS window to fullscreen to fill the entire wall monitor.
- OBS: For more screen real estate, you can close some open tabs; disable
Docks > Scenes,Docks > Sources, etc… - OBS: For even more screen real estate, also disable
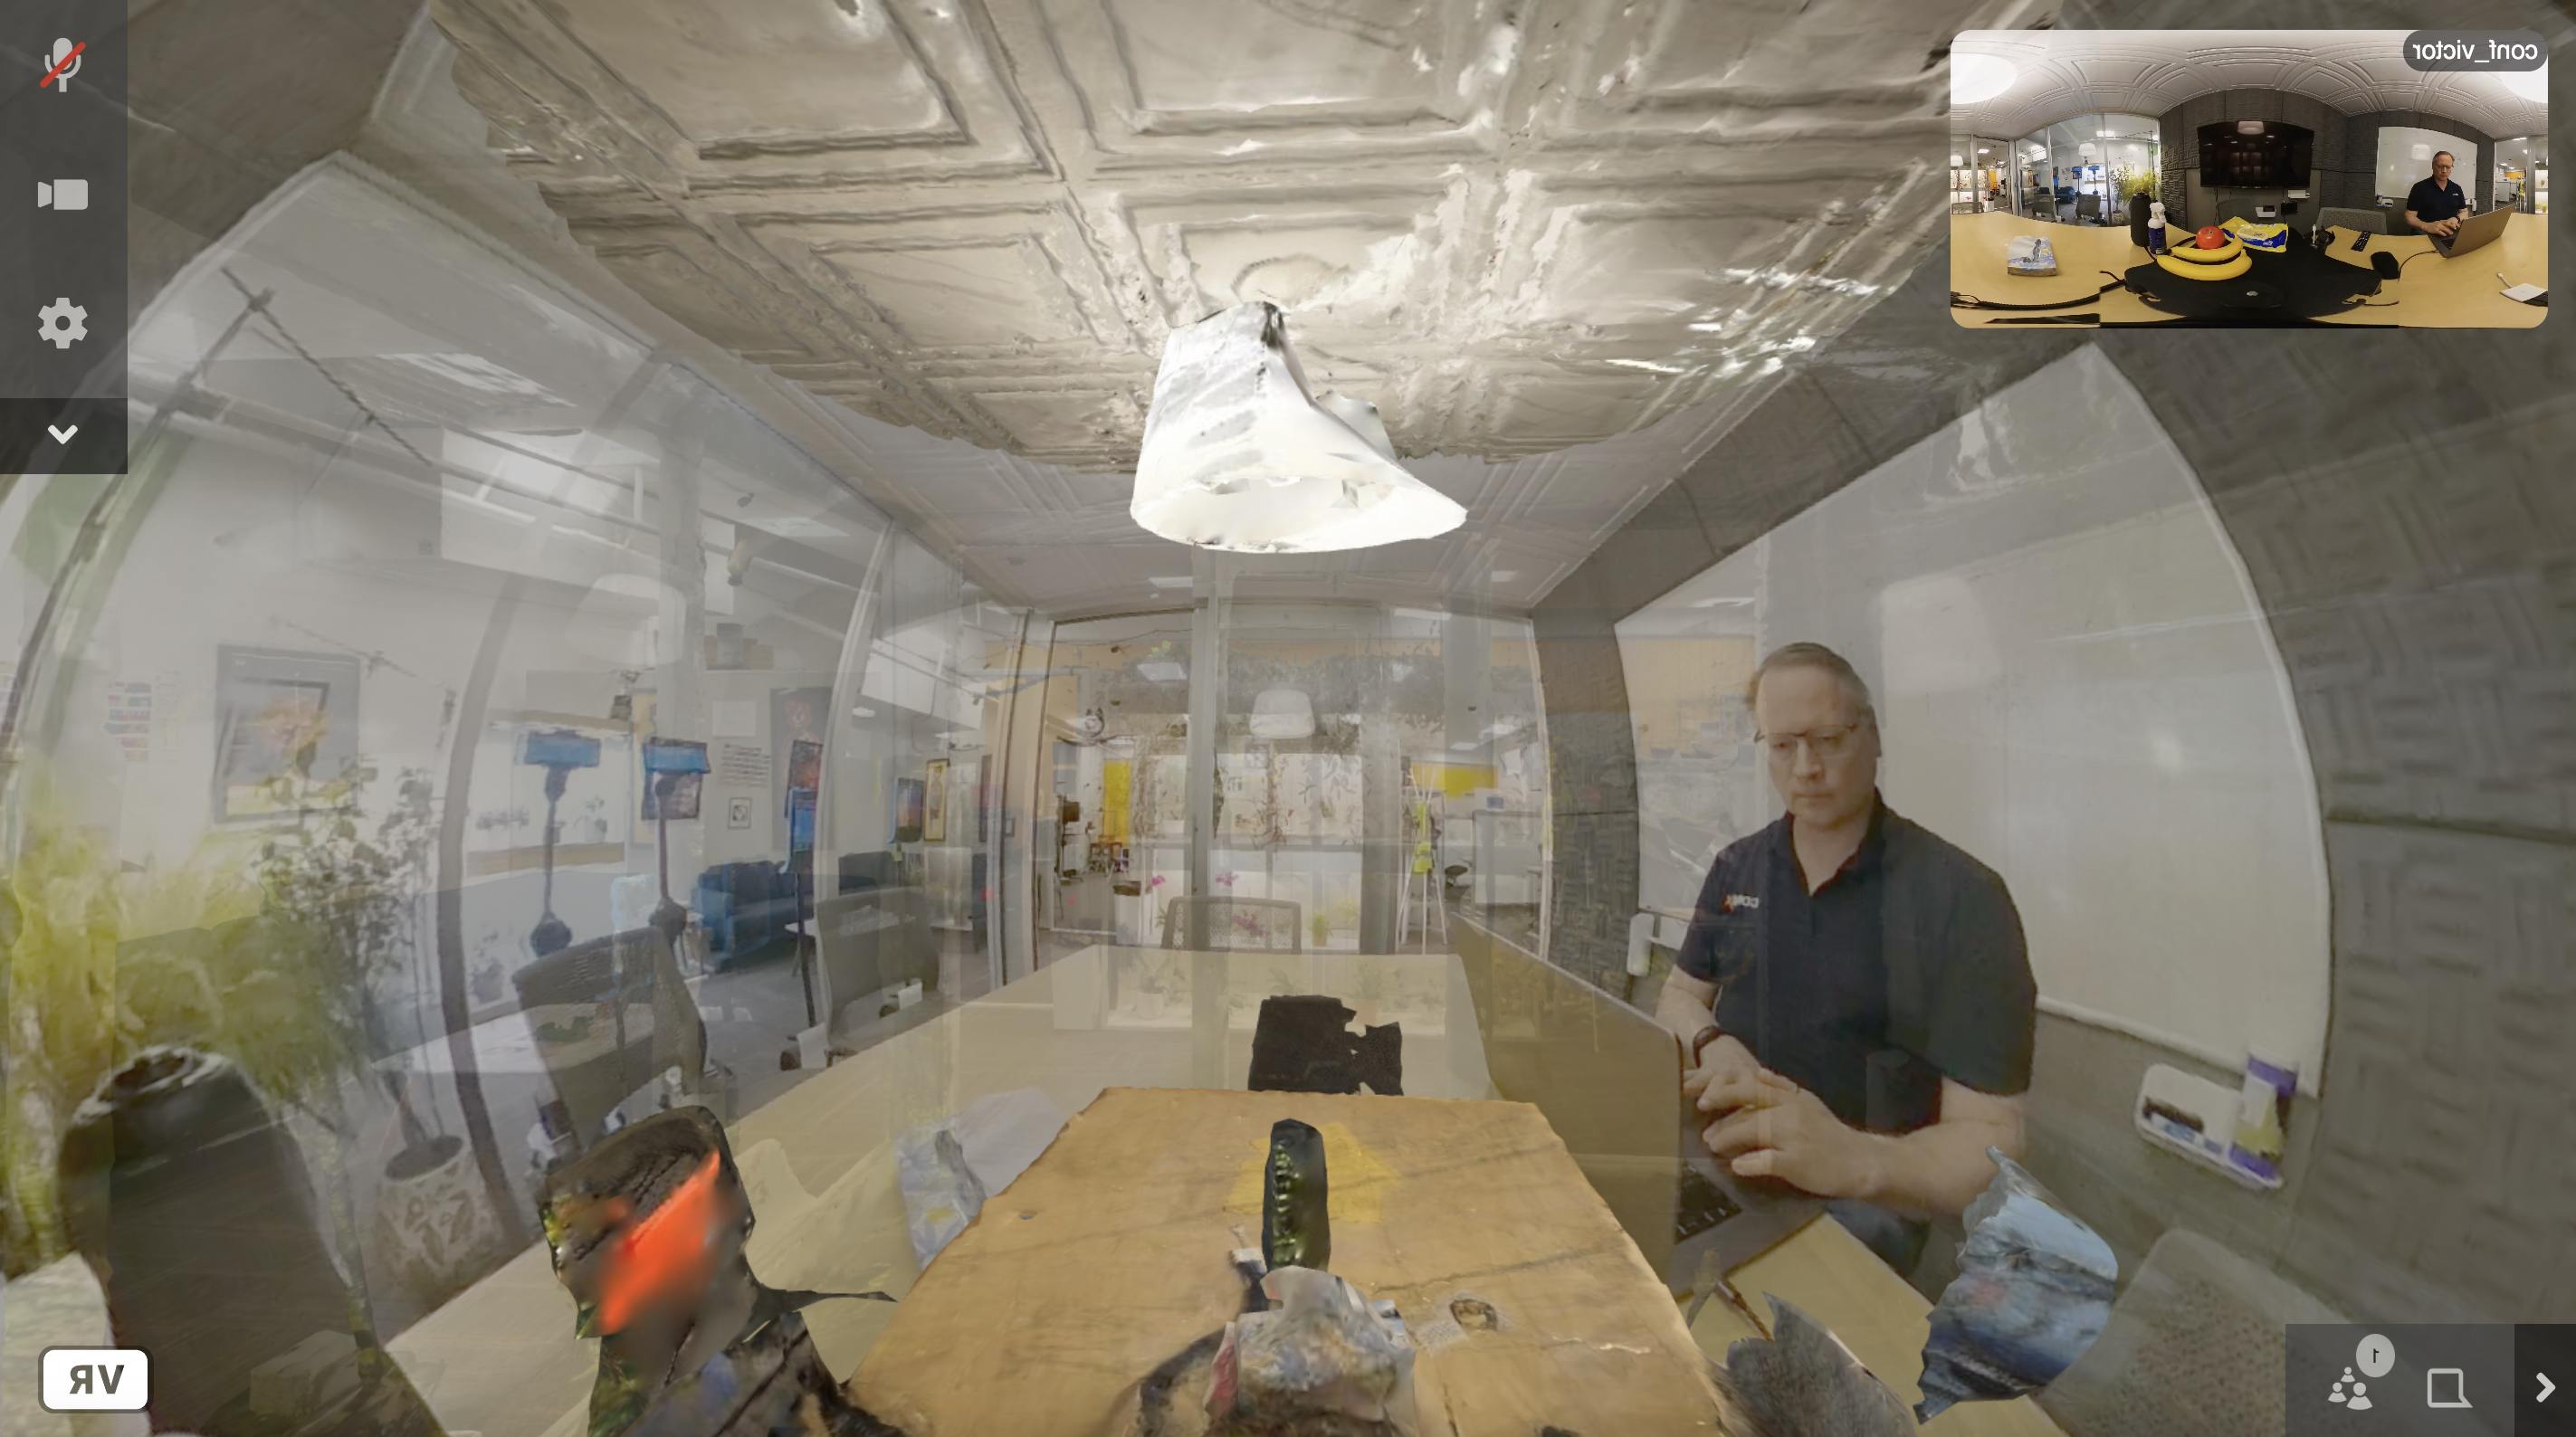
View > Source Toolbar,View > Status Bar, etc… - Now you should see a reflected live virtual scene like the image below and you should be able to see any virtual participants that enter the sphere on the wall monitor.
goal
Build a scene in which you host a meeting using a 360 videosphere, such that it serves local and remote participants in full Hybrid-fashion.