XR Localization for ARENA
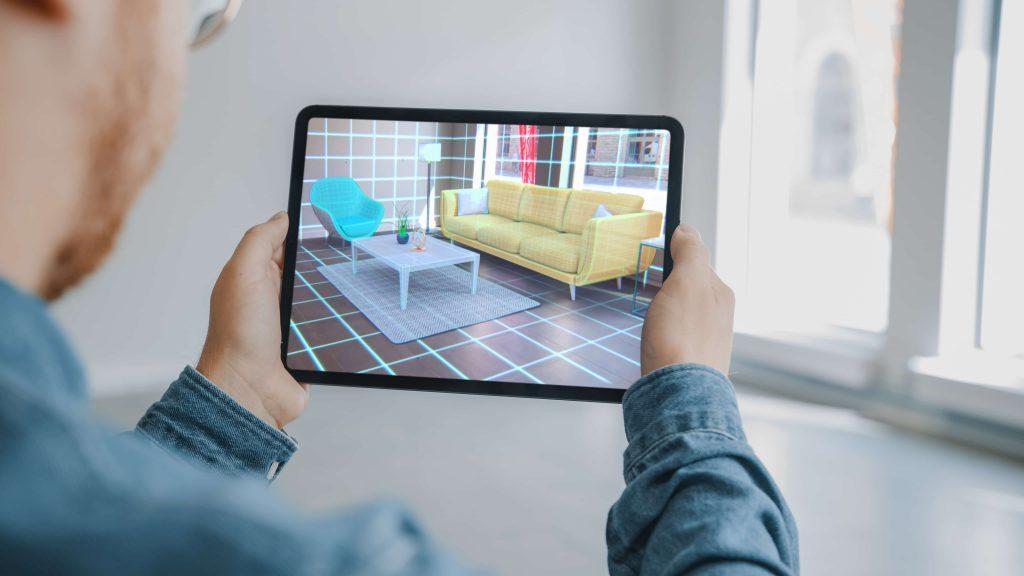
ARENA has seamless support for a spectrum of experiences, from completely immersing the user in a digital world (Virtual Reality; VR) to enhancing the real world with interactive digital content (Augmented Reality; AR). A spectrum often identified as miXed Reality (XR). Try the following for a quick sample of AR using ARENA by opening a pre-made scene and anchoring it in the real world with an optical marker.
Using April Tags
Modern phones and tablets support pass-through augmented reality (AR) with 3D digital content overlaid on top of back-facing camera backgrounds, enhanced with built-in accelerometer, gyroscope and other sensors to track relative motion of viewing devices.
(Google’s AR framework ARCore runs on devices with Android version 7.0 API level 24 or above, and Apple’s AR framework ARKit runs on devices running iOS version 11.0 or higher.)
If you are using an iOS device to view AR content, download the XR Browser.
If you are using an Android device, you can use Google Chrome for Android.

To view an ARENA scene in augmented reality (AR) mode, enter the URL of the scene using the correct browser, allow the necessary permissions and tap on the [AR] button on the lower right side of the screen.
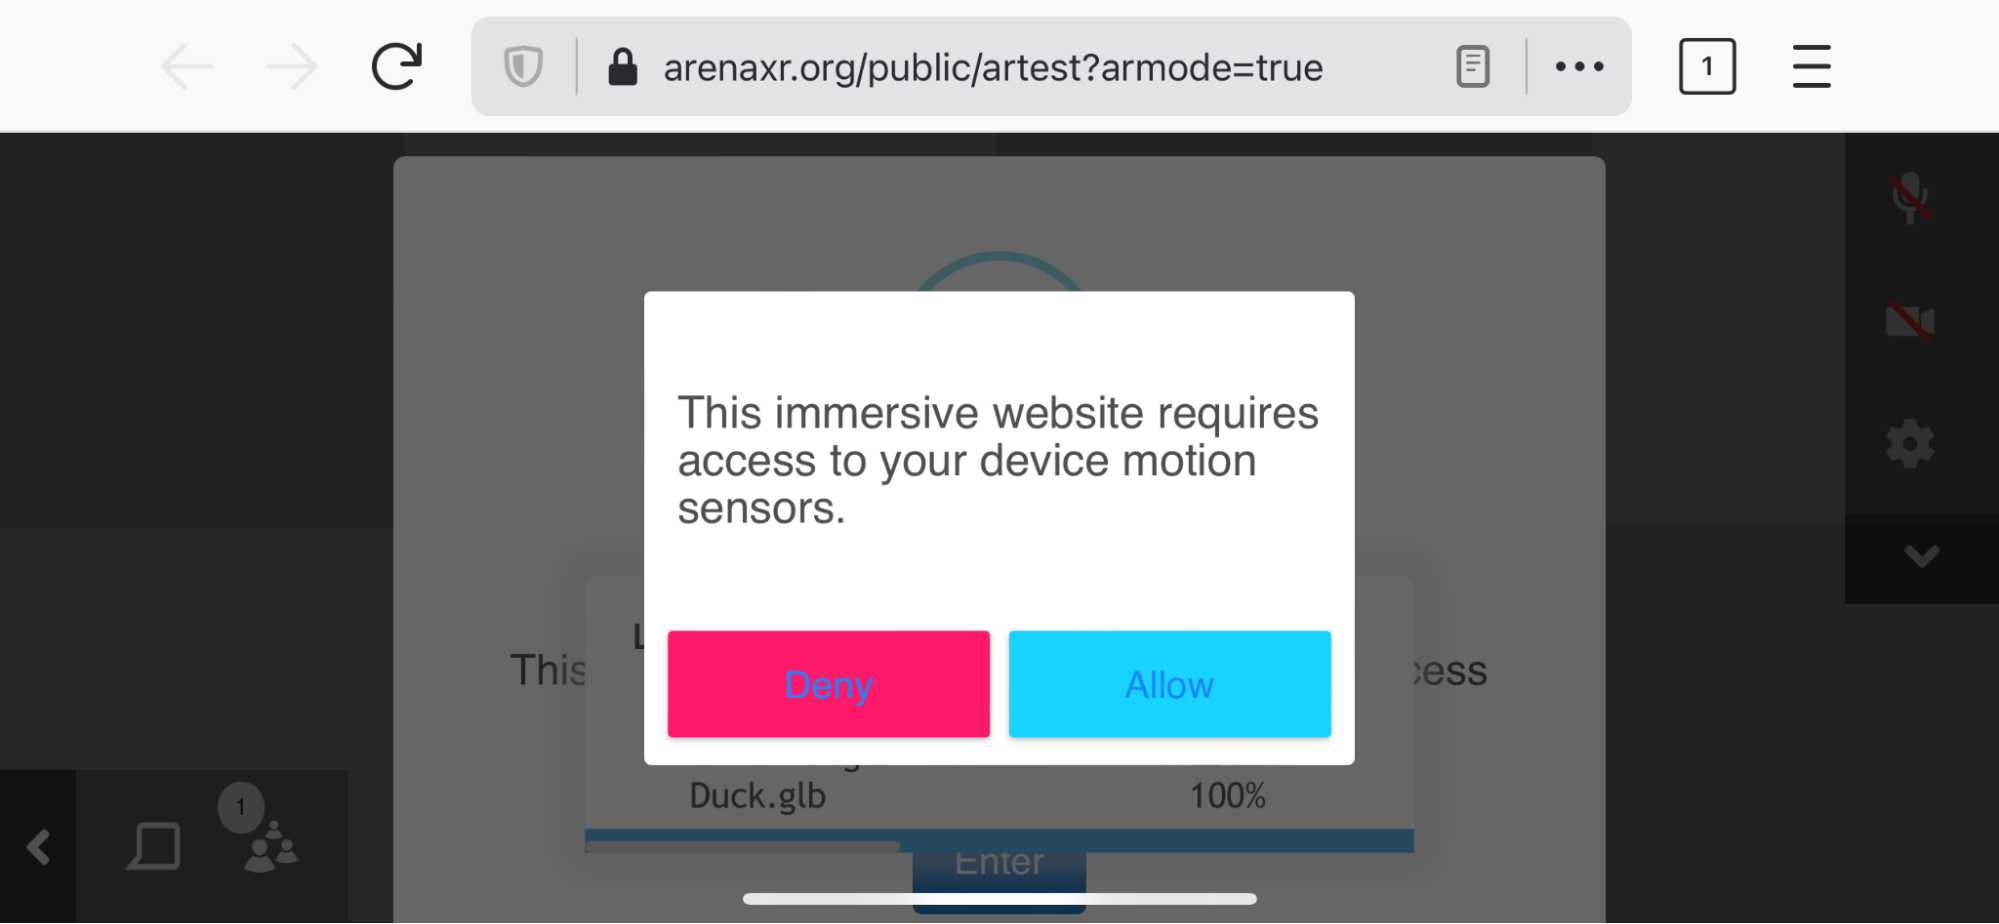
(Landscape mode works best for AR mode. Only use Landscape in XR Browser)
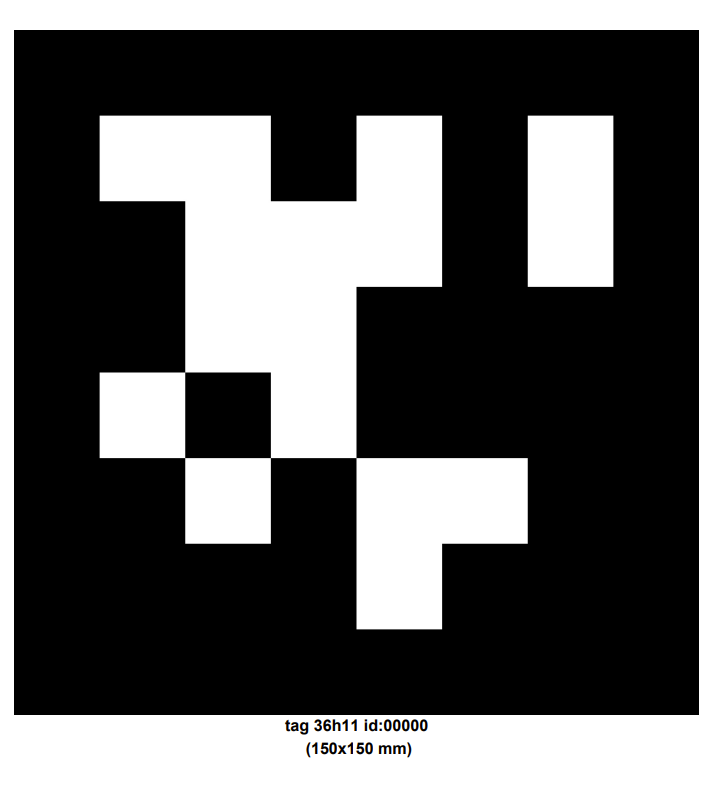
True immersive mixed reality content requires accurate positioning of 3D content anchored to the real world environment. ARENA natively supports real-world anchoring of 3D digital content with AprilTags, which are black and white square-pattern markers easily recognized by cameras to gain position and rotation relative to the marker.
Print out this PDF of the default “zero” AprilTag, and place it on the floor. The page should look like this:
note
More AprilTag markers can be found here: https://github.com/arenaxr/apriltag-gen/tree/master/output
To test AprilTag localization, enter this scene: https://arenaxr.org/public/artest?armode=true
Optionally, you can also enter scenes with a QR code instead of manually typing the link in the browser search bar:

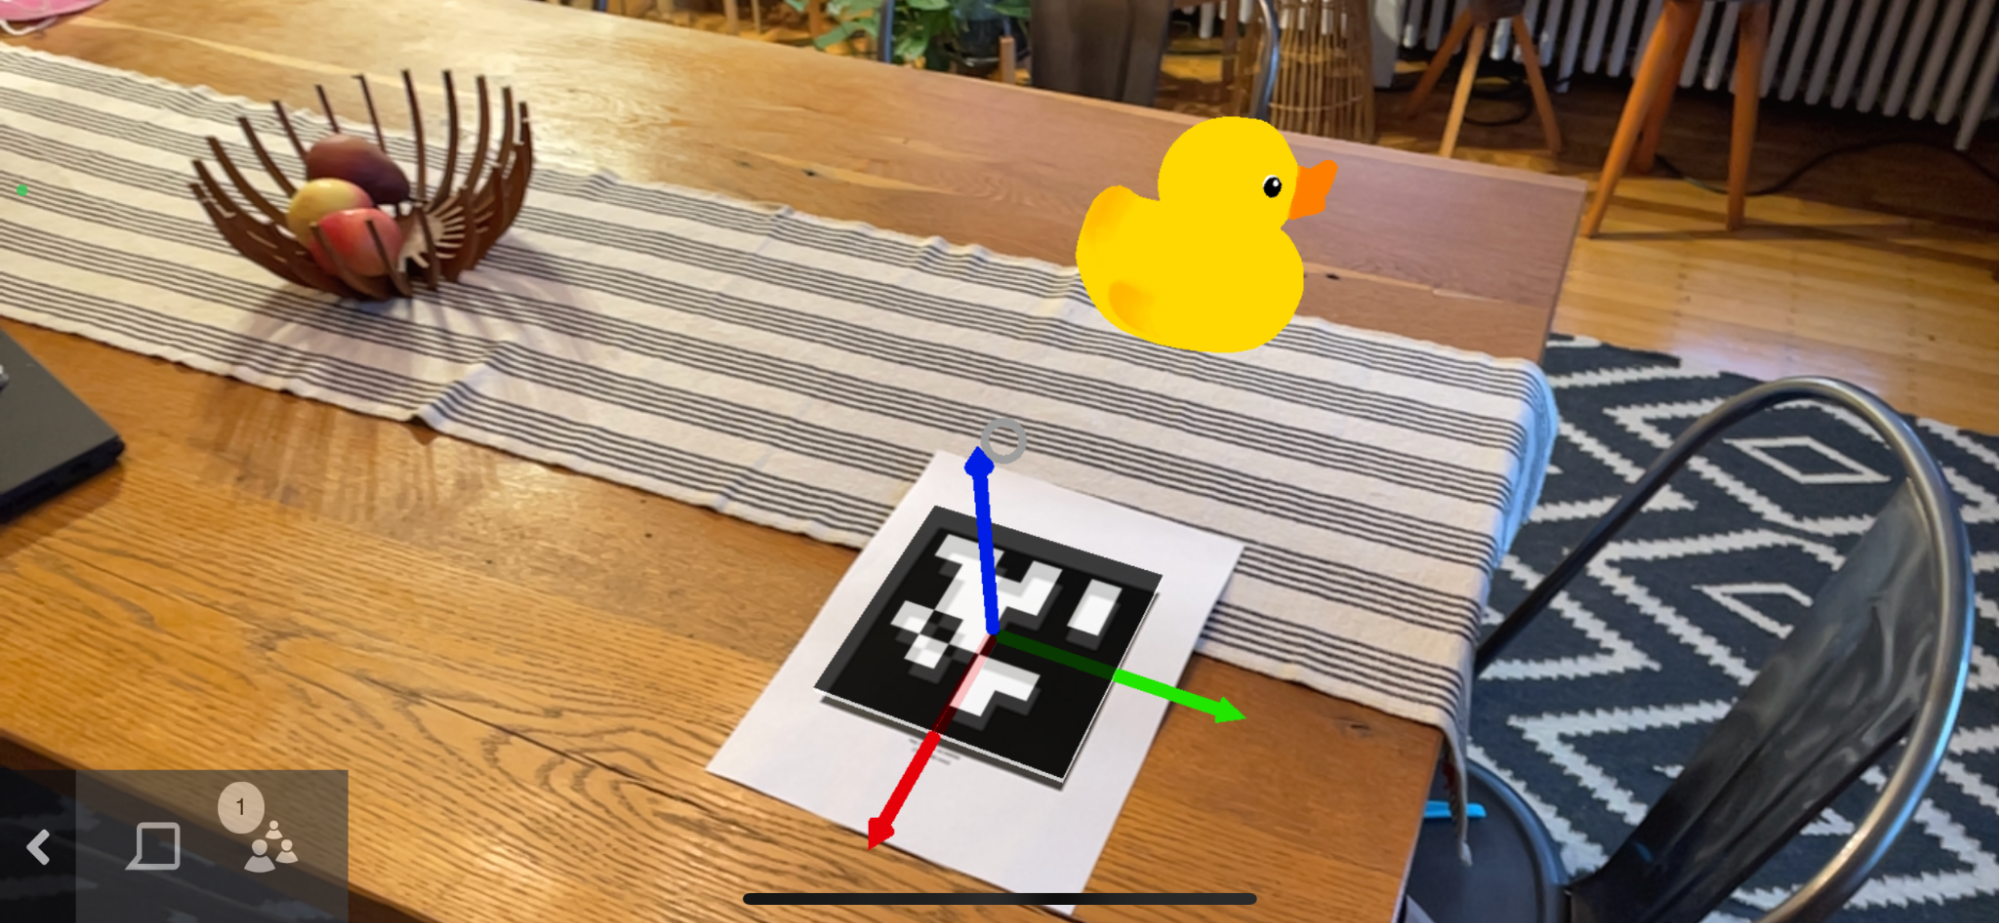
Now, using ARENA on a mobile Android or iOS device in AR mode, look at the marker so that it is in full view of the camera, and watch as the 3D digital content’s origin anchors itself correctly to the AprilTag marker.
Check out more info about AprilTags and ARENA setup.
Using the VR Calibrator
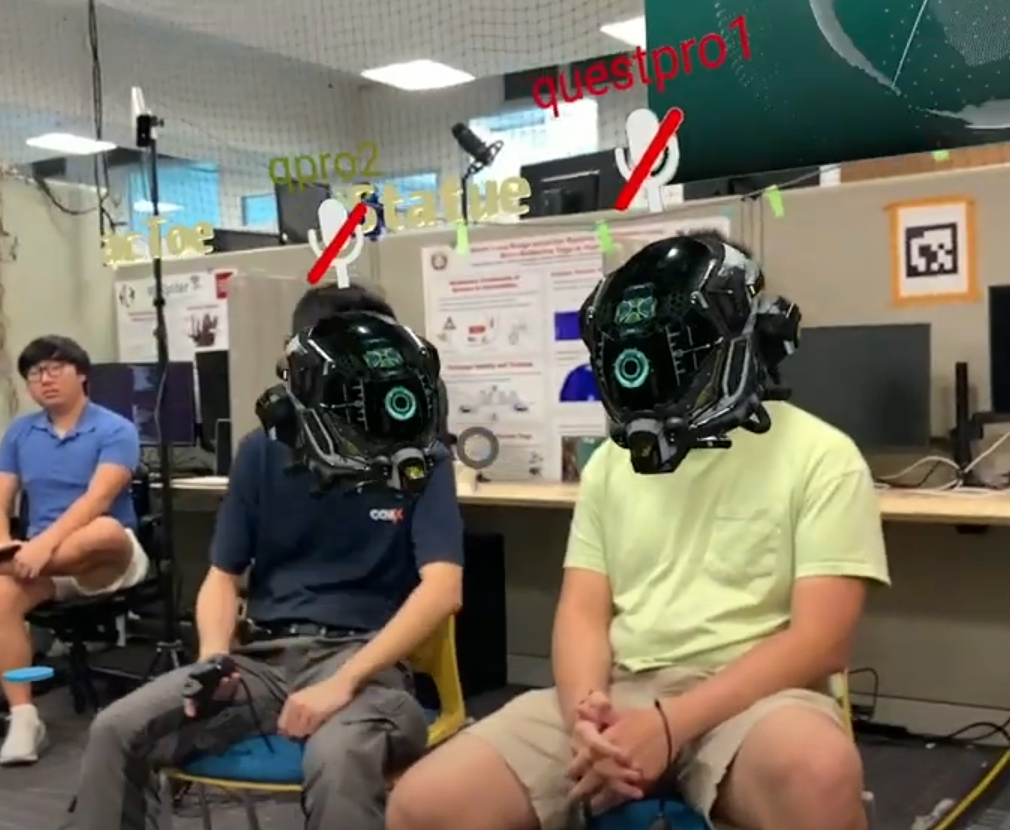
Virtual Reality (VR) headsets can also be anchored into the scene.
warning
Not all VR headsets natively support AprilTag anchoring (including Meta headsets)
We have an alternative for manual calibration. This calibration allows you to manually align the virtual world to the physical world.
VR scene calibration currently requires connecting and running a python script to the scene being viewed in virtual reality.
First, if you have not done so already, follow the instructions in the Python setup and install the arena-py library.
pip3 install arena-py
Clone the arena-py repository on github to gain access to all of the examples and utilities: https://github.com/arenaxr/arena-py
Inside this repository, change the directory to arena-py/tools/calibrate-vr. Here, there is a python script named “calibrate.py”. Run the following command in a terminal or command prompt:
python calibrate.py -mh arenaxr.org -n username -s scenename
The following parameters should be changed to reflect your scene:
-mh arenaxr.org(do not change this)-n username(change this to your username)-s scenename(change this to your scene name)
Now, in your VR headset, use the default Browser app, and open the scene of interest (the same scene as you set the python VR calibrator script to). When the scene has loaded in your VR browser, enable the necessary permissions and click on the [AR] button on the lower right hand side of the ARENA page.
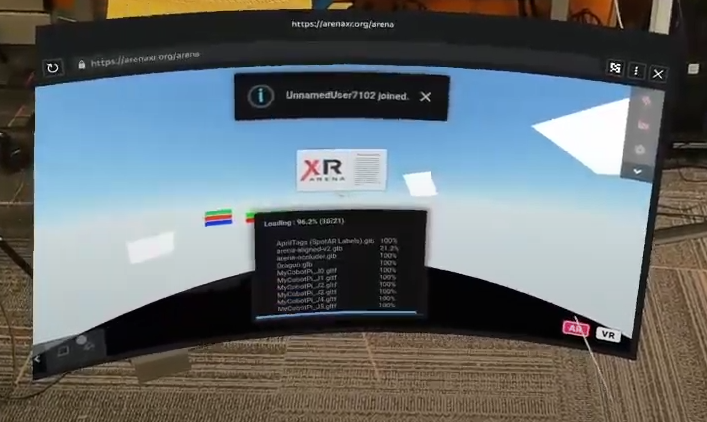
Pictured above: Oculus Quest Pro browser view.
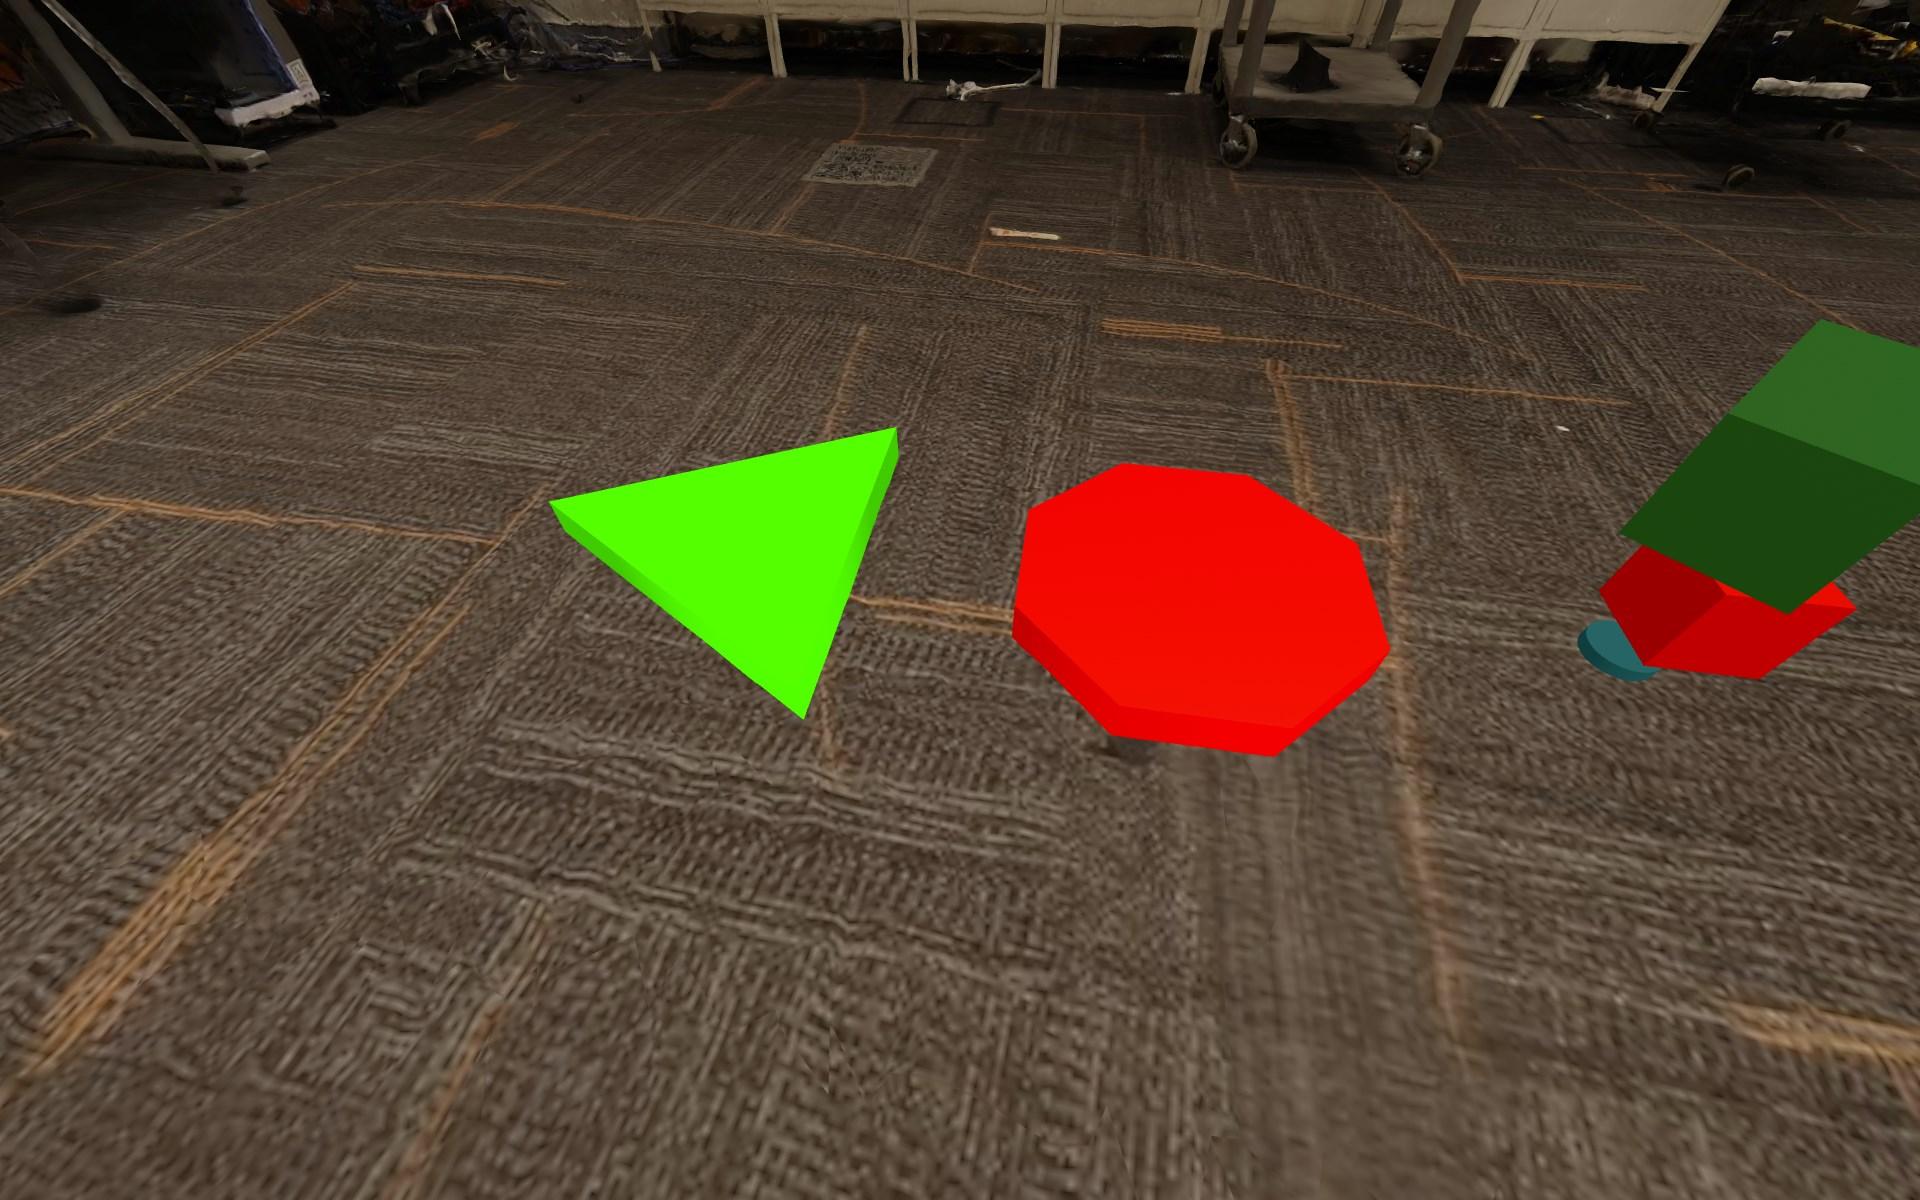
While the Python calibrator script is running, you will see two big colored buttons: a green triangular “Play” button and a red octagonal “Stop” button. Press the green button to begin VR calibration.
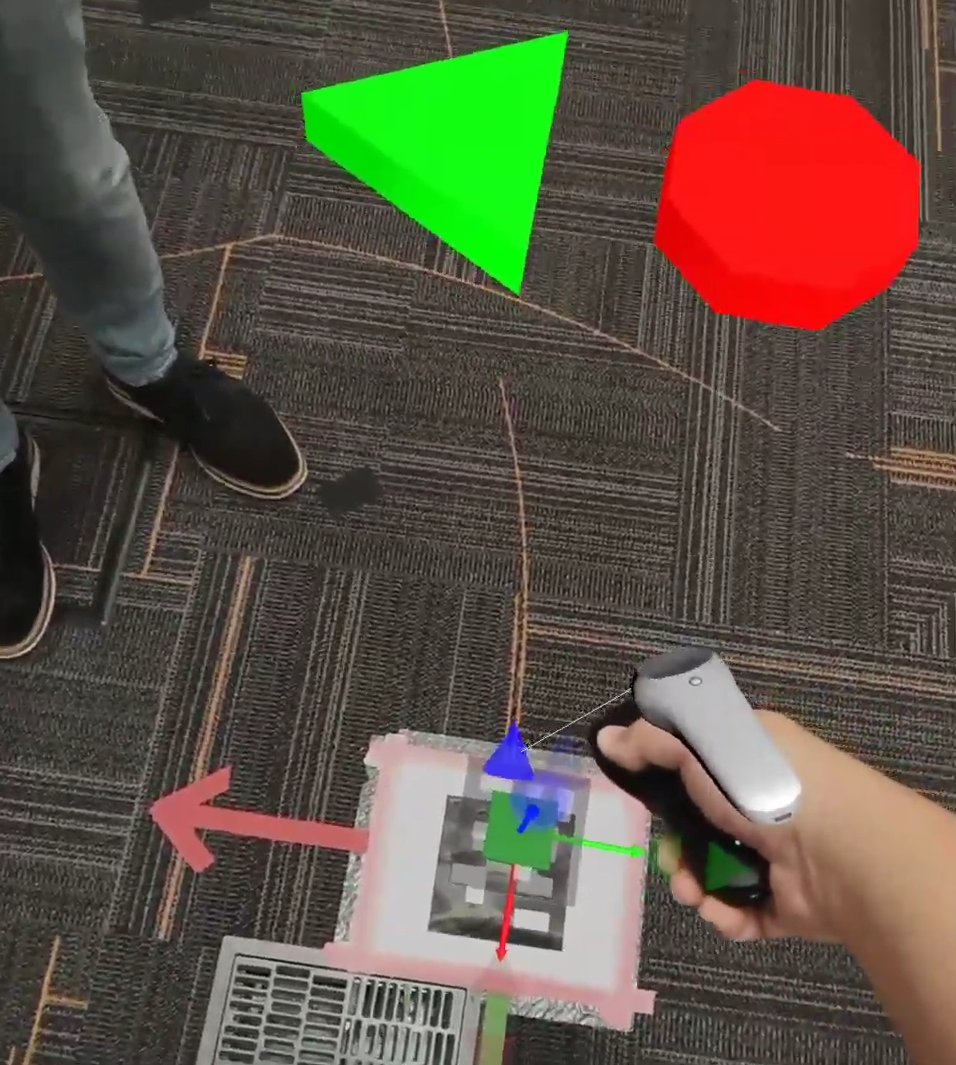
When the big green button is pressed, a multi-axis calibrator gizmo will be visible.

Use the VR controller to repeatedly click on the gizmo’s eight buttons
(move x+, move x-, move y+, move y-, move z+, move z-, rotate y+, rotate y-)
until the multi-axis VR calibrator gizmo is aligned with the AprilTag marker.
When you are done aligning the multi-axis VR calibrator gizmo with the April Tag, click on the big red octagonal “Stop” button to hide the calibrator gizmo and lock it in place. If the calibration drifts too much, simply click on the green button to recalibrate. Note that recalibration will likely be necessary every time the browser is refreshed.
goal
Learn how a device like the Quest 2 and other XR goggles require different strategies to localize content. To come full circle, you should be able to use your controller to activate your animation-rigged 3D model in the room using AR passthrough.