Animations and Morph Targets
In this section, you will be learning how to add and export a custom animation for your 3D model.
note
You do not have to follow this tutorial exactly. If you have another way to animate, feel free to do so!
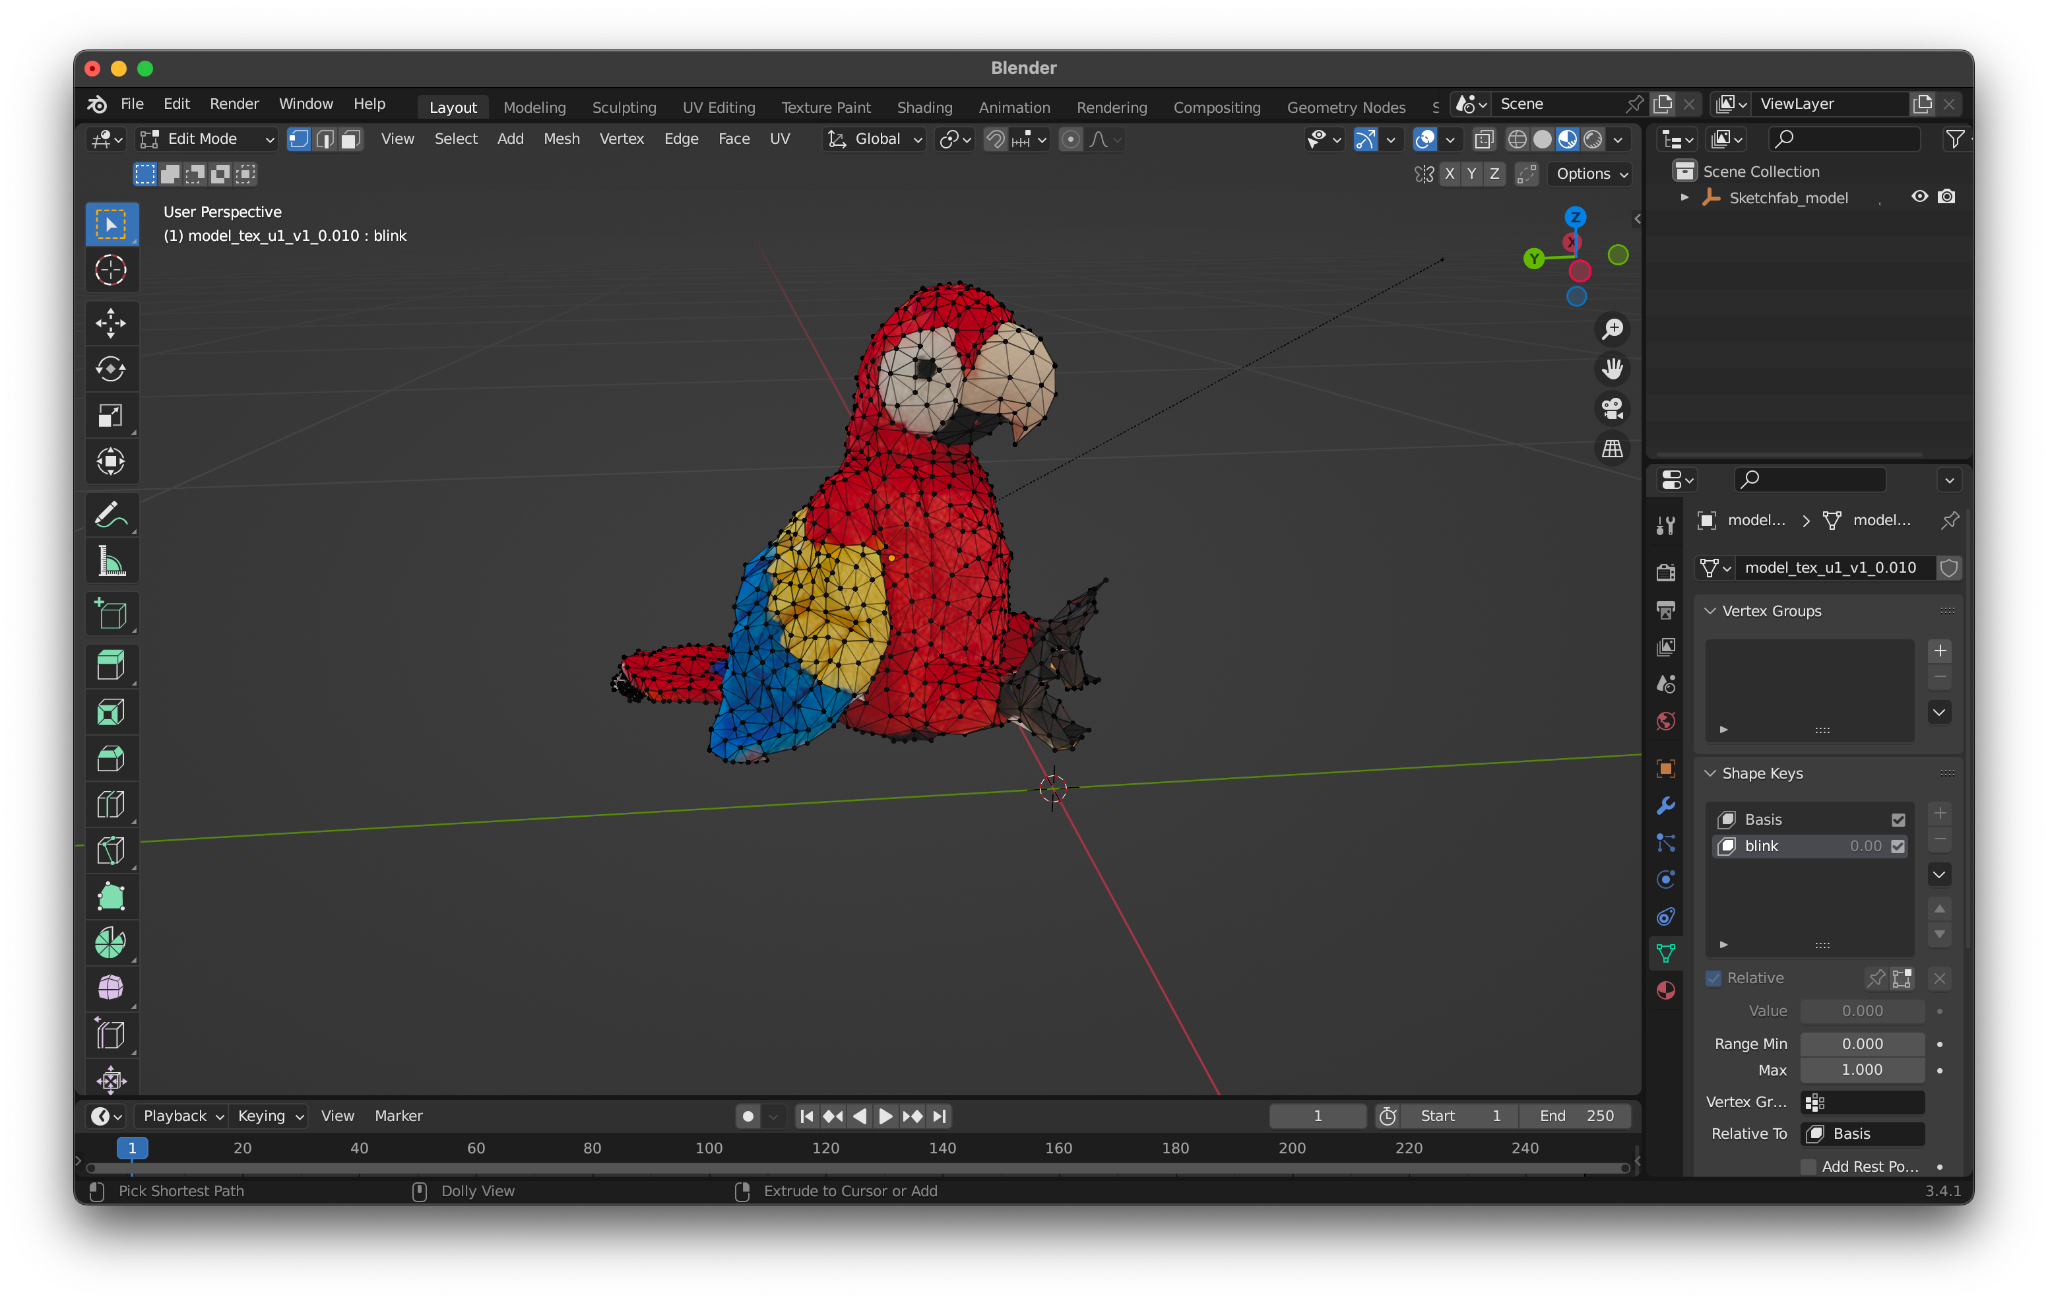
You should have an object like below.
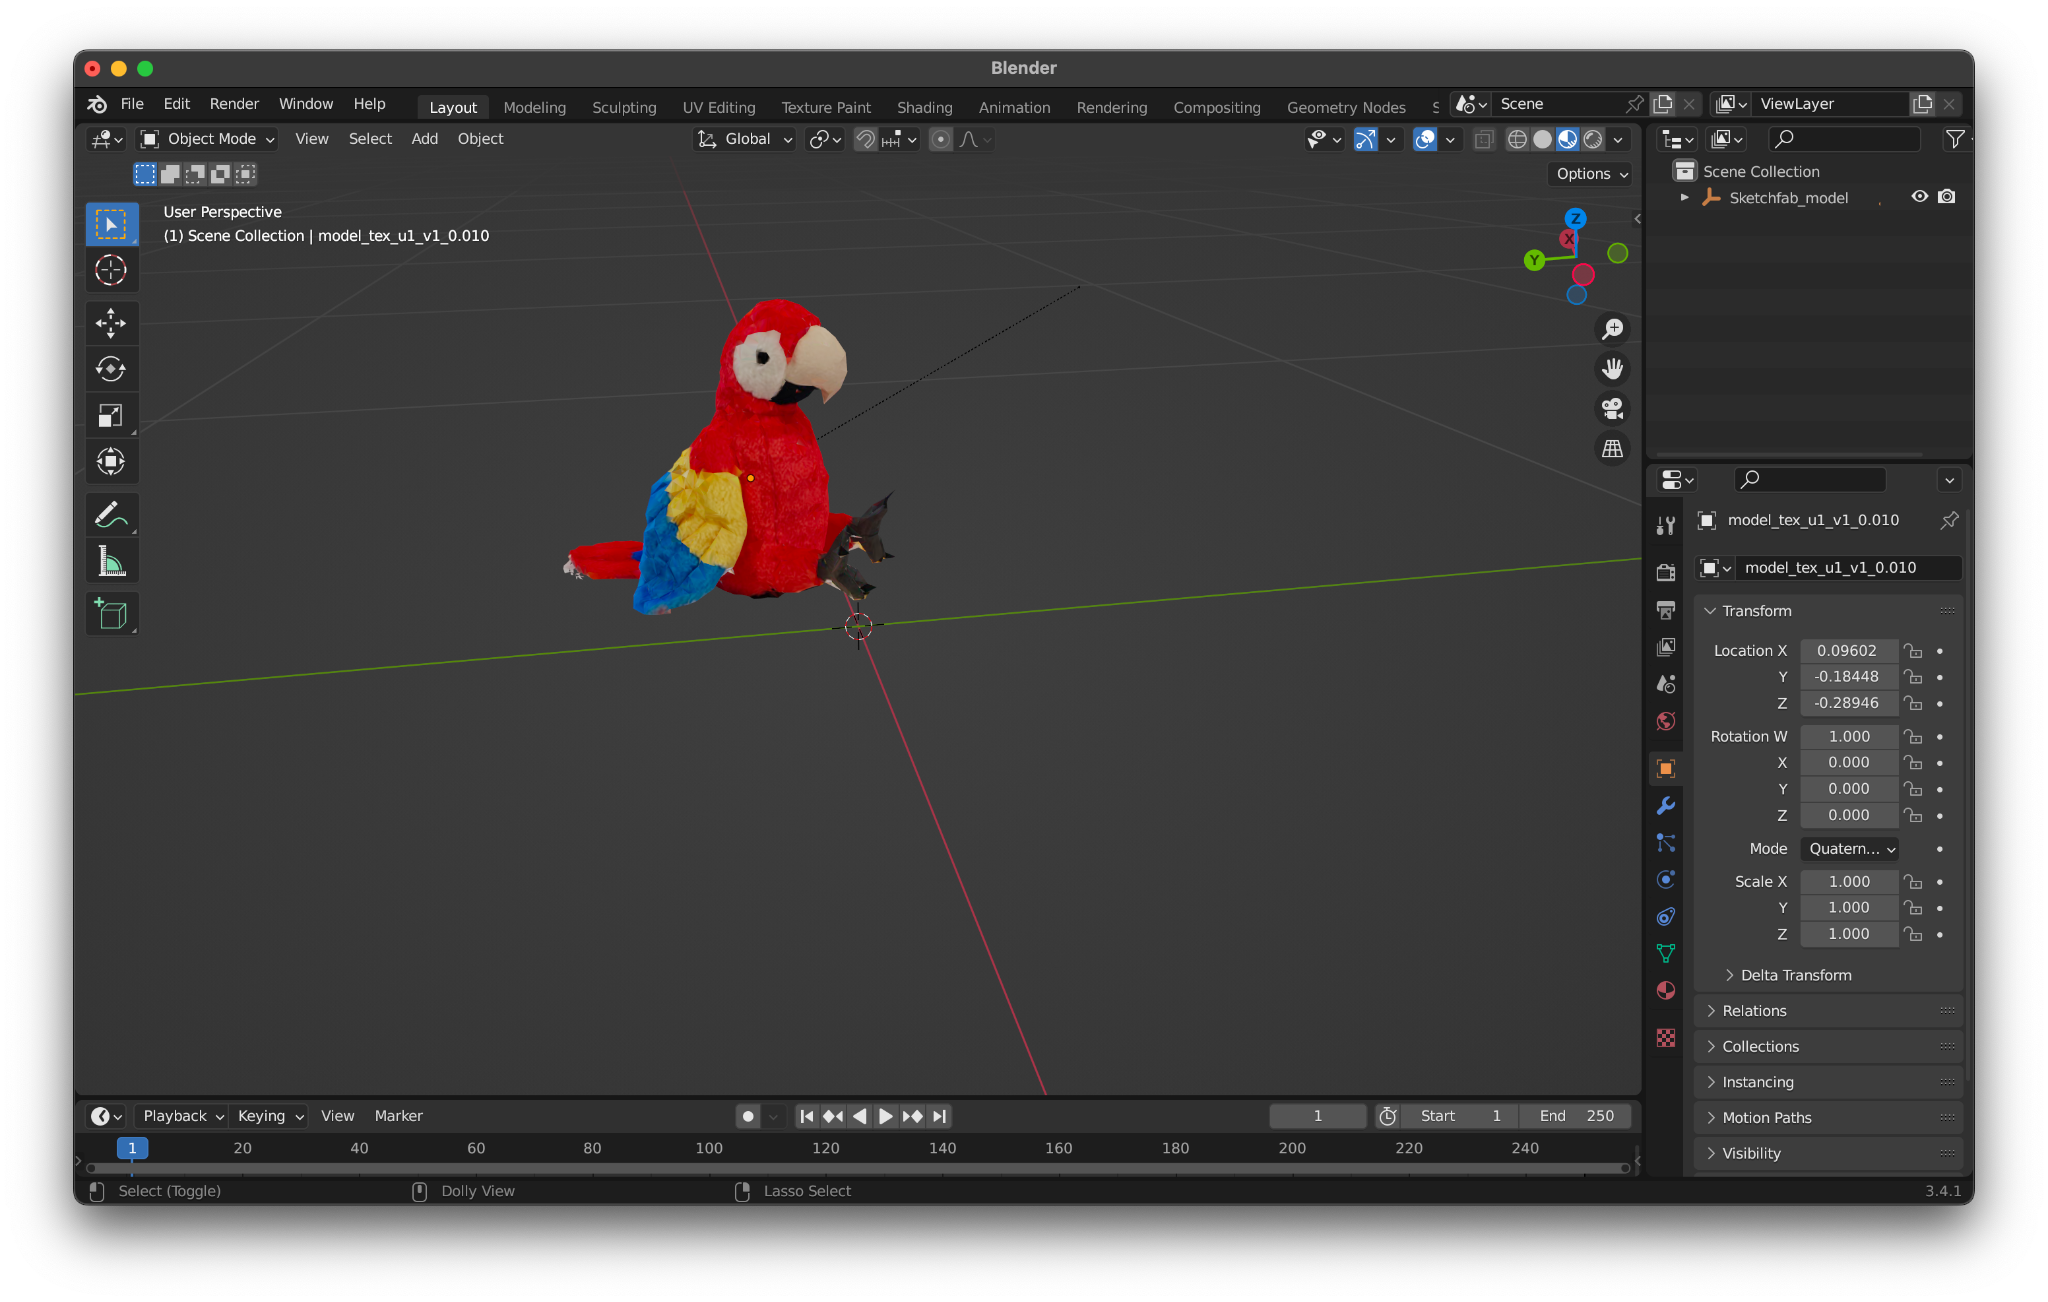
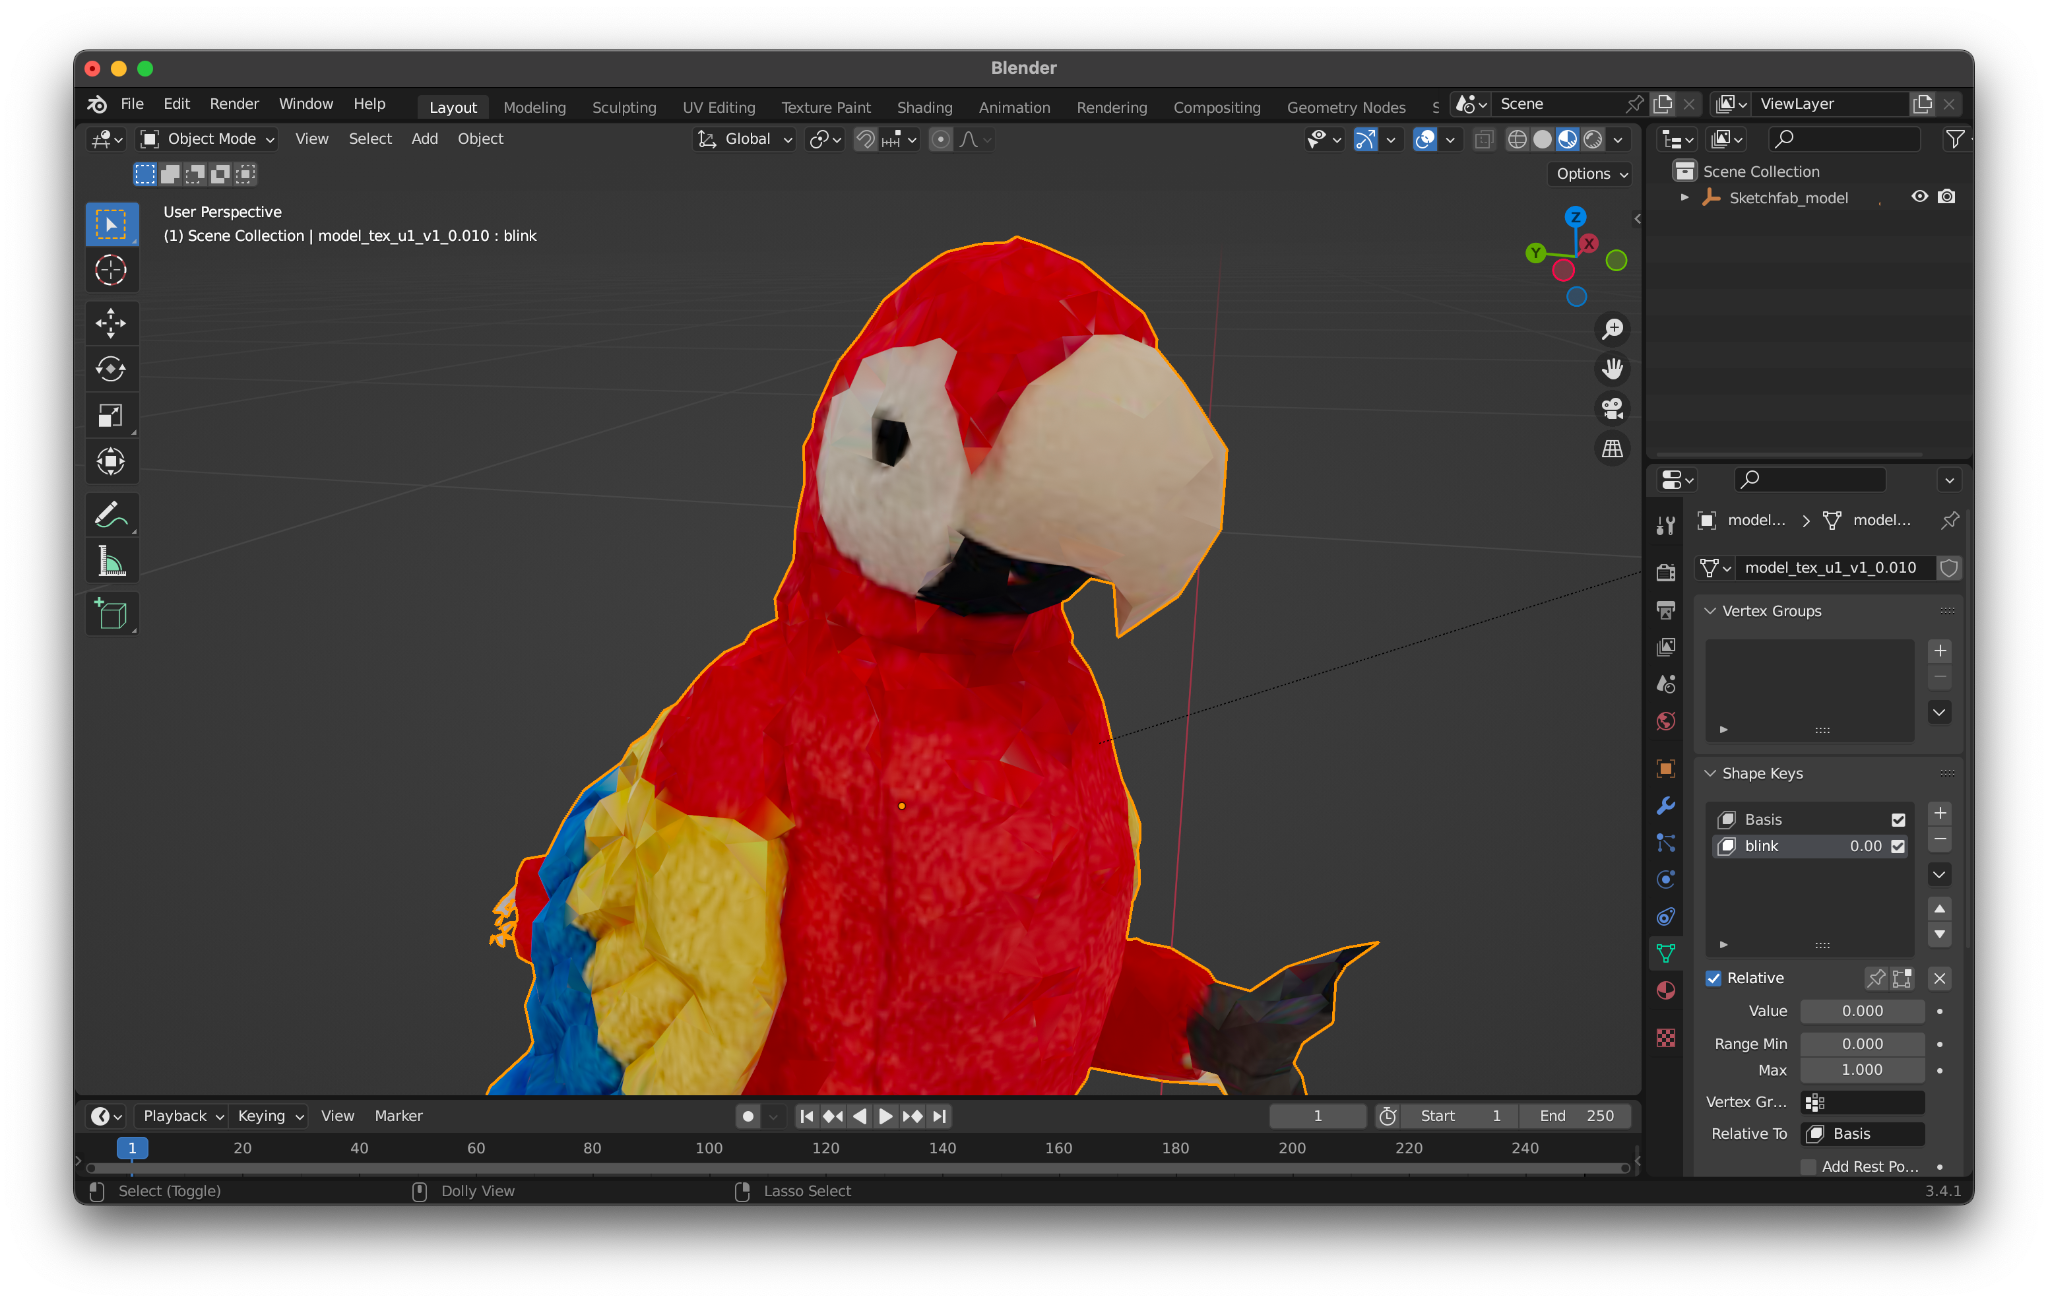
Please make sure you have the Object Data Properties tab selected on the leftmost vertical menu bar .
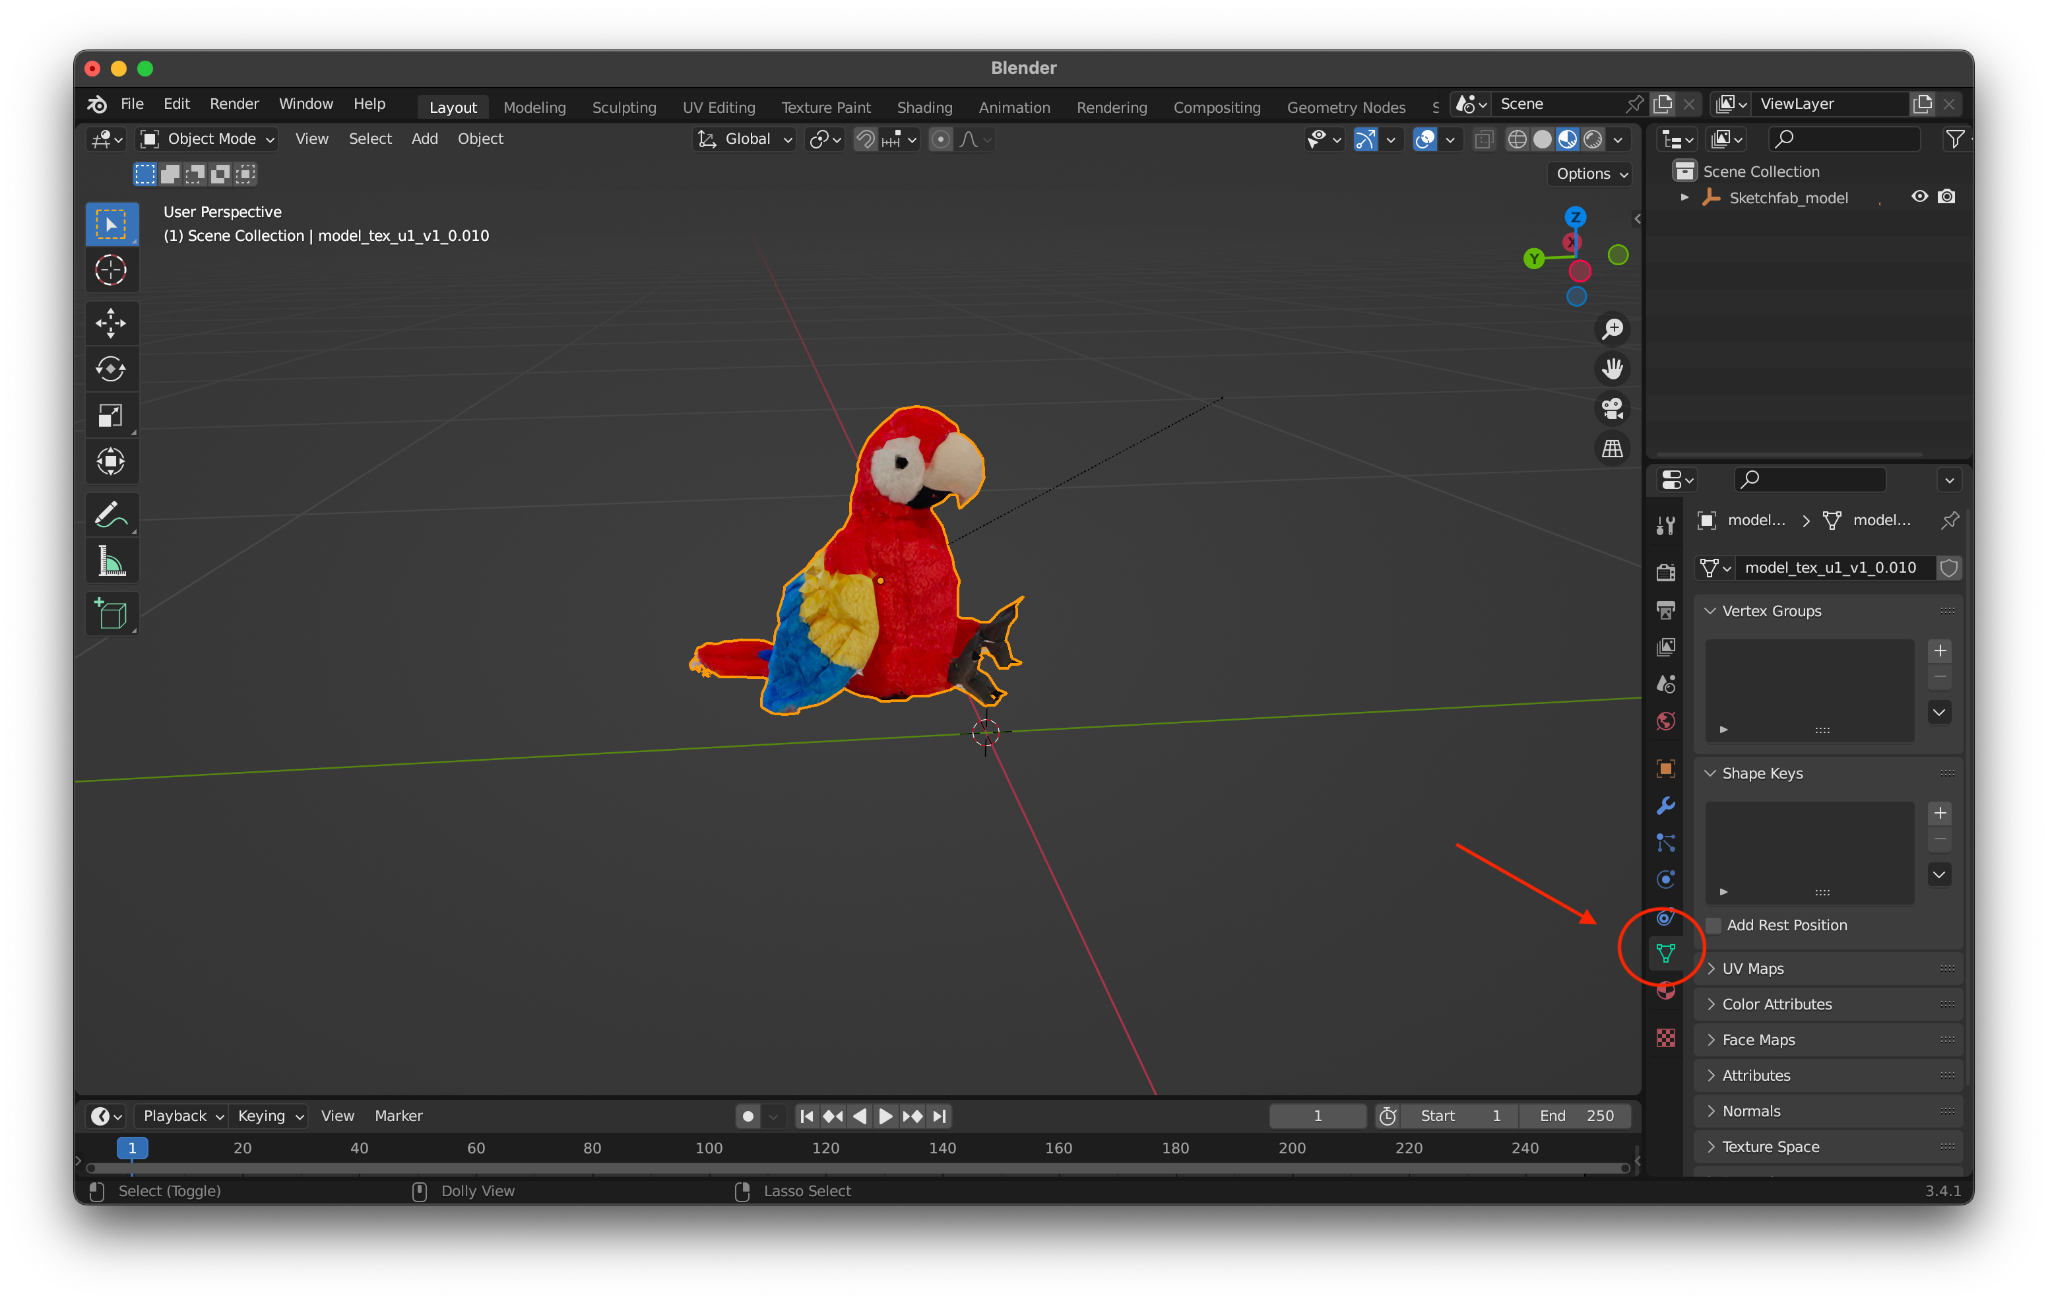
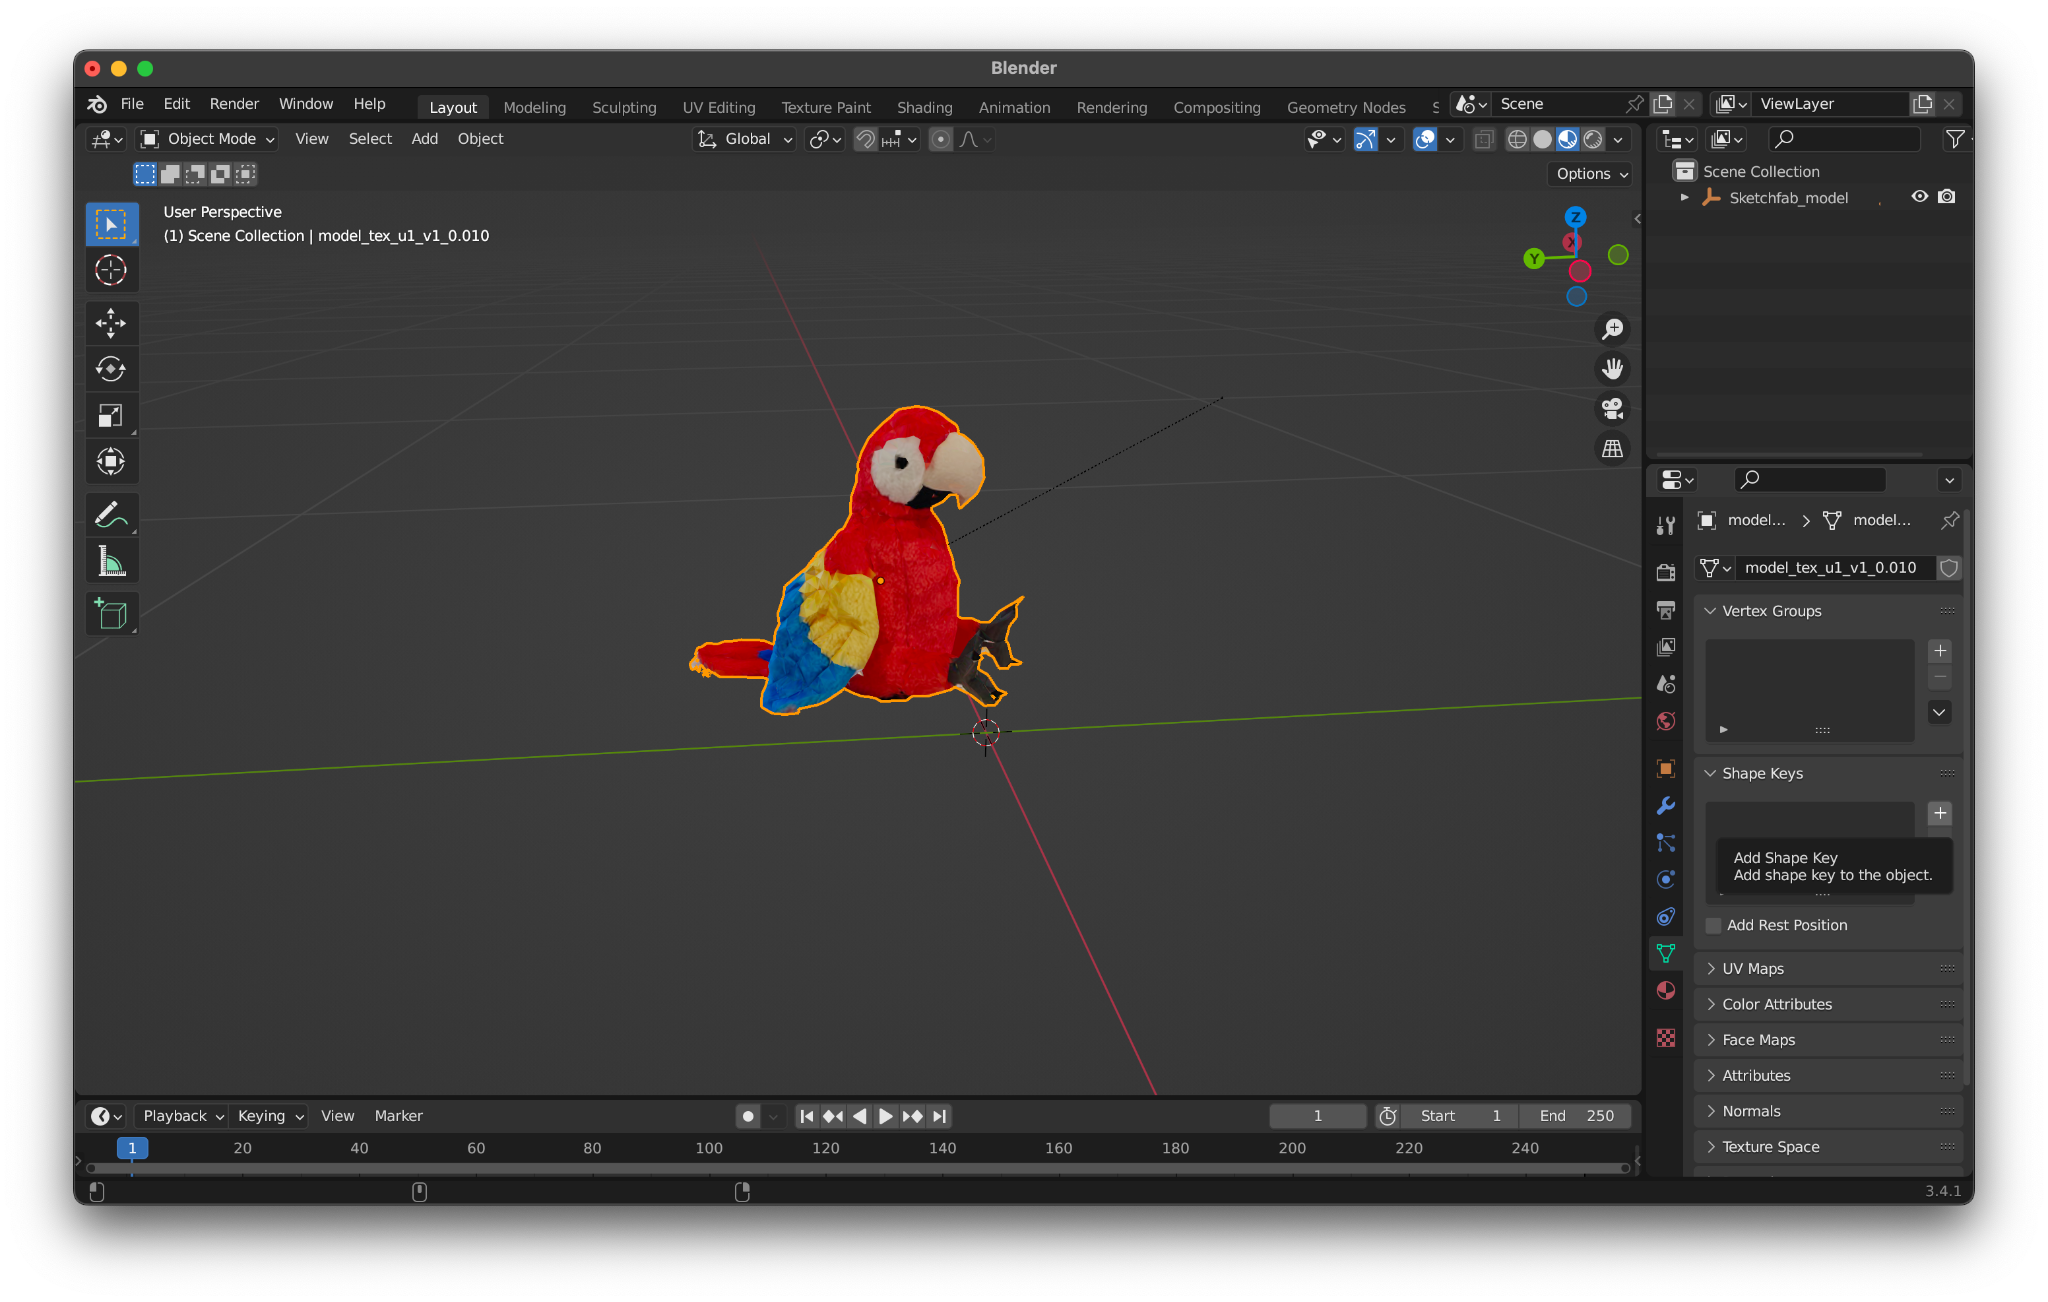
Add a shape key using the “+” sign in the Shape Keys list. This will make a shape key called “Basis,” which is the initial state of your animation. This should just be the unchanged 3D model that you scanned.
Now, add a new shape key, which will act as the animation trigger.
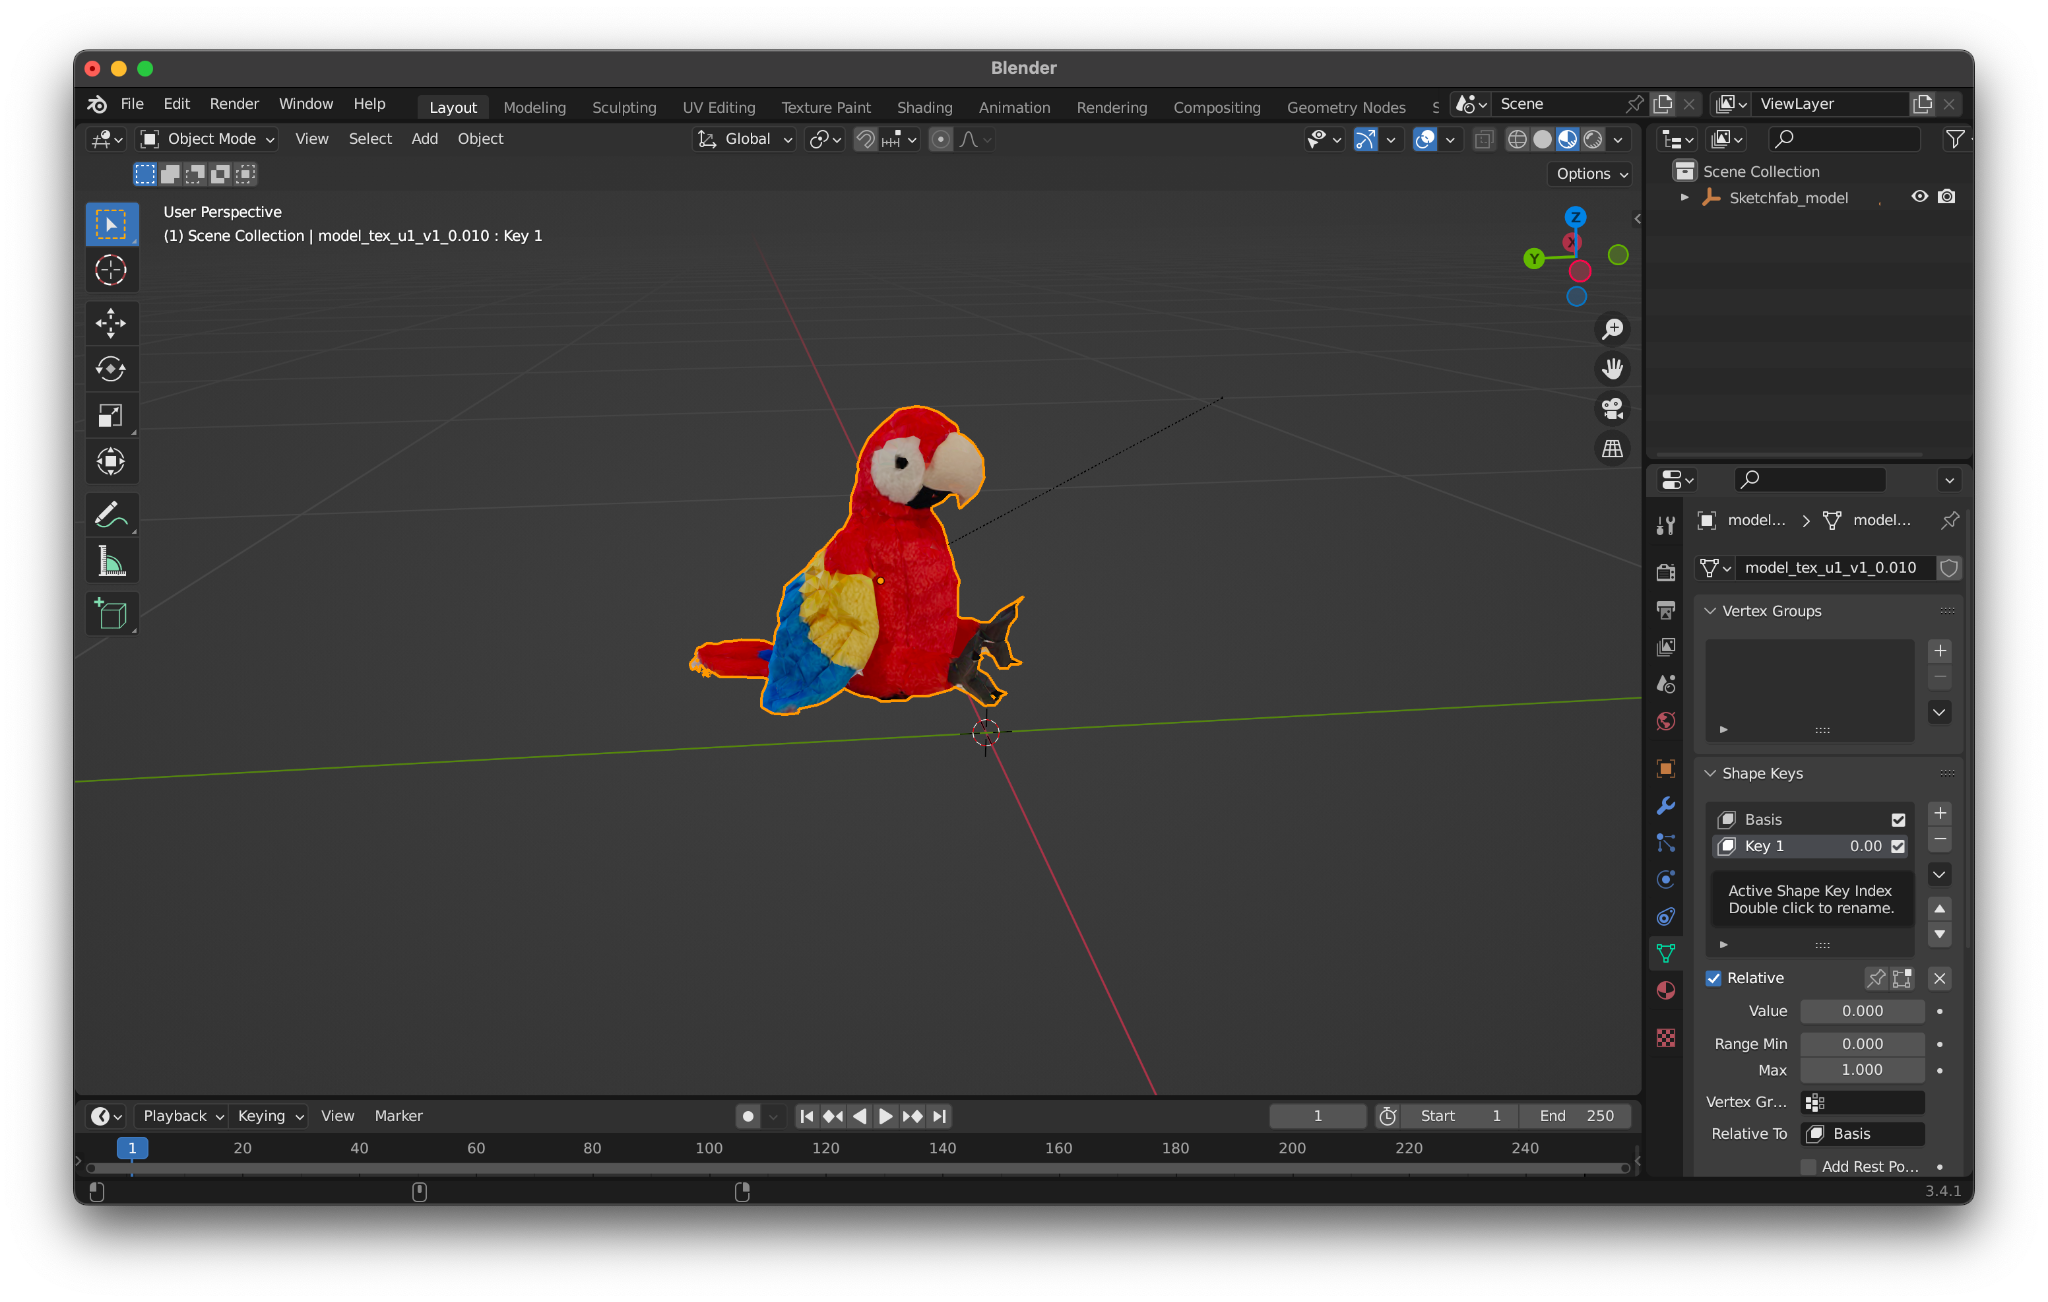
Rename this to something you can recognize. We are making our model blink, so we will call our shape key “blink”.

Now type “TAB” to enter Edit Mode. This mode lets you edit the mesh of your scanned model!
Select a couple vertices of your model that you want to manipulate for your animation. You can also select edges by typing “2”, or faces by typing “3”. Return to editing vertices by typing “1”. We will select the upper two vertices of our model’s eye.
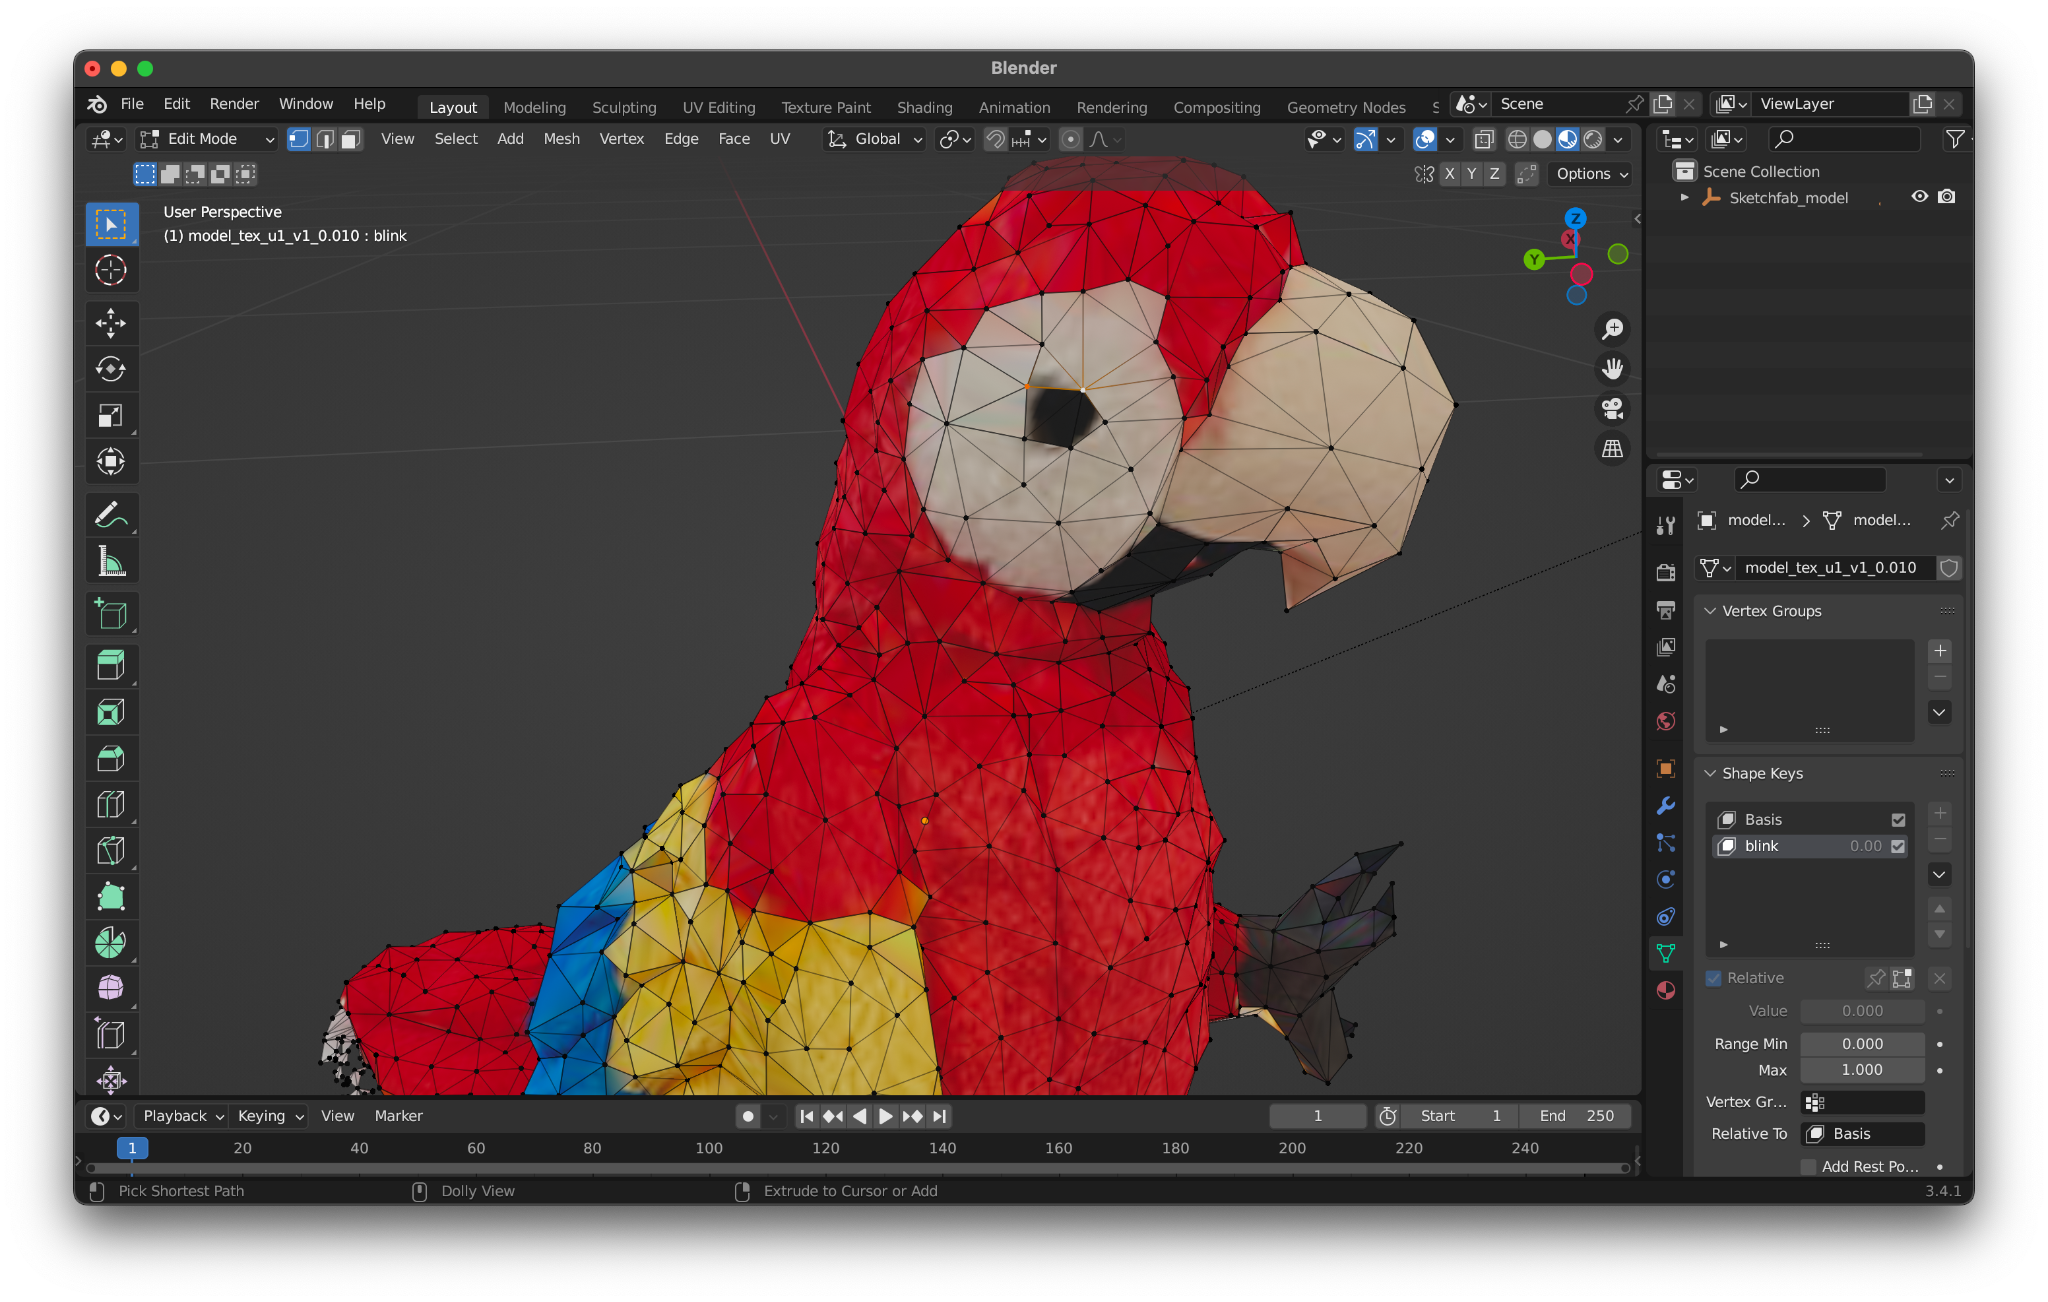
Next, enable Proportional Editing. This will make it so that your transformations will also affect the surrounding vertices/edges/faces.

Next, type “g” so that you can move your vertices. “r” will rotate and “s” will scale! After typing “g”, “r”, or “s”, you can type “x”, “y”, or “z” to move/rotate/scale along a certain axis, which can be helpful.
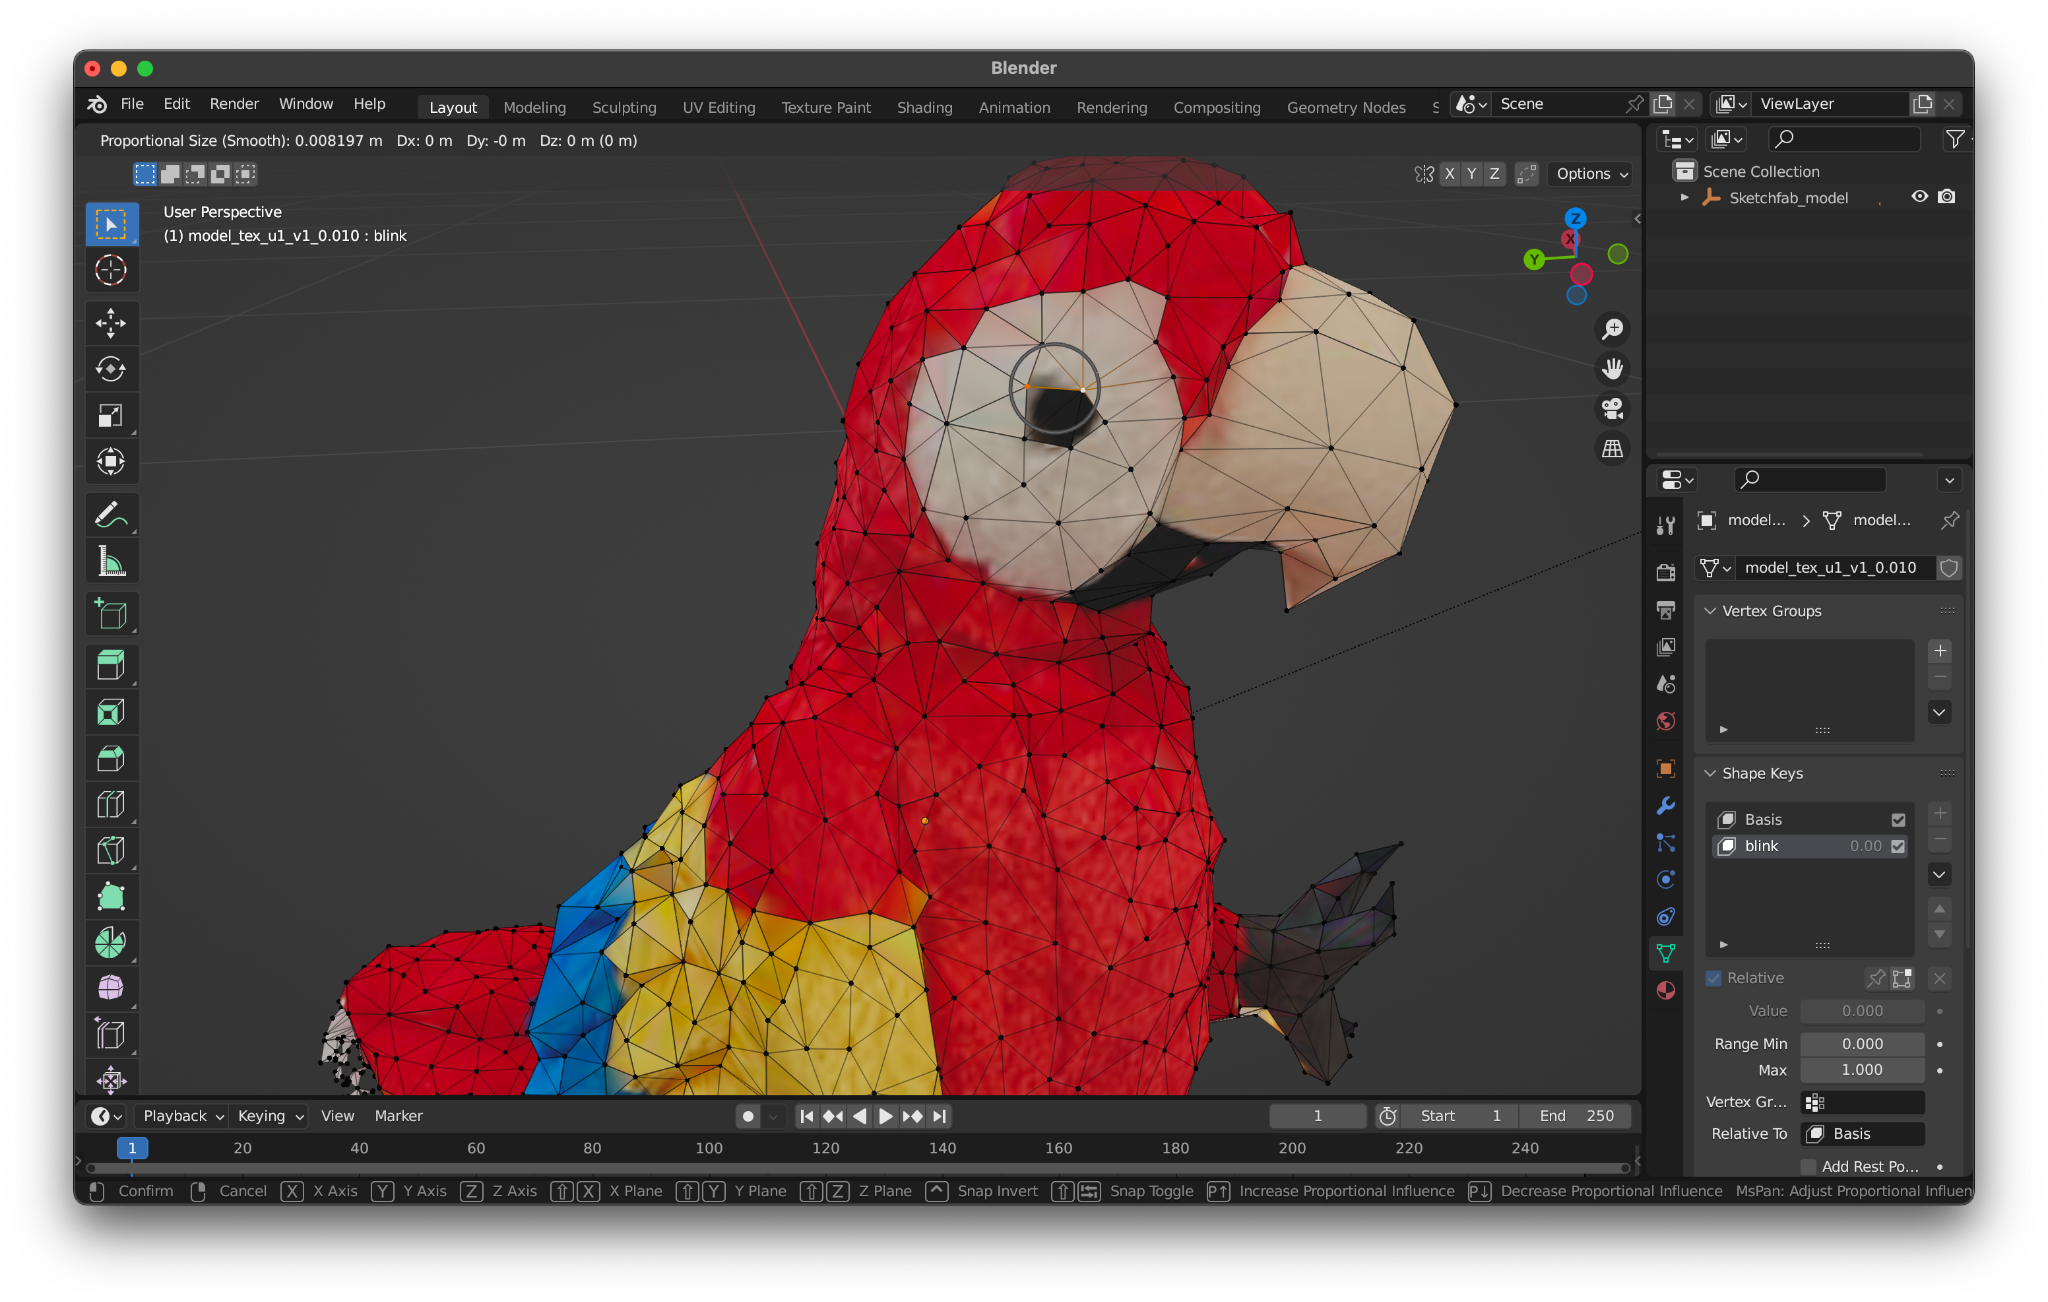
If you do not see the gray Proportional Editing circle (like the gray circle above), please use the scroll wheel or swipe down/up with two fingers on your trackpad to adjust the size of the Proportional Editing circle. We will move our two selected points down.

We will also move the lower three points up.

Same for the other side!
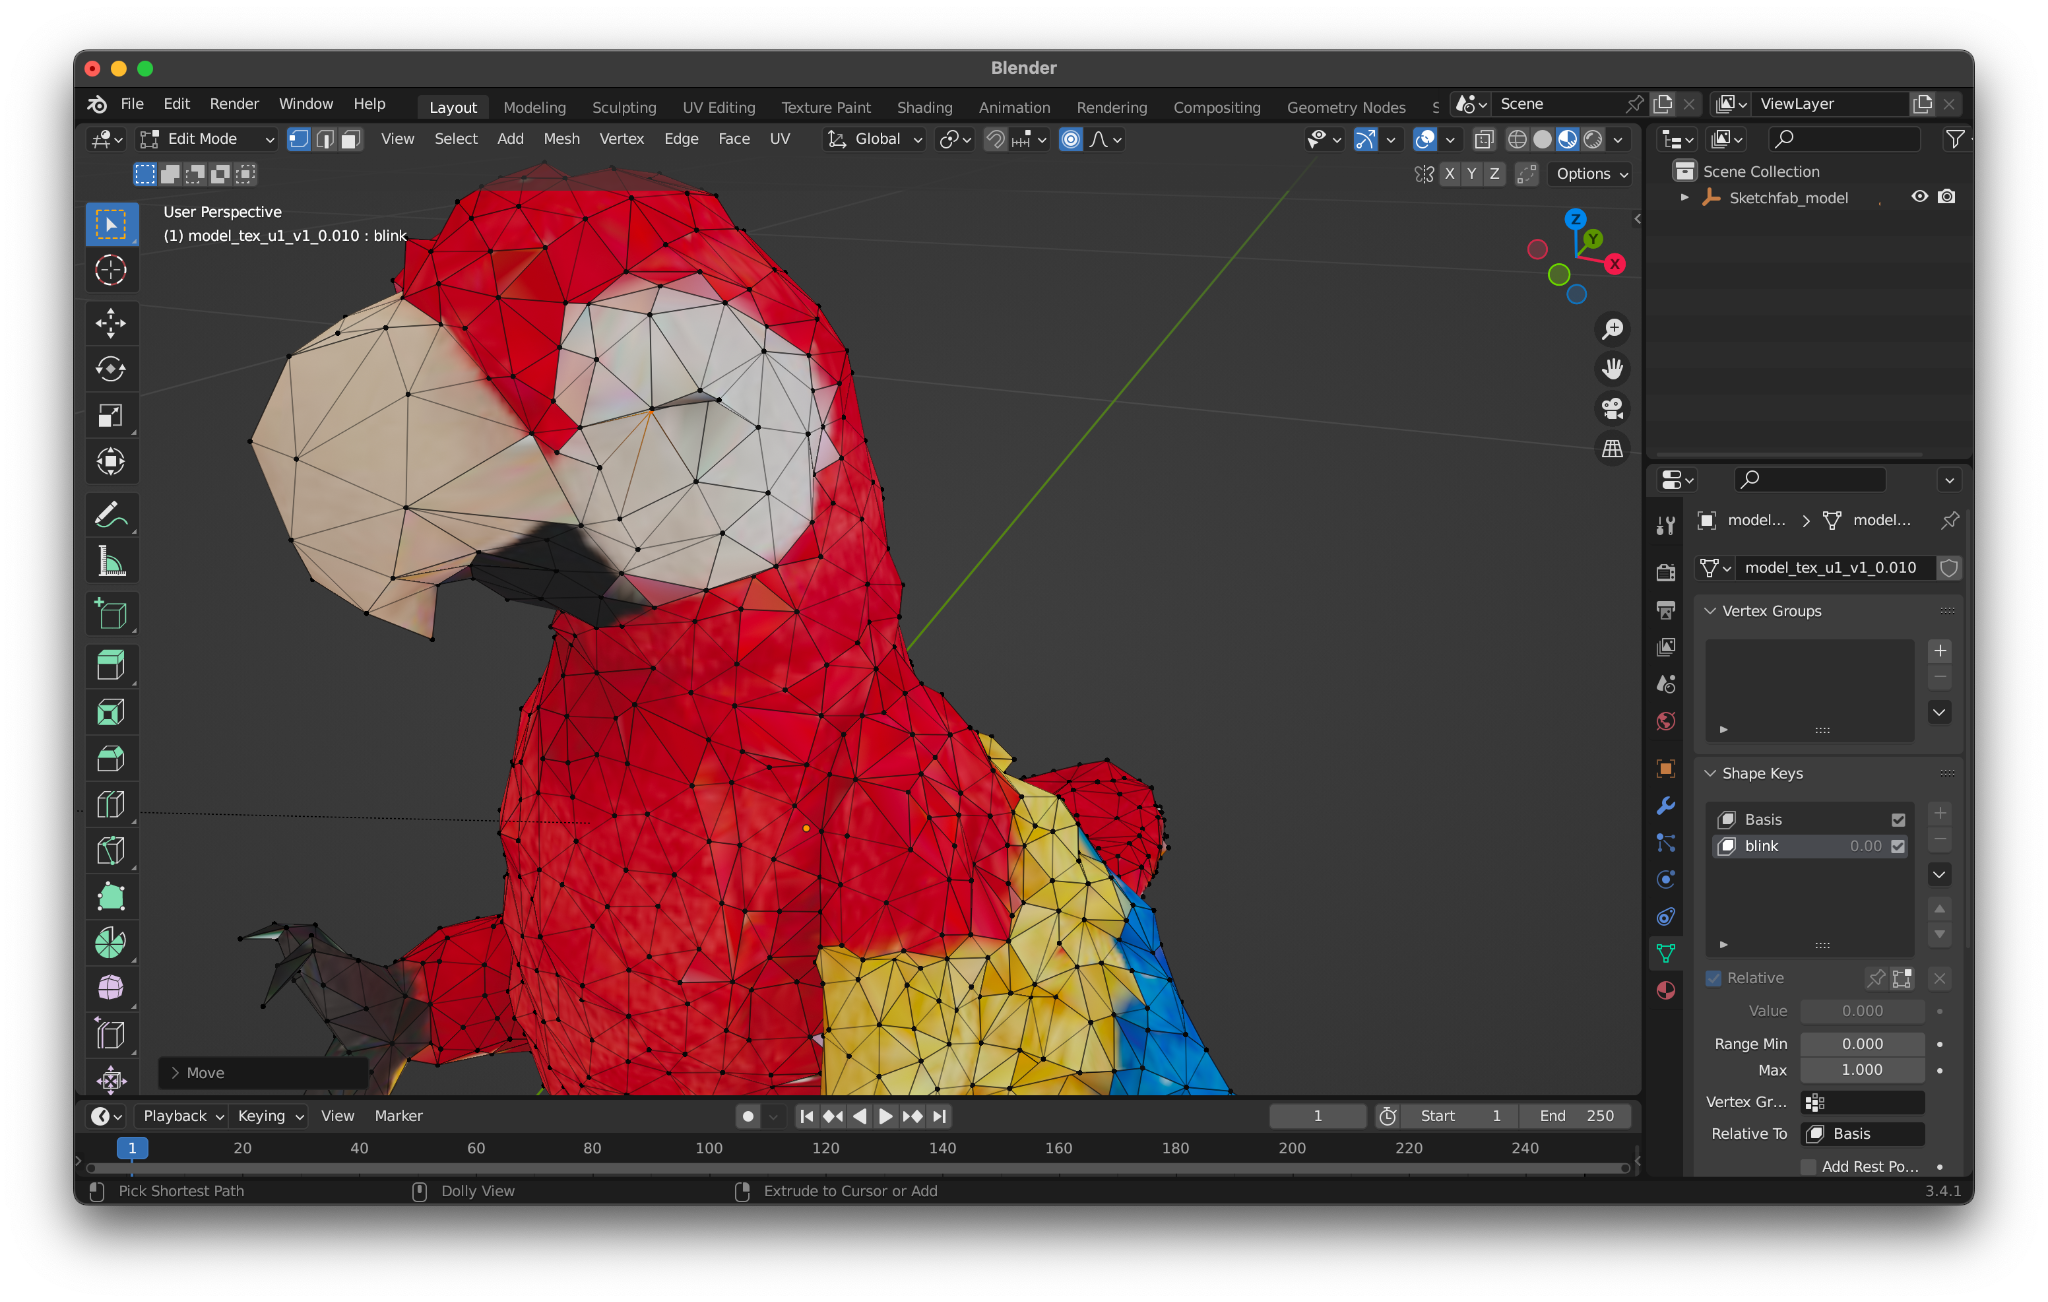
Feel free to edit and animate your model as you please! Be creative here! When you are finished, press “TAB” again to exit Edit Model, returning to Object Mode.
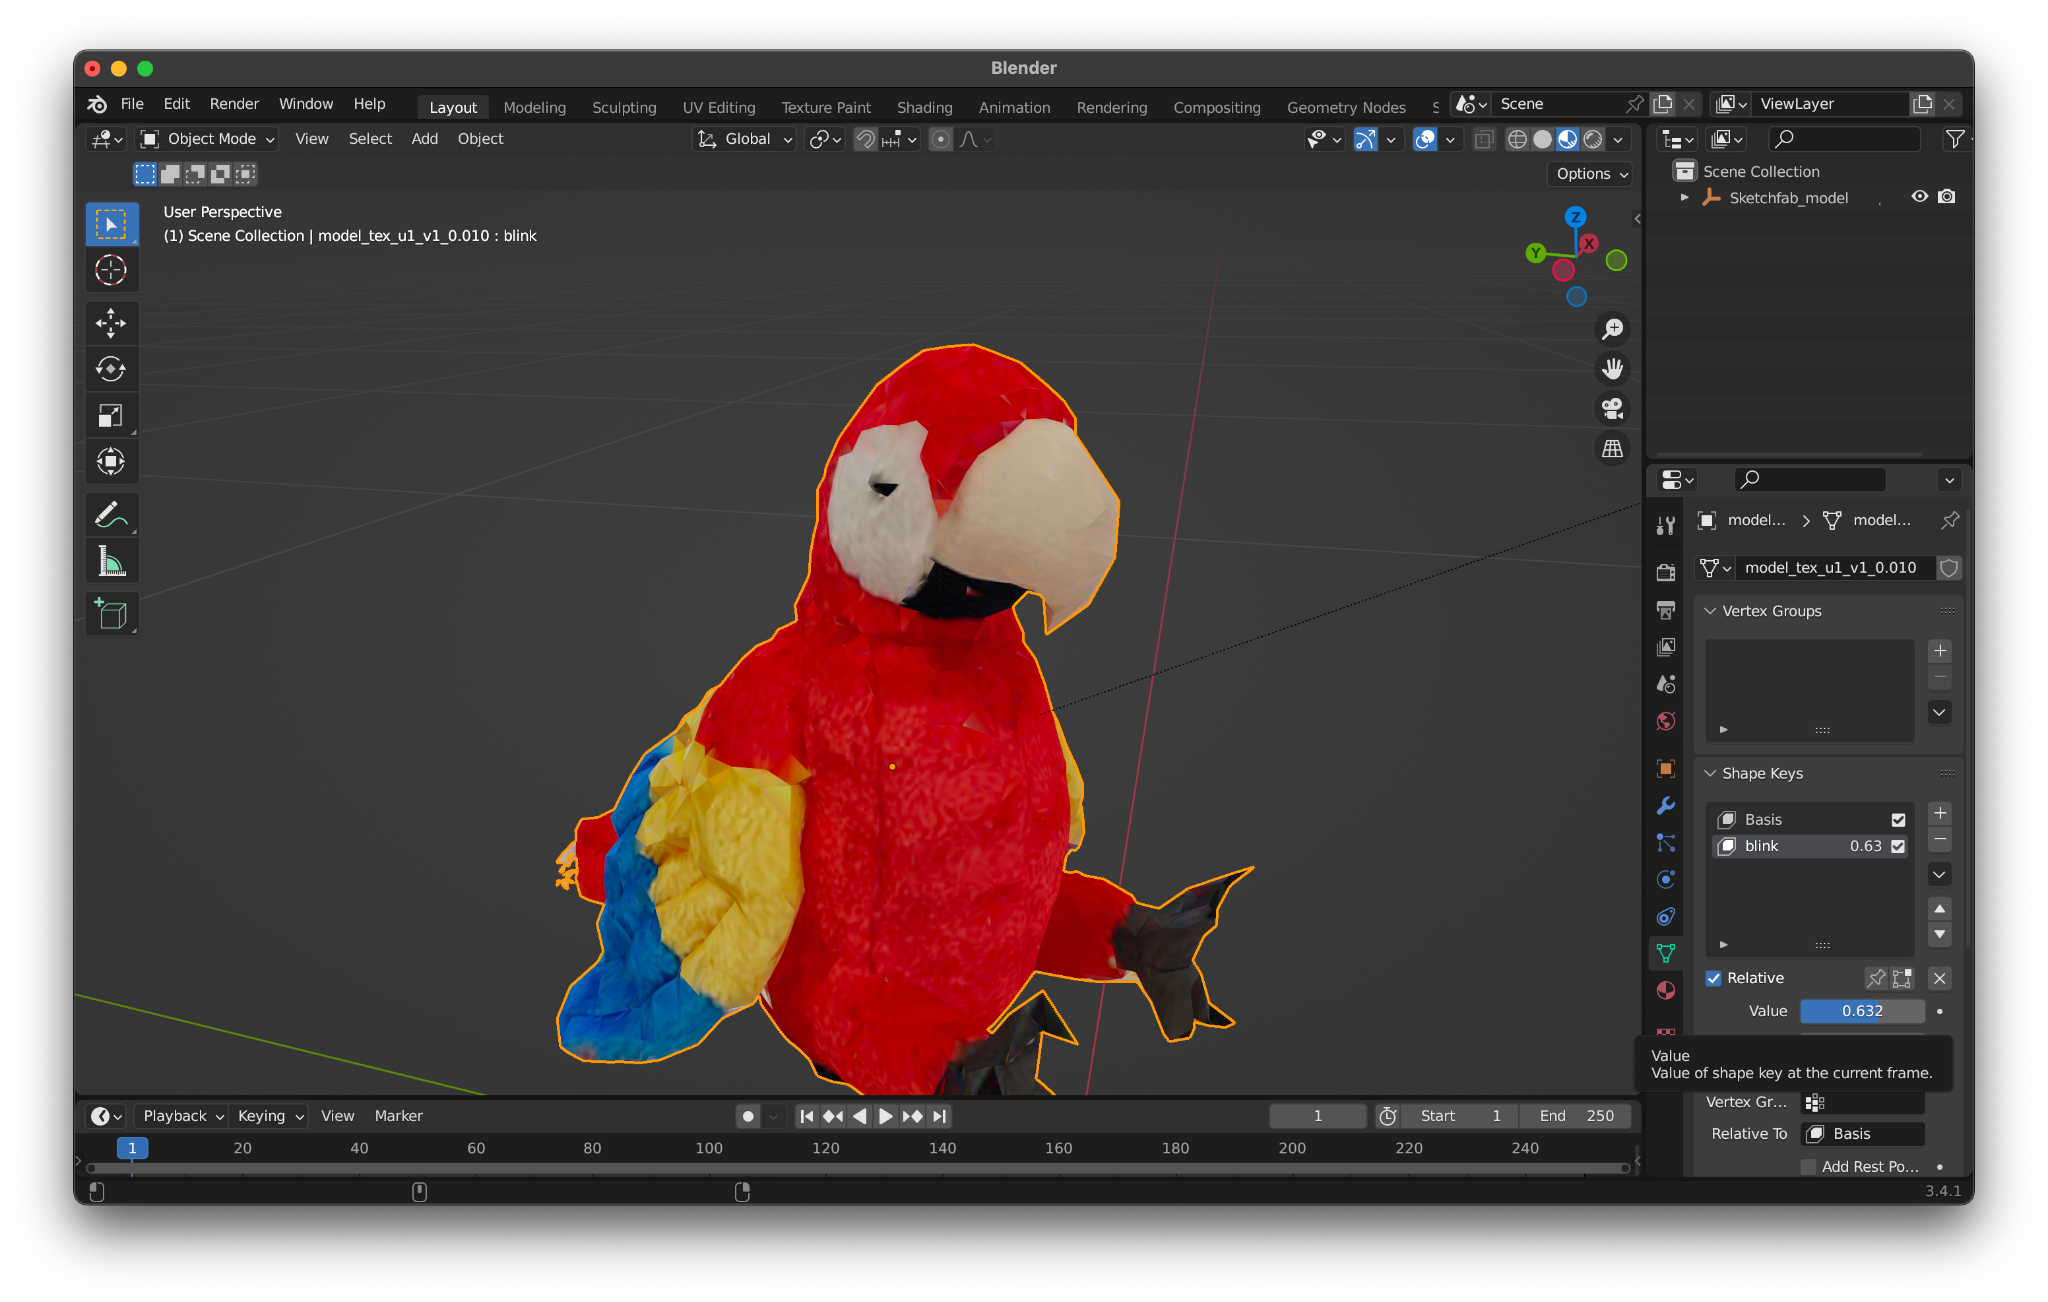
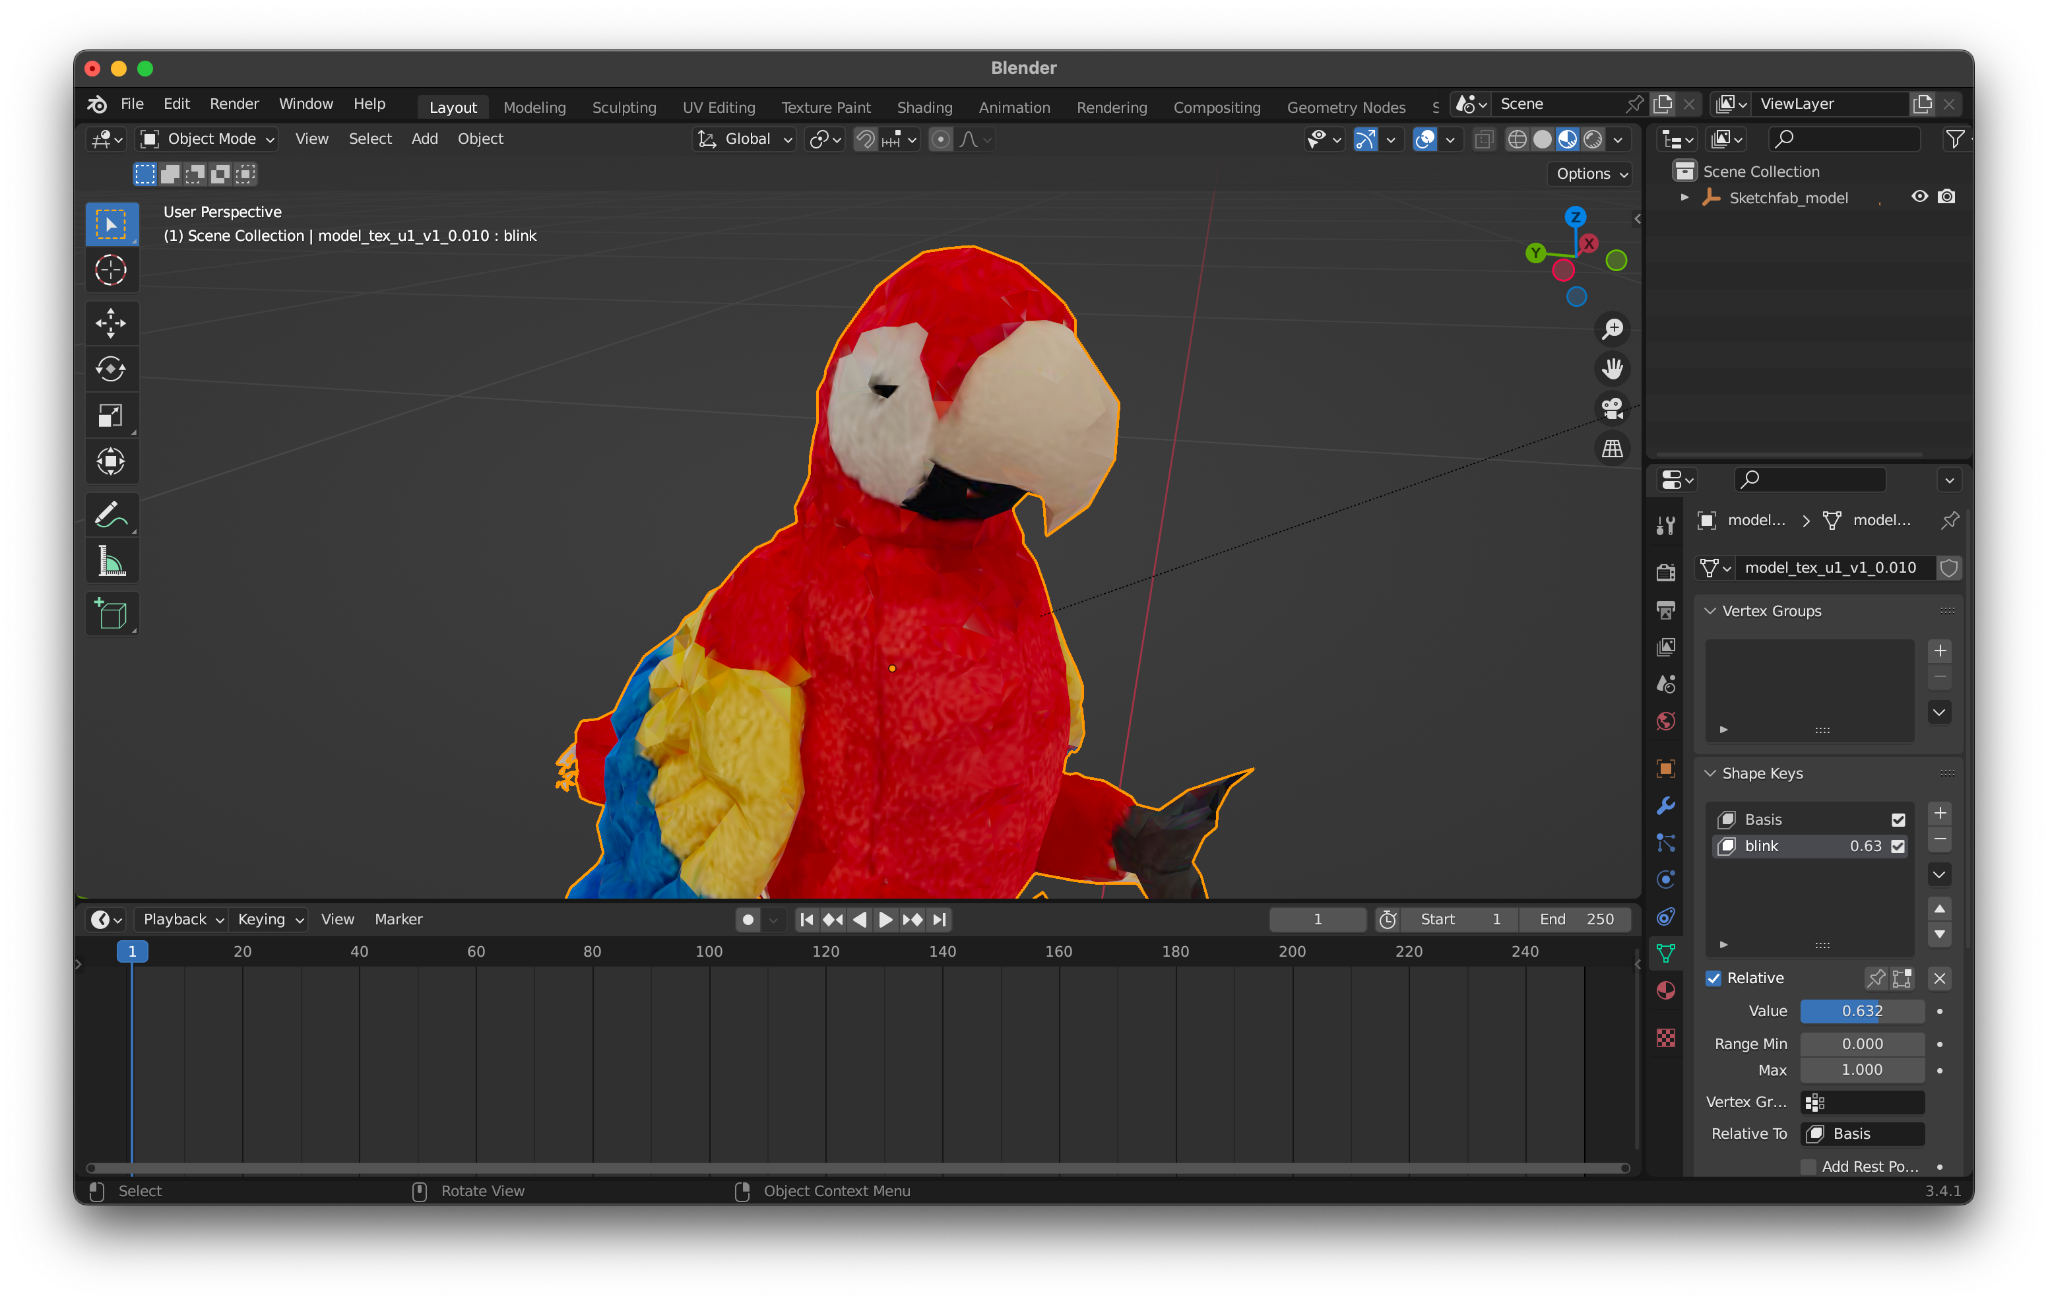
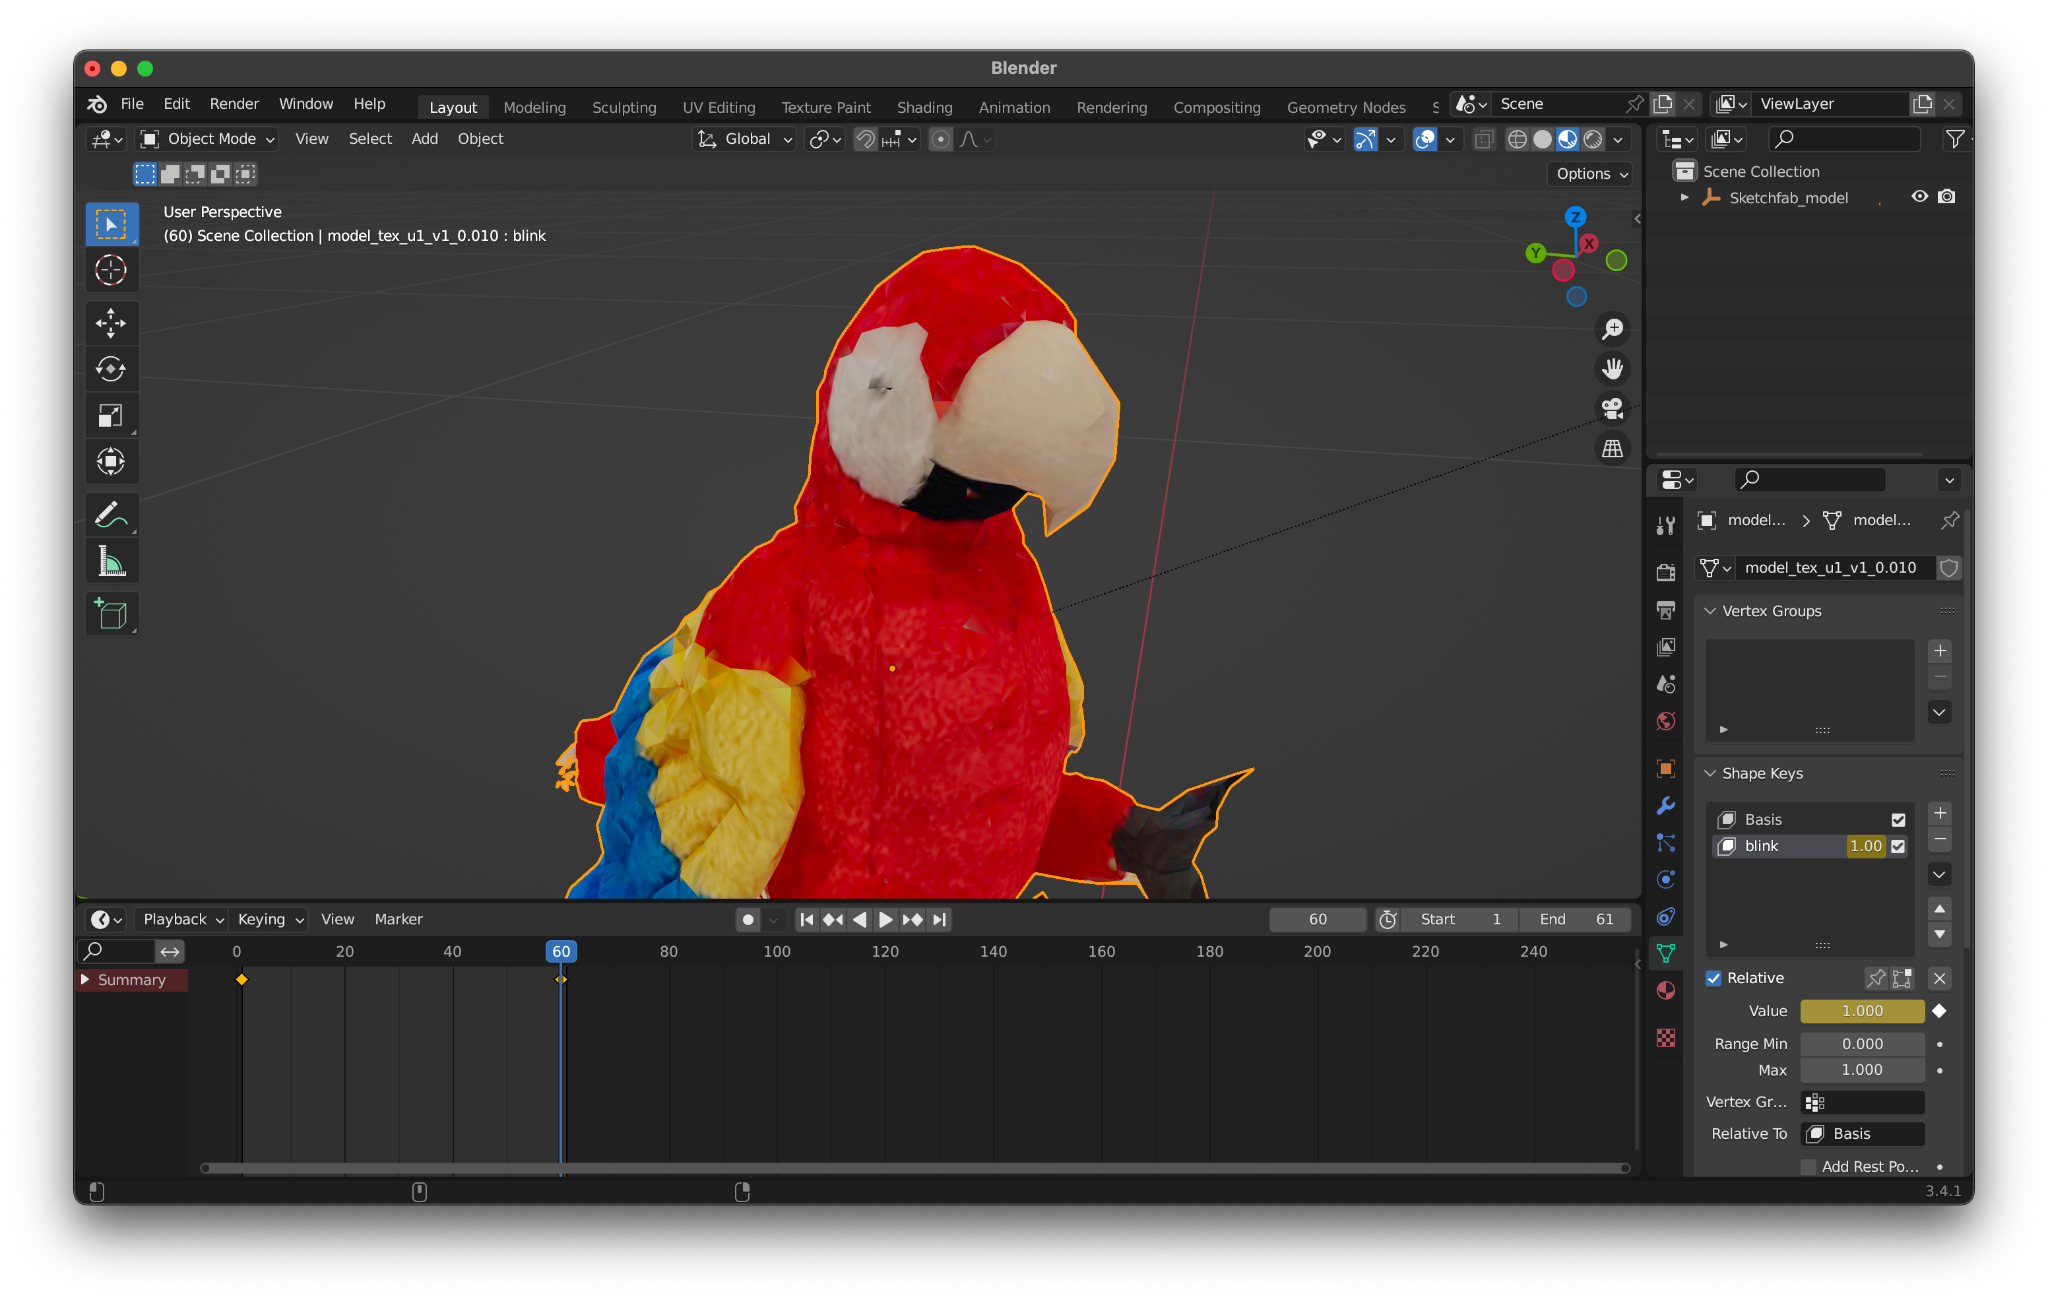
You will notice that your shape key has a Value parameter. When you move this parameter, you will see that your model slowly animates to your edited model, corresponding to the value of Value!
Now we will animate the shape key to form our animation! Drag up the animation timeline at the bottom.
Set the End to a reasonable number of frames. ARENA renders at 60 frames per second, so we will make our End 60 frames + 1 = 61 frames for one second of animation. The end number of frames is up to you. Move the blue bar to frame 1, and then click the filled in circle next to the Value parameter. This will add an animation keyframe at frame 1, with the Value set to 0!
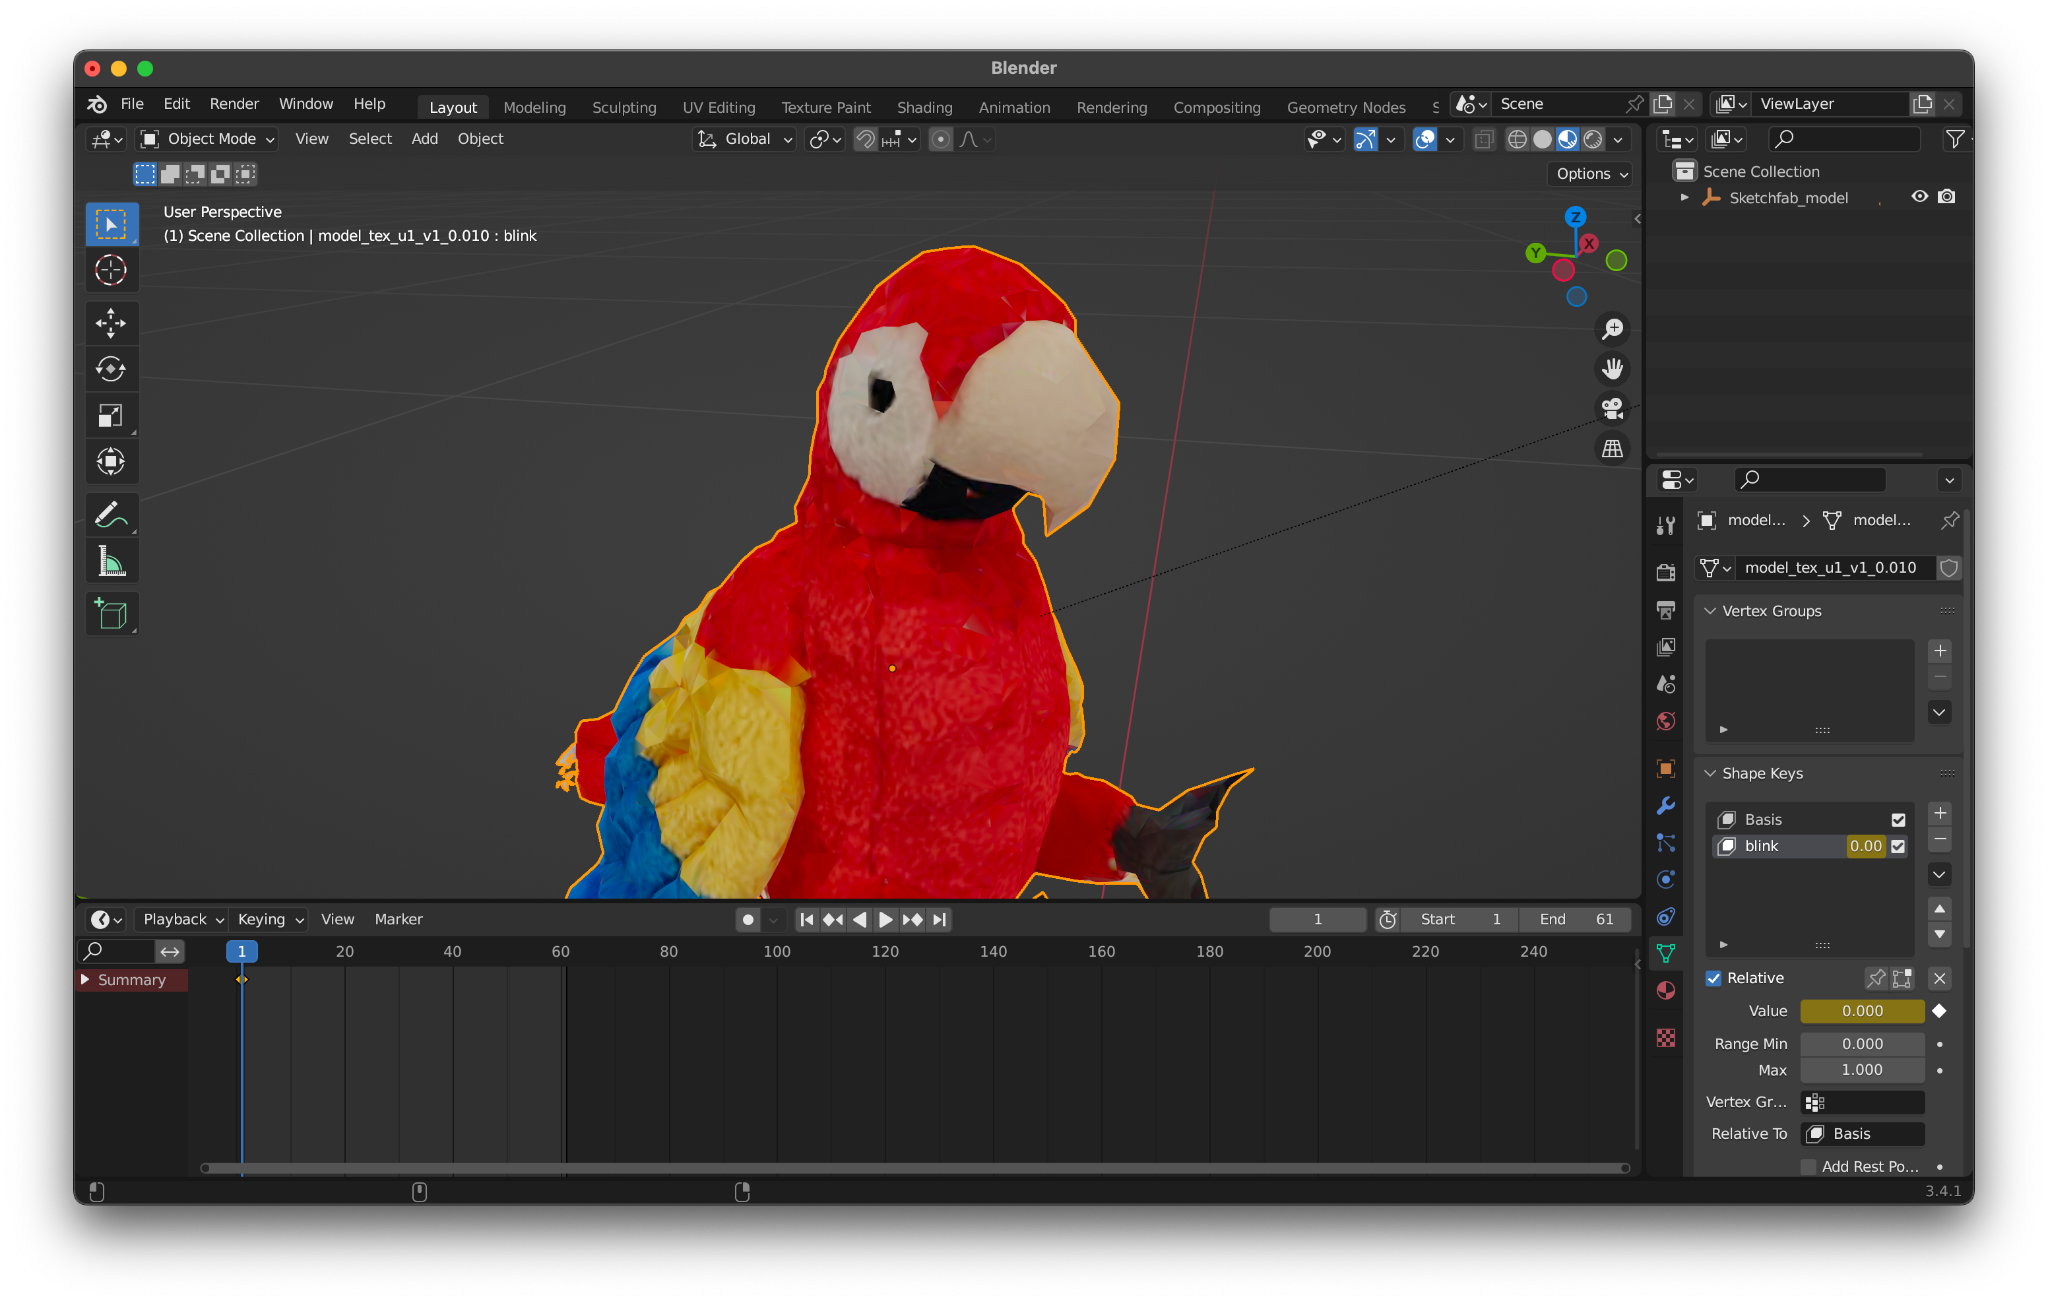
Then, drag the blue slider to 1 minus the final frame. Now, click on the filled in diamond next to the Value parameter. This will add a final keyframe with the Value set to 1!
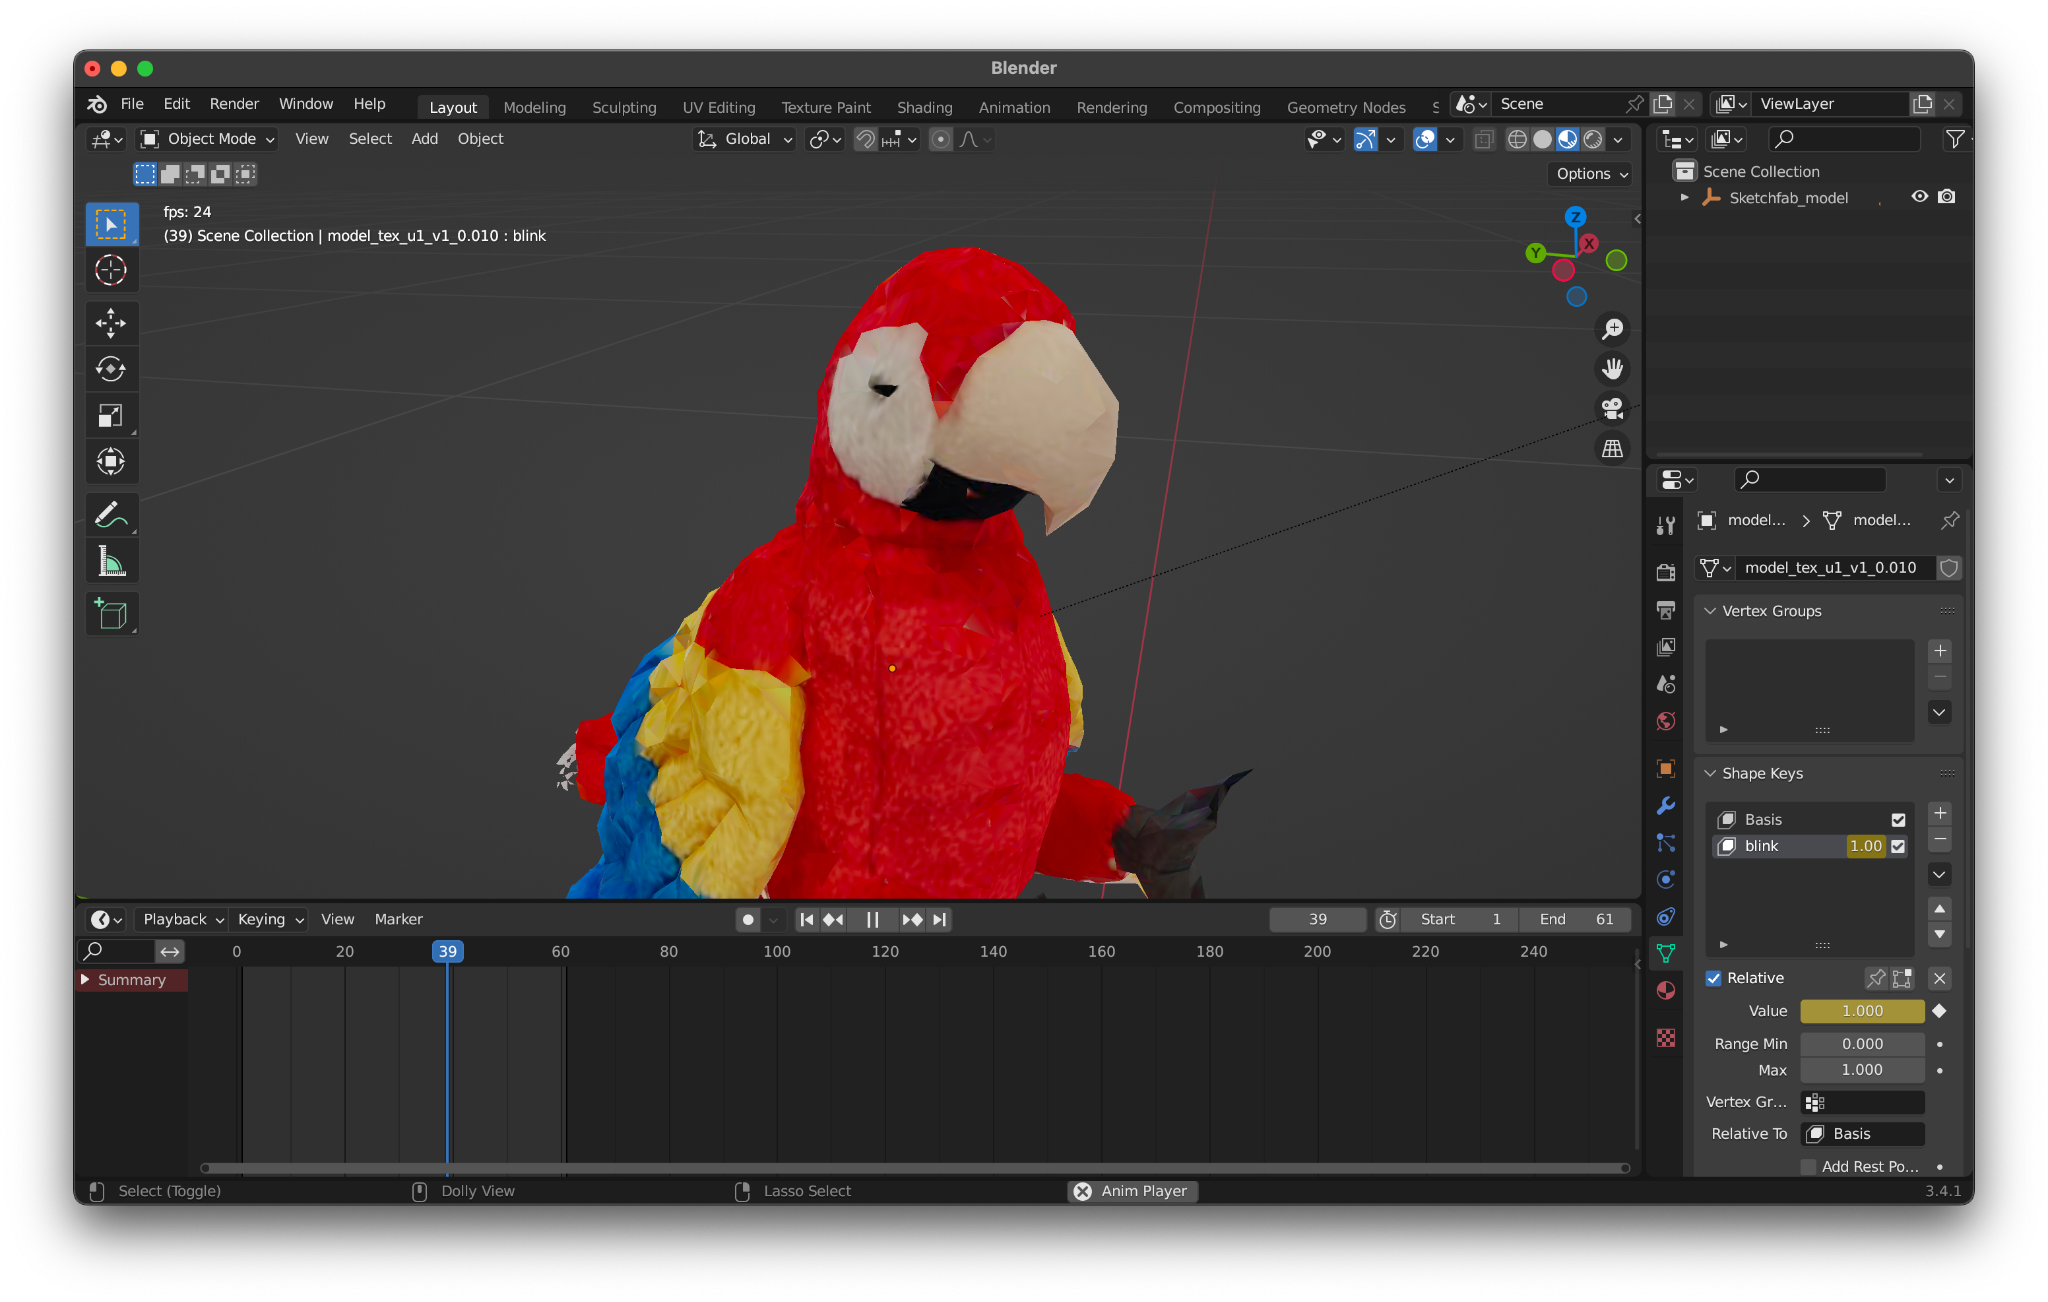
Now, when you press the Space Bar, Blender should play your animation. Starting at the original model, and over time, animating it to your edited model!
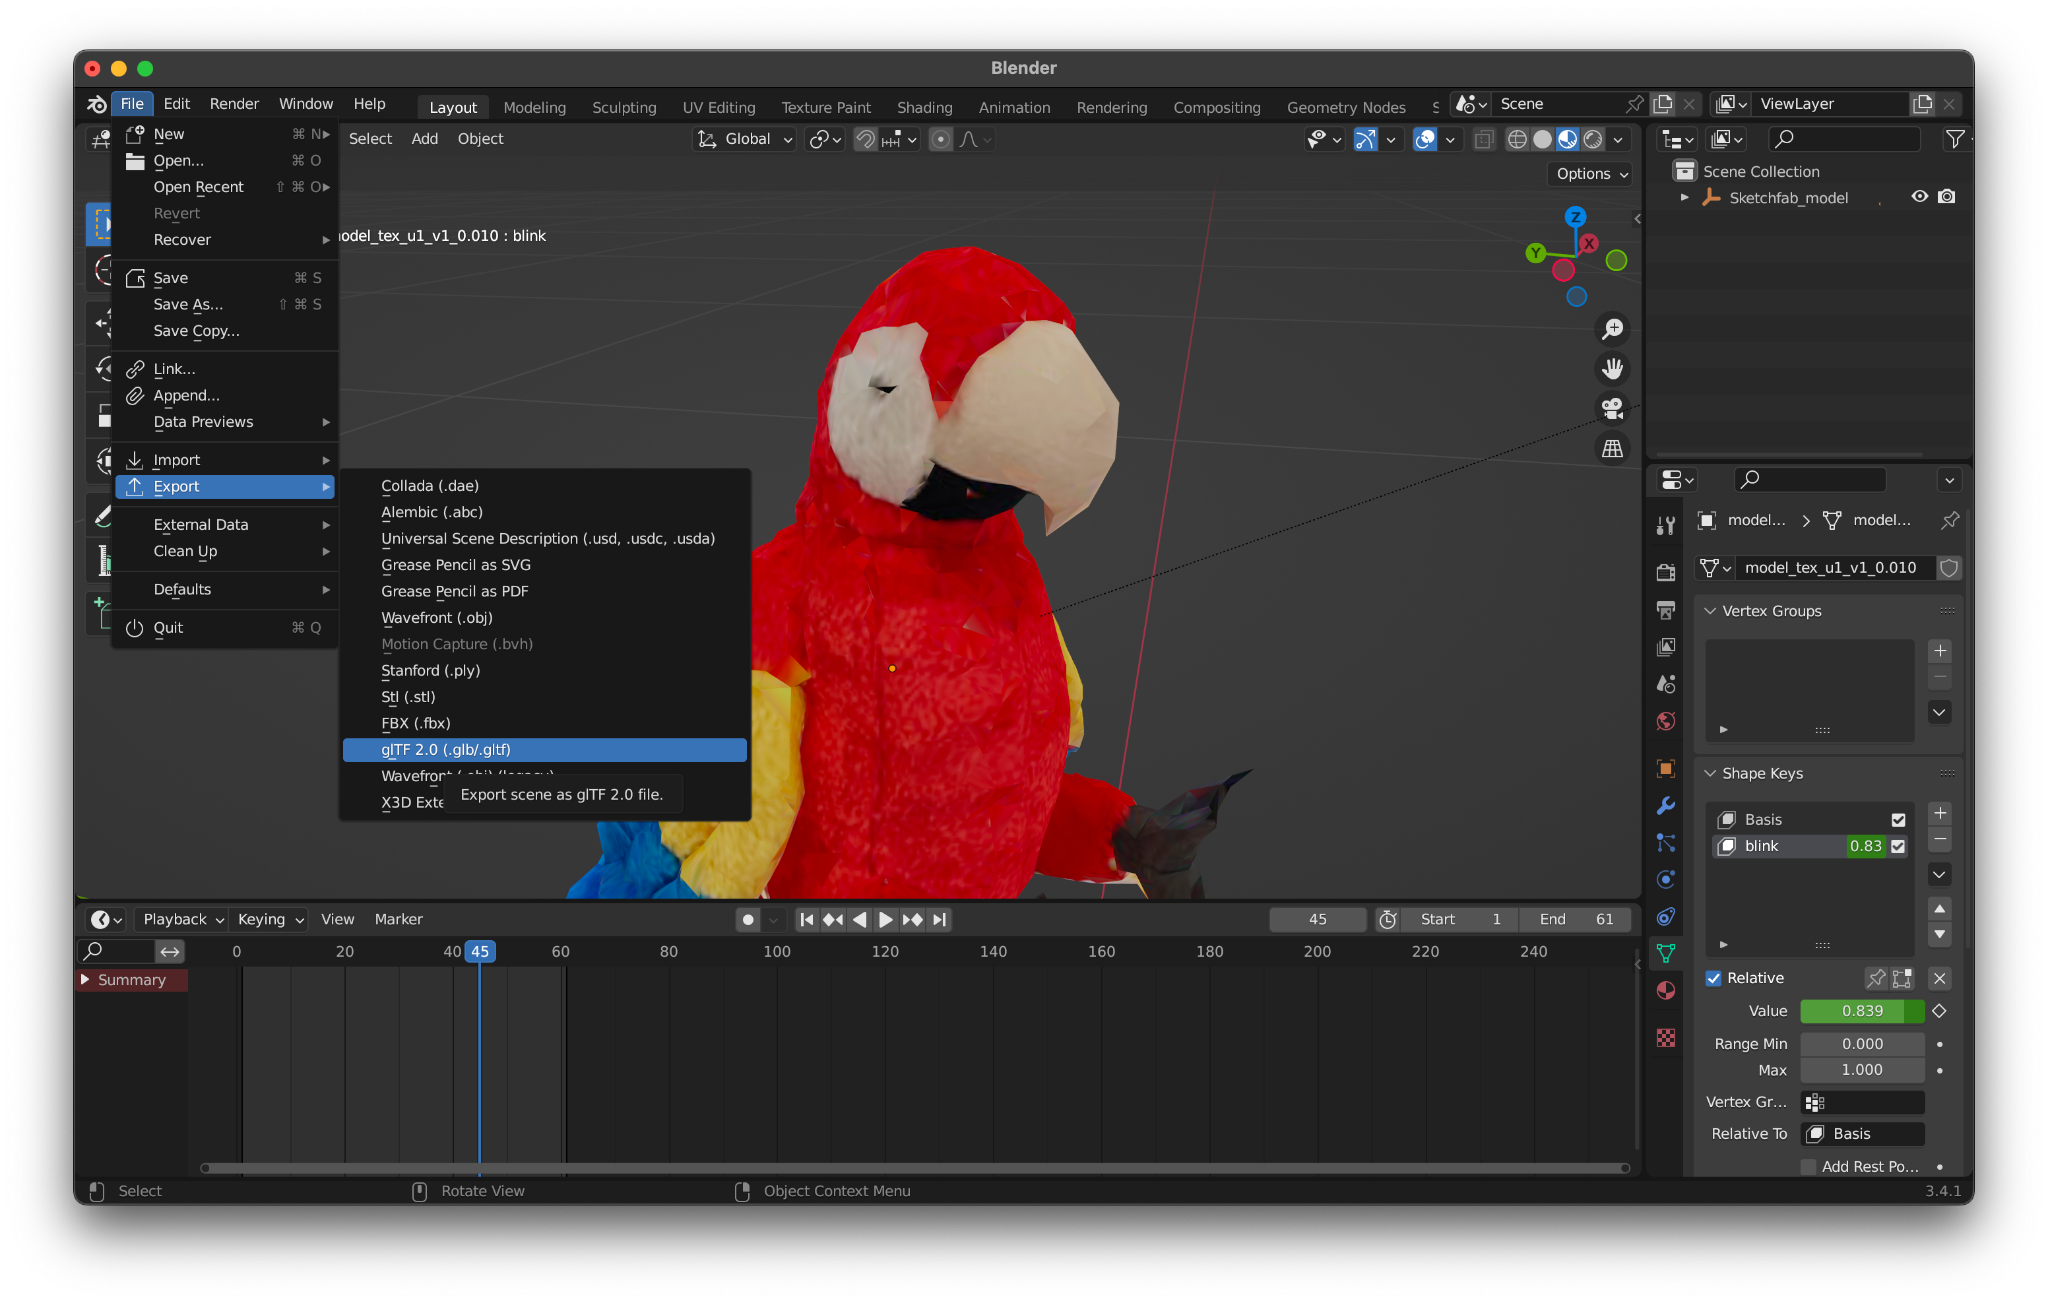
Now, you have created an animation in Blender. Let’s export our model for the web! Select File -> Export -> glTF 2.0 (.glb/.gltf) and save your model as a .glb. GLTF is a 3D model file format that is web-friendly, and GLB is a binary version of GLTF!
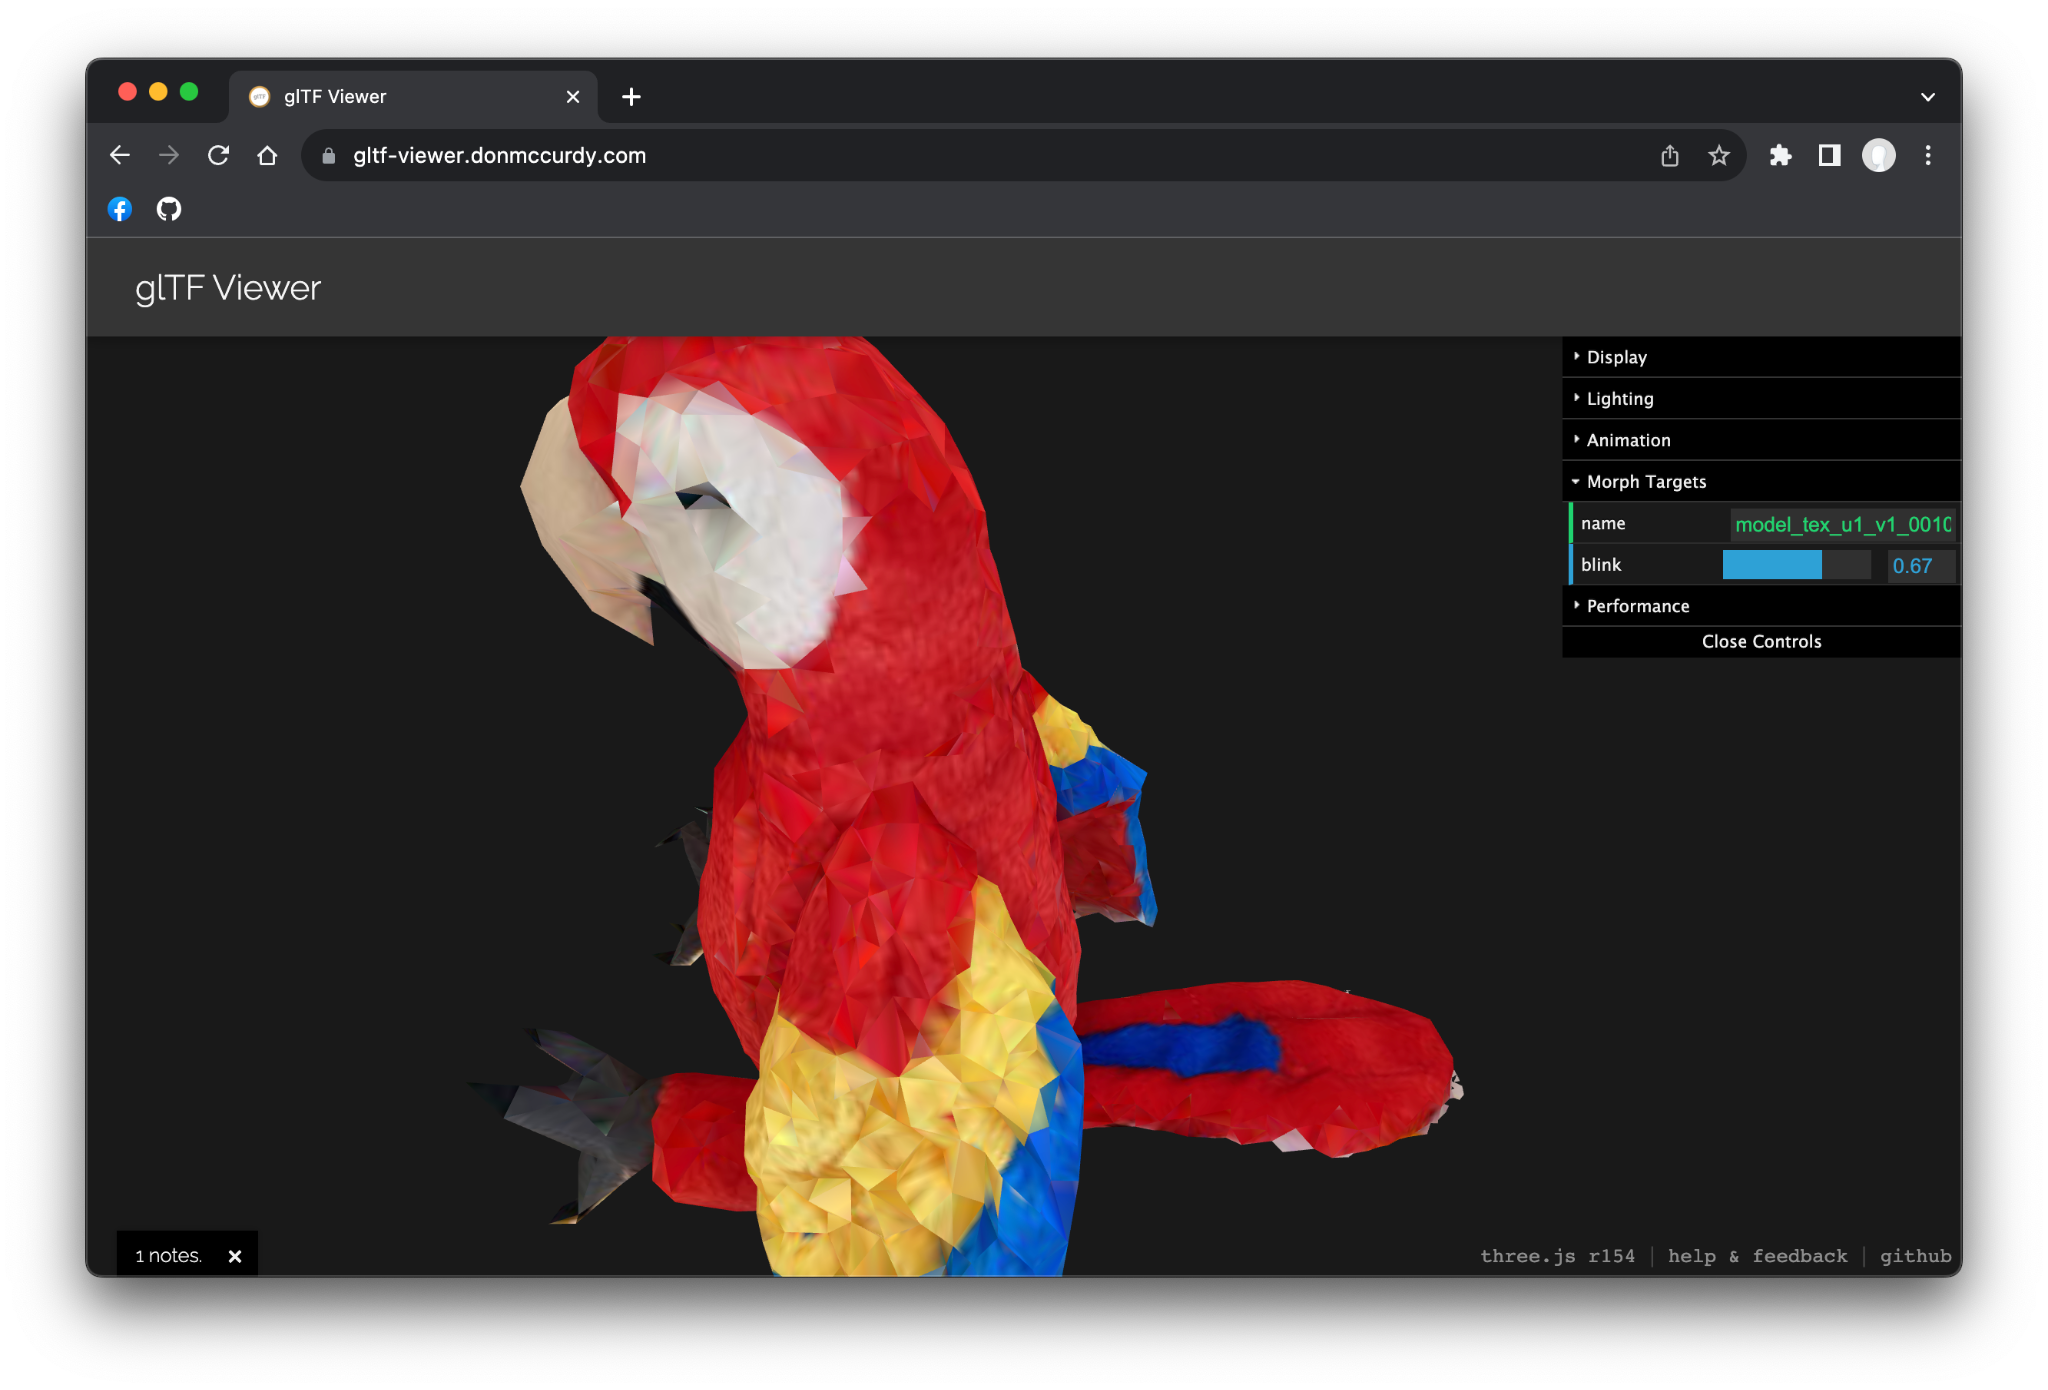
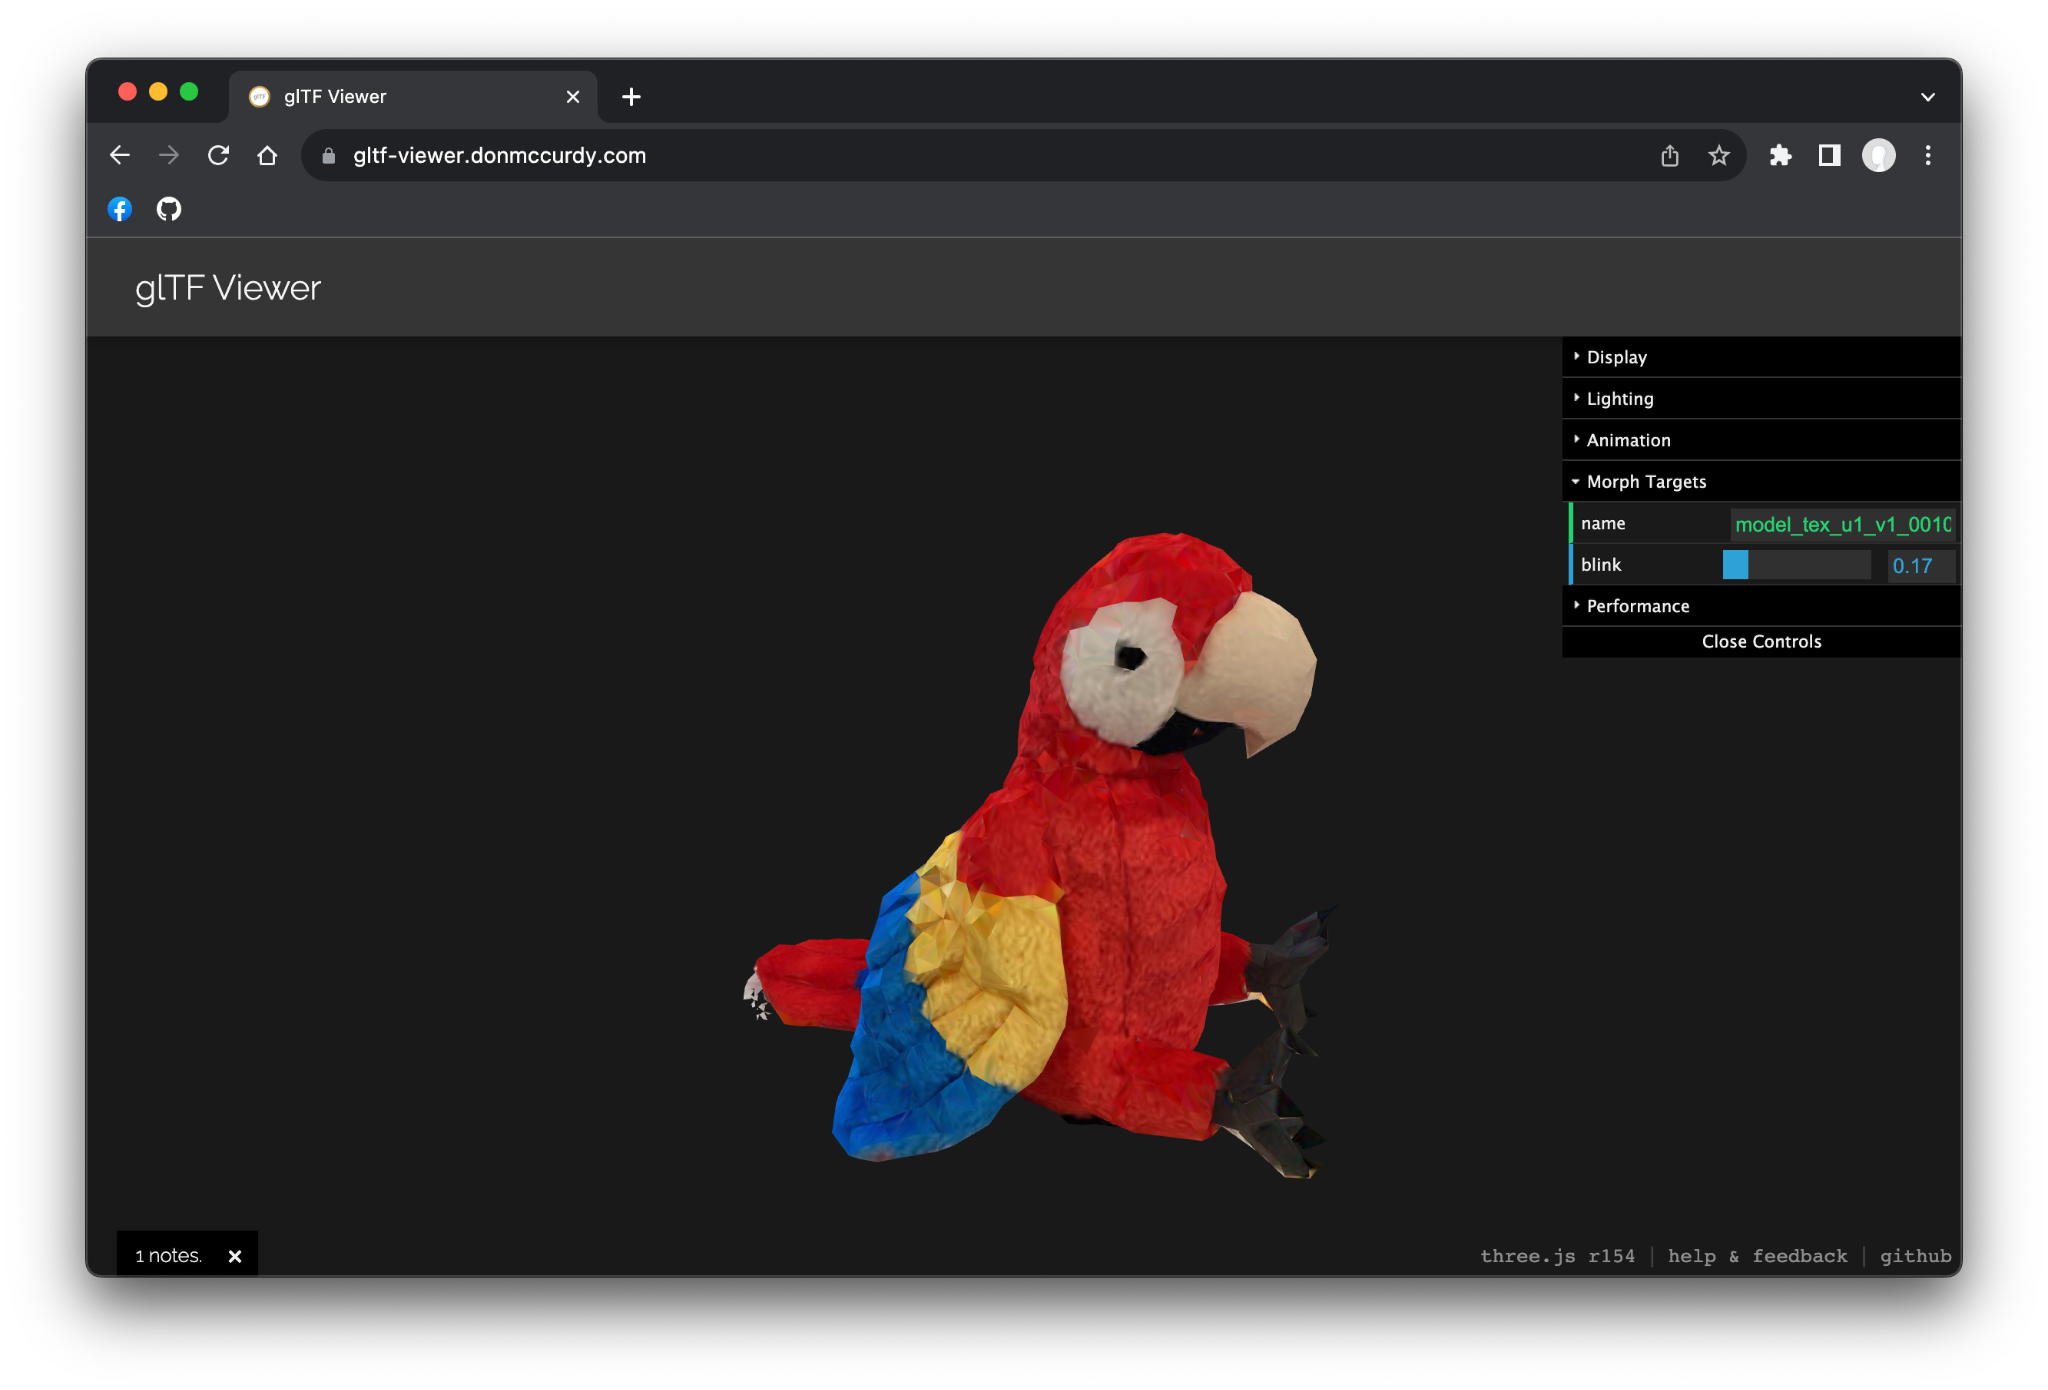
Save it to a safe location. Now, let’s view your model on the web to see the animation in action. Go to https://gltf-viewer.donmccurdy.com/ and drag your model in. The “Morph Targets” dropdown should have your animation(s)!
goal
Make a cool animation (or multiple) for your scanned model and export it as a .glb for usage in ARENA in the next section!
[Optional] See:
- YouTube: Creating Shape Keys in Blender 2.80
- YouTube: Blender 2.8 Shapekeys and Morphing