3D Modeling
For this part of the tutorial, you will begin using a 3D Modeling called Blender, a software that is commonly used by 3D graphics artists to create animated films (see CHARGE and Sprite Fright).
The Photogrammetry part was mostly automated, with you tuning a few knobs to adjust settings. Once you hit the start button, the computer does all of the hard work. However, there are often imperfections with the output model. The model might contain artifacts such as: floating meshes, holes, background noises, etc. This is when Blender comes to the rescue! We can use Blender to post-edit the model and clean up the artifacts.
Import your model
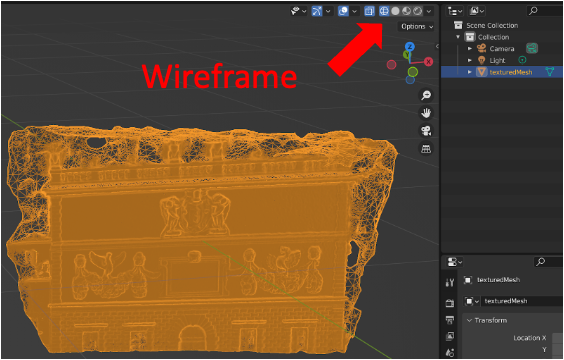
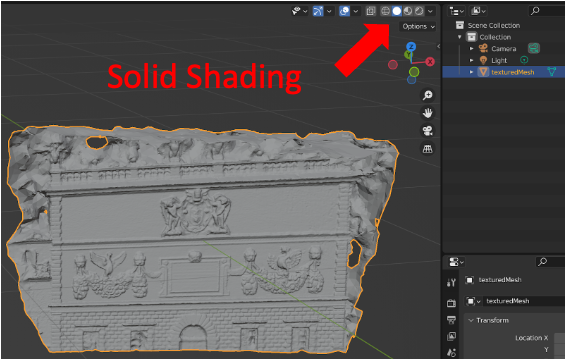
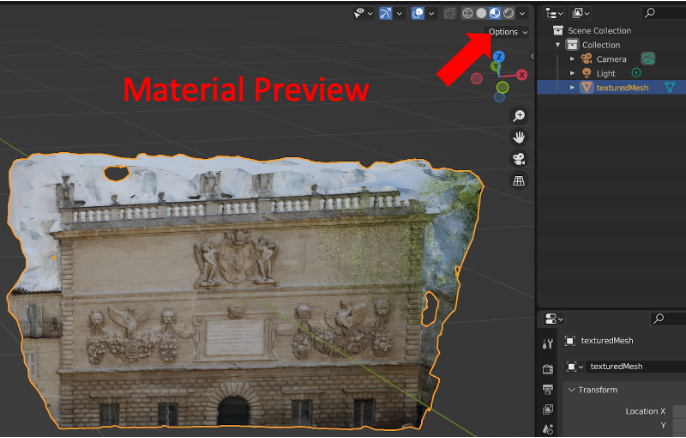
To visualize your model, first locate your model save directory and import it into Blender (File -> Import -> .obj). After importing it you should see a model with no texture overlay. This is due to the Viewport Shading mode defaults to Solid (focused on geometry features). You can toggle between Wireframe / Solid / Material Preview / Rendered mode at the top right corner, as highlighted in the figure below.
UV Mapping
One important thing to understand is the process called UV Mapping. It involves projecting 2D images onto 3D models to create texture mapping, one of the necessary steps for us to see textures on the mesh. We are not going to dive into the details, but visualizing the 3D model to 2D texture image correspondence would be helpful to comprehend the idea.
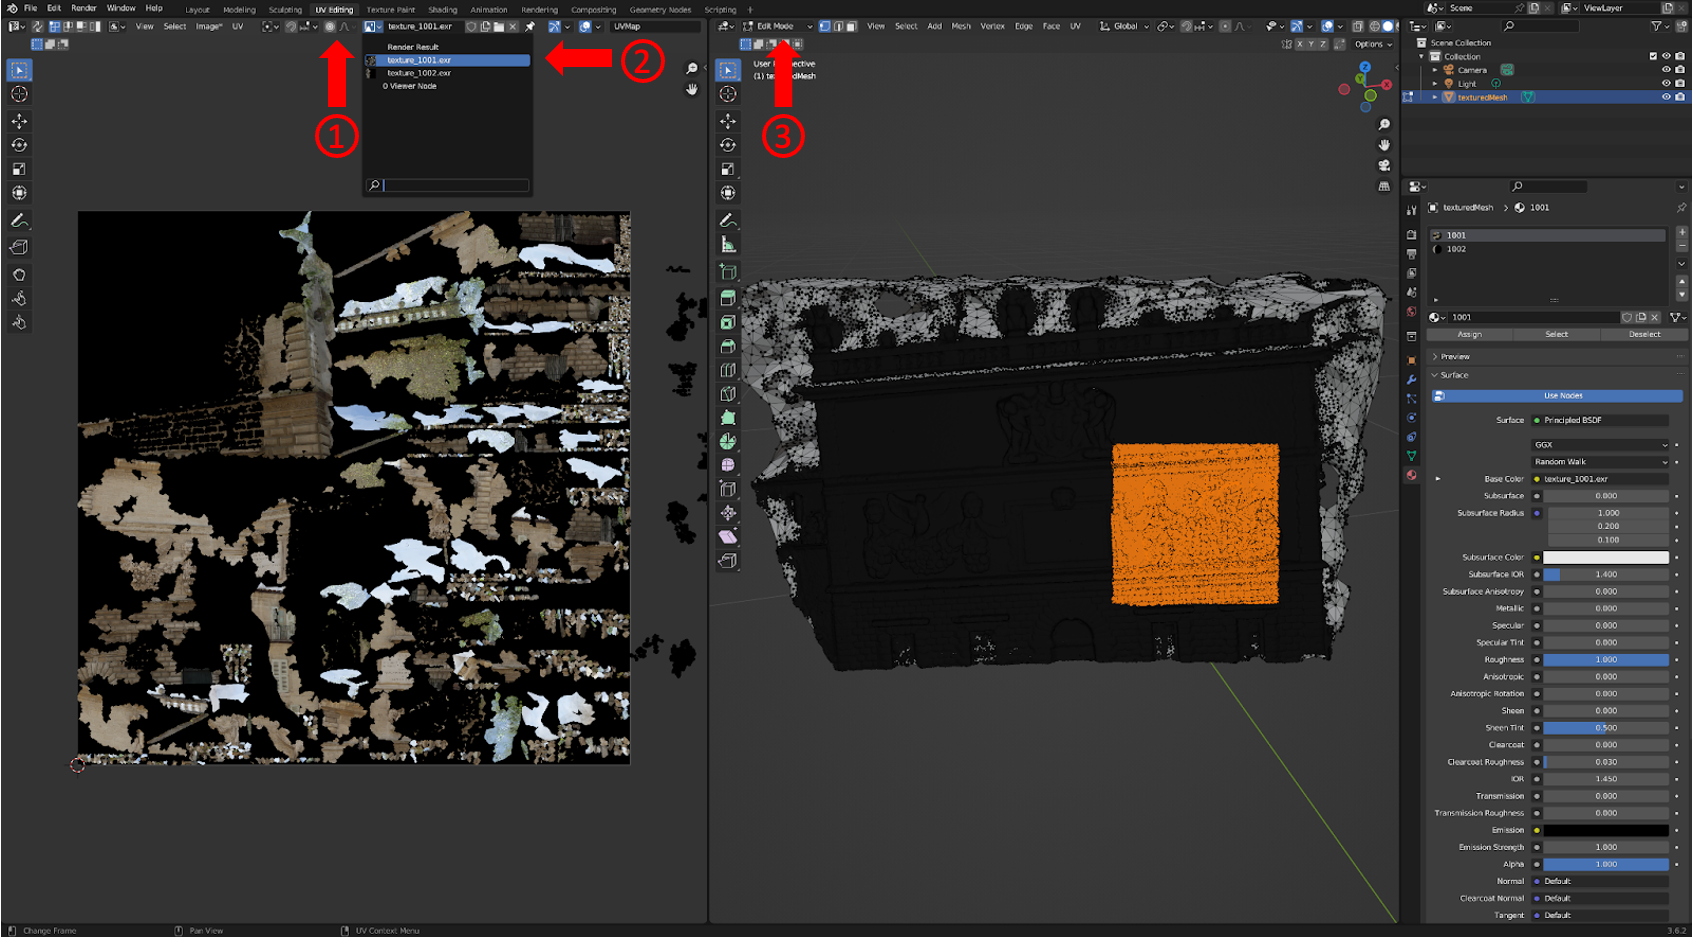
To visualize UV mapping, first click UV Editing tab on the top, second select the texture image to view by clicking your texture image in the drop down menu on the left panel, third select Edit Mode for the mesh. Your interface should look similar to the one shown below.
Now, select any region in the mesh surface, observe how the corresponding region in the texture map is highlighted as you select different regions on the mesh.
Model Cleanup - Removing Incorrect Geometry
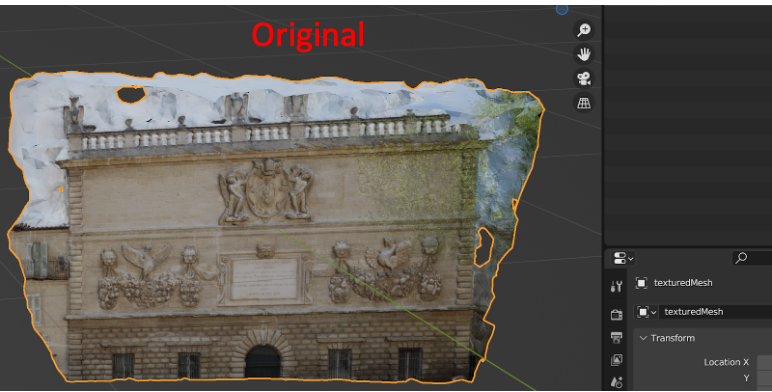
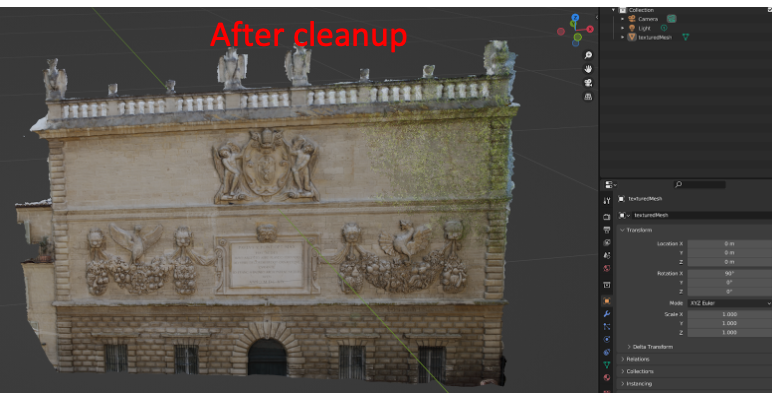
From the model visualization we can clearly see that the sky is mapped at the wrong depth, and removing the sky will make the model cleaner and more accurate.
The simple way to remove unwanted geometry components is to select and delete triangle vertices / edges / faces. We can do this by going into the Modeling tab and enabling Edit Mode. Note that if you want to select through the entire 3D volume, not limiting to visible faces, you can turn on the X-Ray option. After selecting the items you want to remove, you can hit x on the keyboard to delete them.

This shows a side by side comparison of the effect of cleaning up the geometry.
goal
At this stage, you should understand the basic usage of Blender and be able to import and clean up your photogrammetry model.